
I live in Japan, where the tap water is said to be quite ‘soft’, meaning not too much minerals are contained in it.
This does make it a little bit easier to maintain my espresso machine in terms of scale, but how much so? I did not know, so I had to experiment.
I used my Gaggia Classic Pro for a whole year without doing any descaling and checked how much scale would build up.
Its been an year since I got my Gaggia, so its time to look inside.
Today I would like to share how I got into the boiler, since this didn’t seem like something many people did. Or, at least I couldn’t find any guides on how to do this.
The specific model of the Gaggia Classic Pro which I have is the RI3980 version (US model).
Let’s get right in!
Opening up the machine
First we have to get into the machine.
This is rather simple and probably most people have done it. I had also done it in the past to do an OPV mod.
WARNING : Please make sure that the power cable is unplugged before opening your machine. Also, the internals can get very hot after use. Let the machine cool down before doing this.
Let’s remove the easy stuff first.
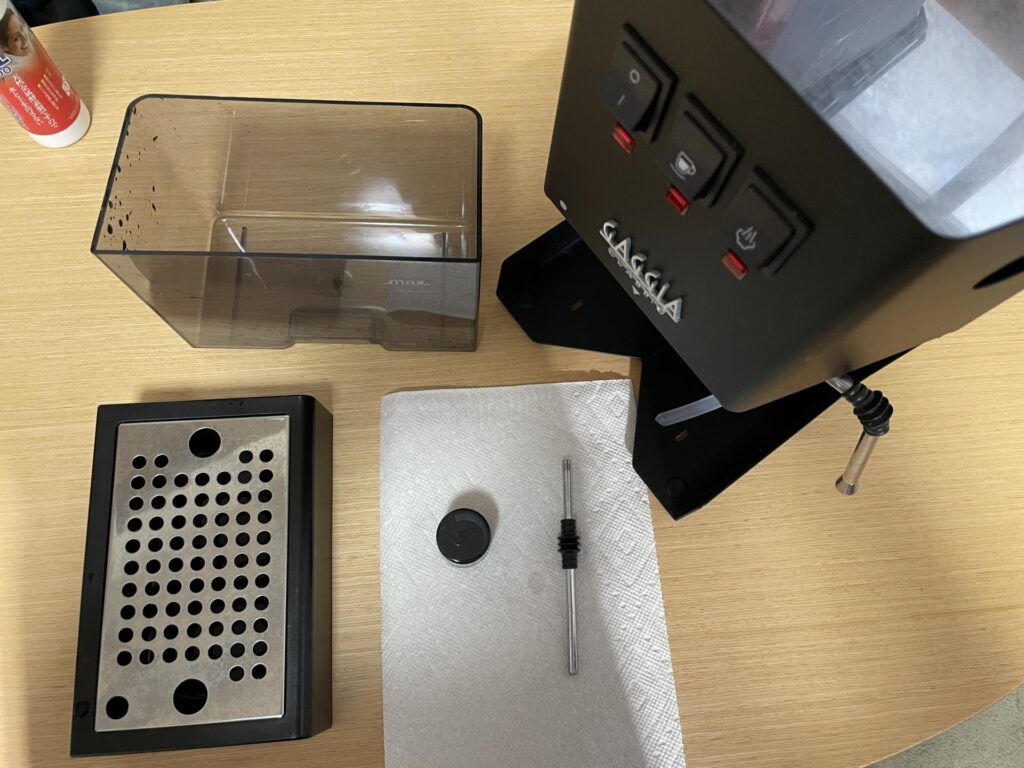
Pull out the drain pipe, take out the drip tray, and pull out the reservoir.
When pulling out thee reservoir, some water may drip out of the pipes.
Also pull out the steam knob. It may be hard to pull at first, but it does just simply pull out.
Next remove the two screws at the top back edge of the machine.
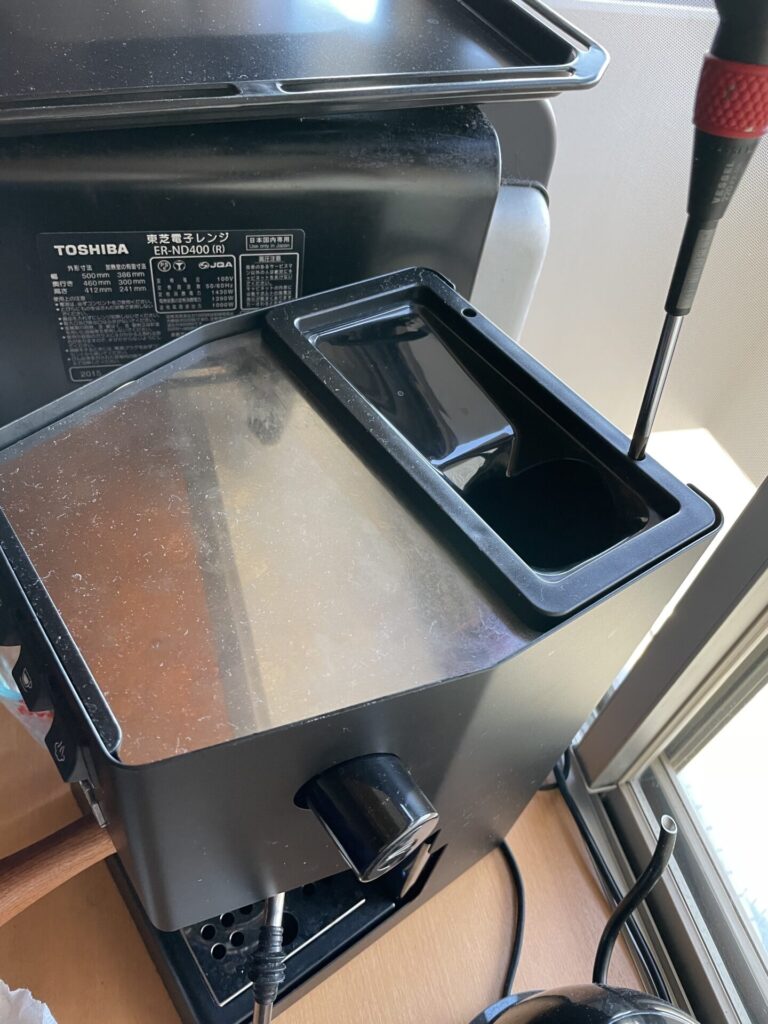
Once the screws are out, the top panel will come off. There is a lip at the front side of the machine which hooks on to the panel.
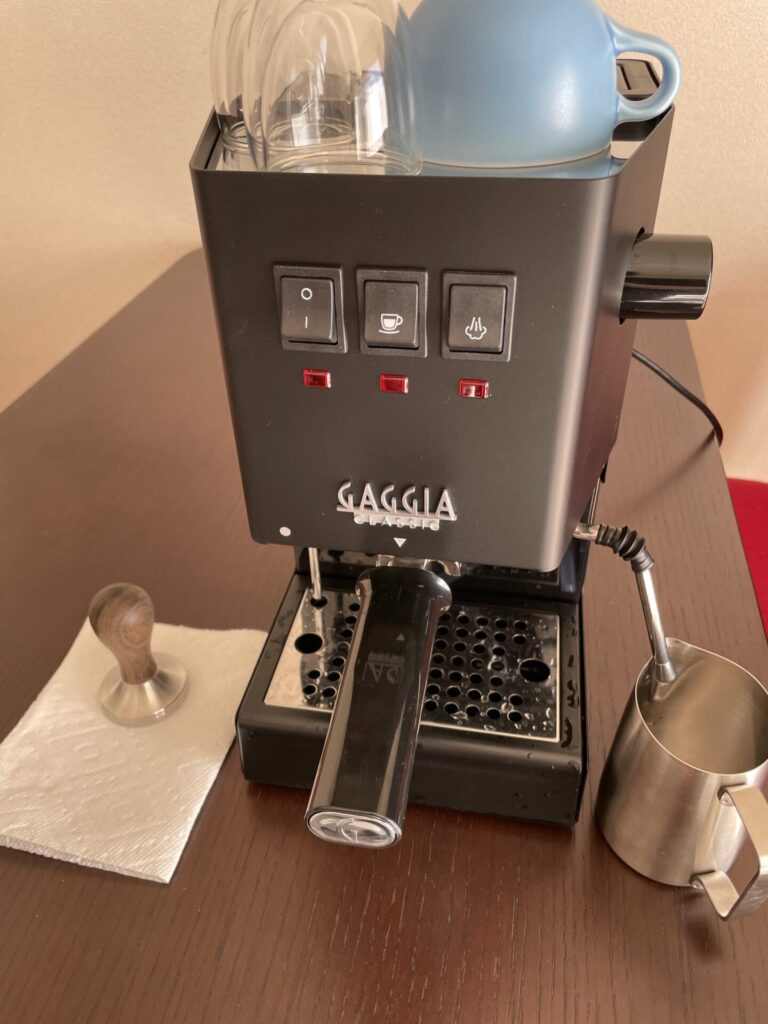
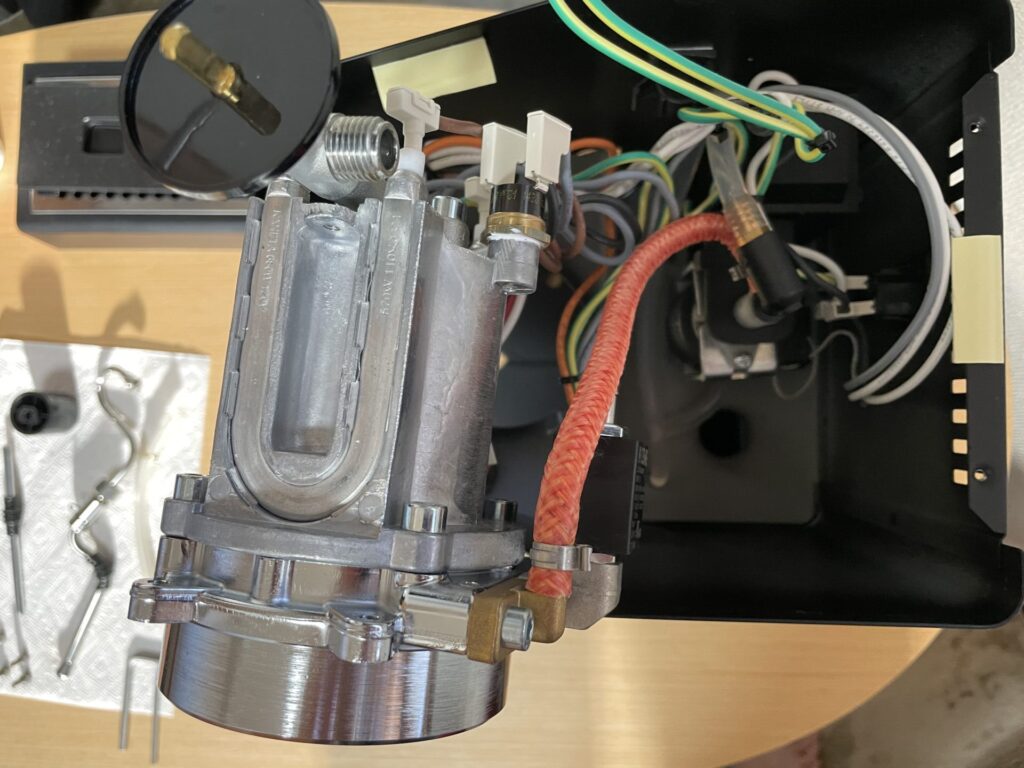
Here is what we find inside. The left side of the photo is the front of the machine.
The silver chunk on the front side of the machine is the boiler.
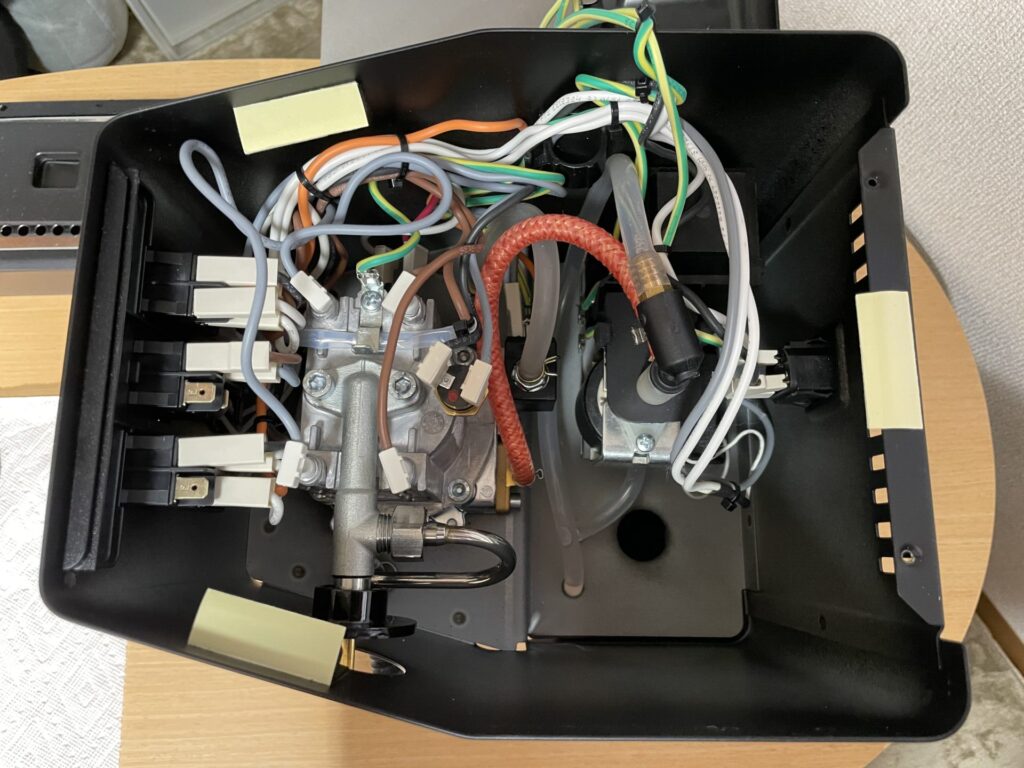
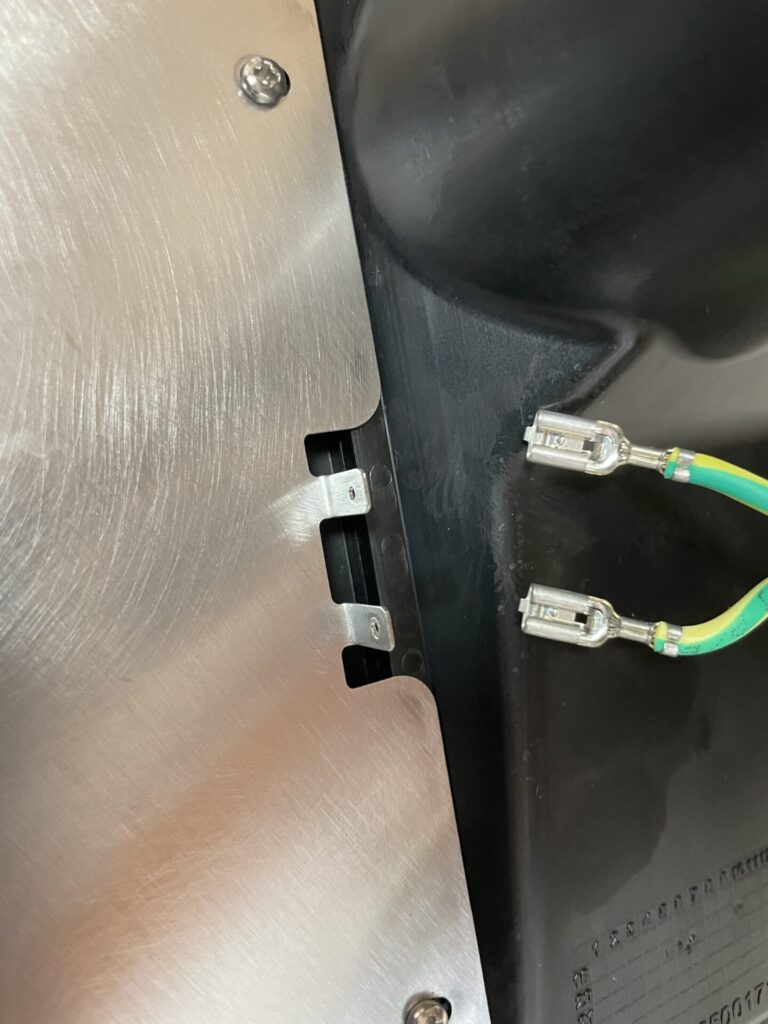
The top panel has some green and yellow ground wires connected to it. It’s difficult to work with these connected, so just pull them out.
Also there is a clip inside the machine holding on to some wires for cable management. Let’s free these wires as well.
Removing the Steam Wand
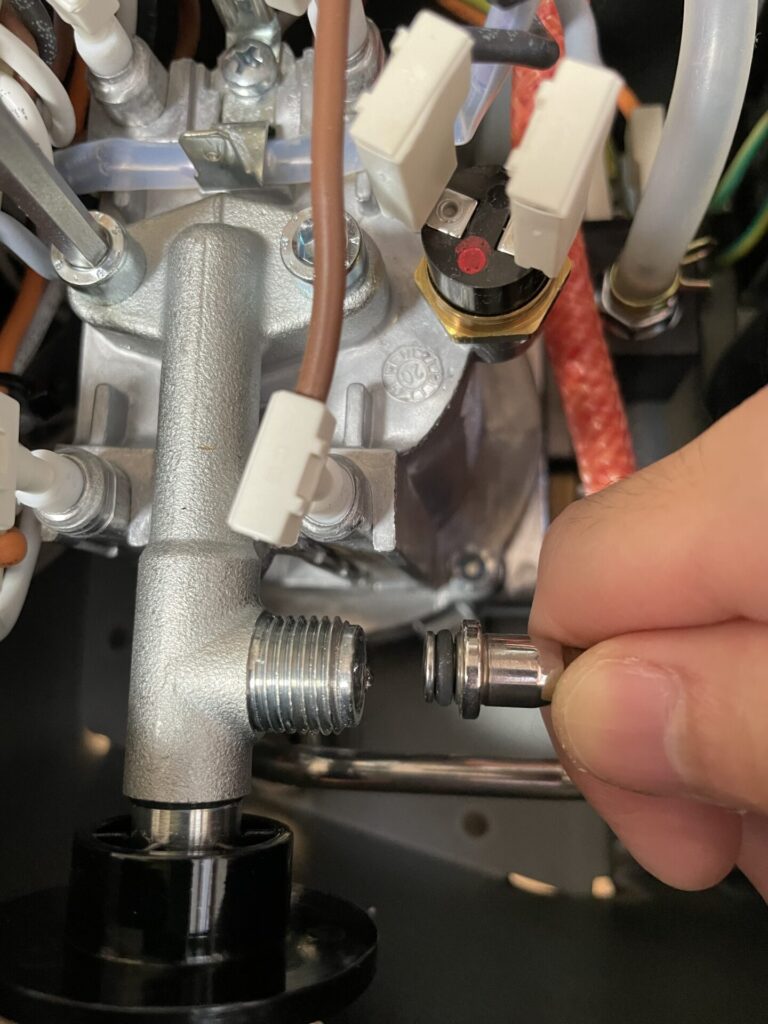
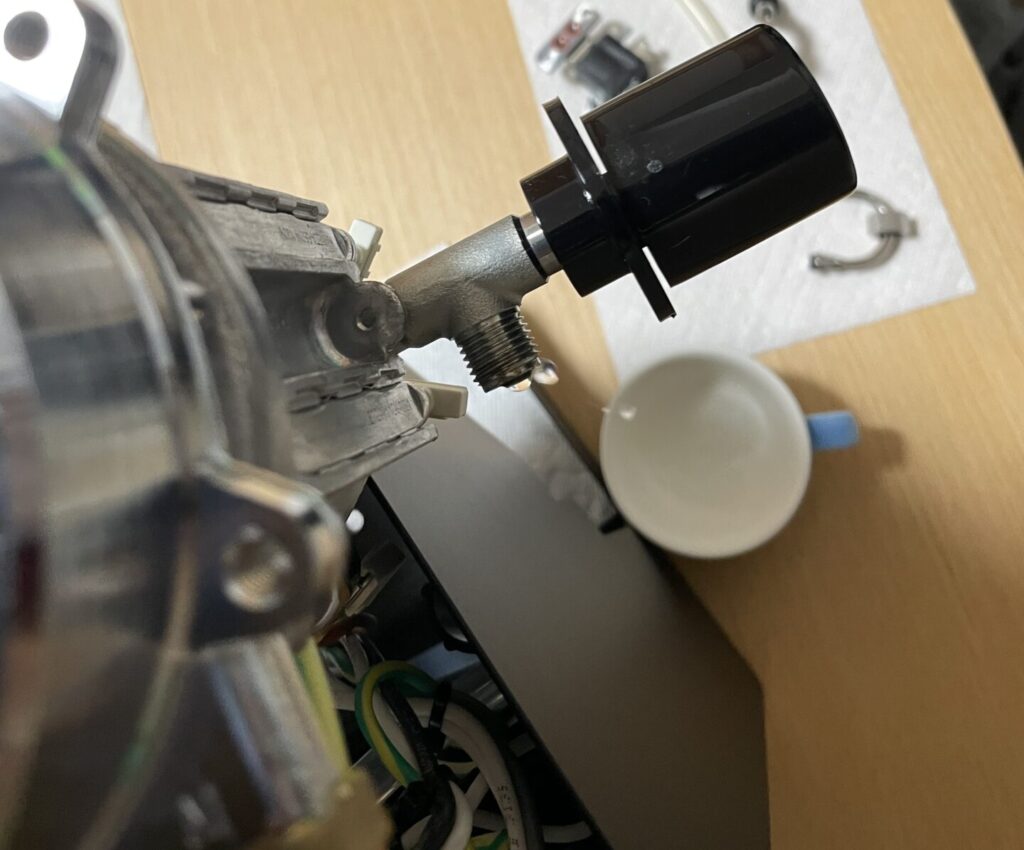
The metal pipe which comes out of the top of the boiler goes to the steam wand, we need to remove this next.
As seen in the photo, we need to remove the bolt connecting to the steam wand. I used an adjustable wrench (spanner) to do this, but it was ridiculously tight the first time I took this off. I suppose that’s a good thing, but I was afraid I might break something.
A trick I found was to stick a hex key in to one of the bolts at the top of the boiler and use that as leverage to hold the boiler.
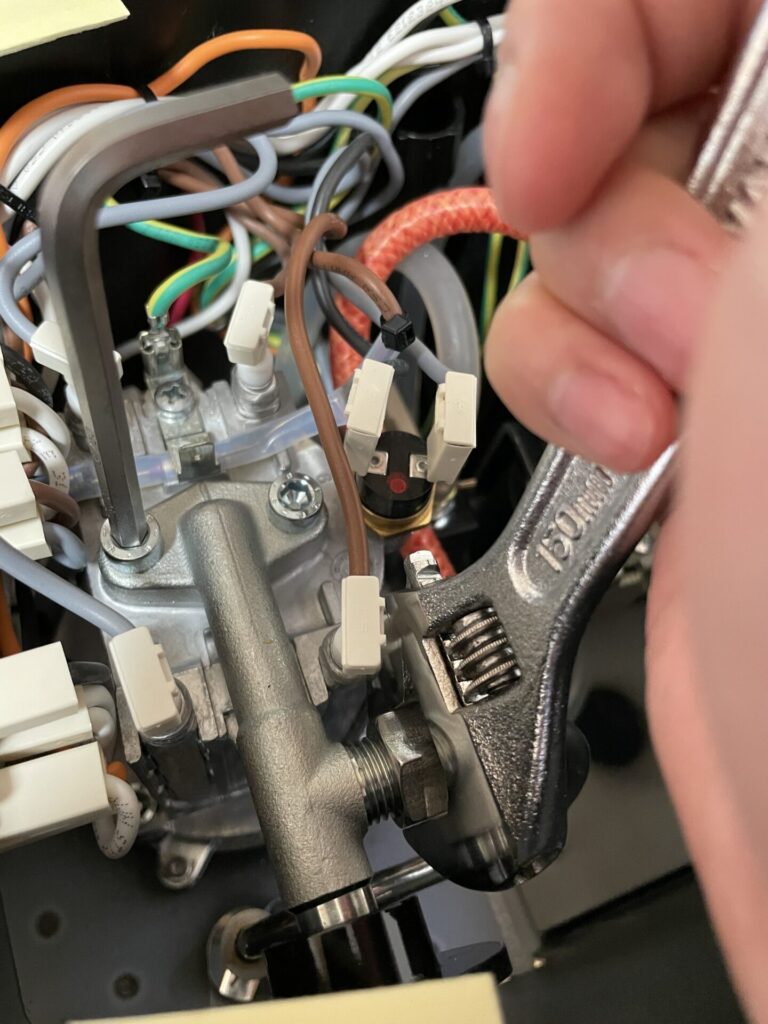
Once the bolt is off, the pipe can be pulled away.
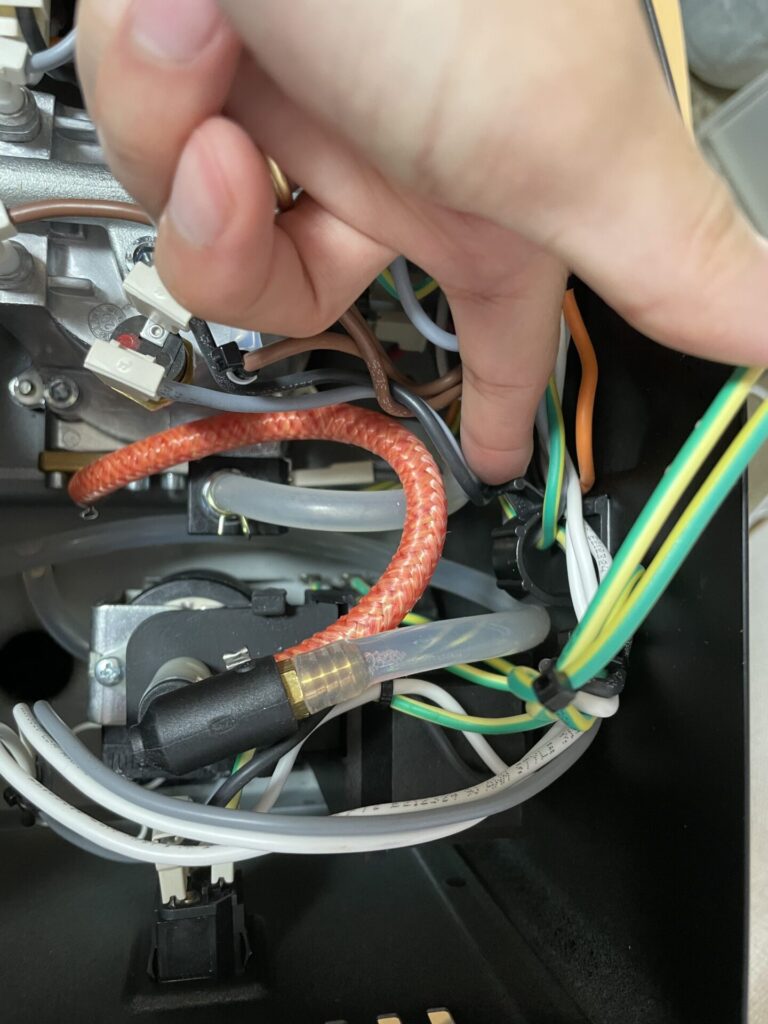
Removing the pipe from the 3Way Solenoid Valve
Next we need to remove the pipe coming out of the 3 way solenoid valve, which is the black box attached to the very bottom of the boiler.
This pipe leads to the drain pipe and is used to release the pressure from the group head after pulling a shot.
There is a pipe clamp holding the pipe on, so we need to pinch on it with some pliers while pulling it off.
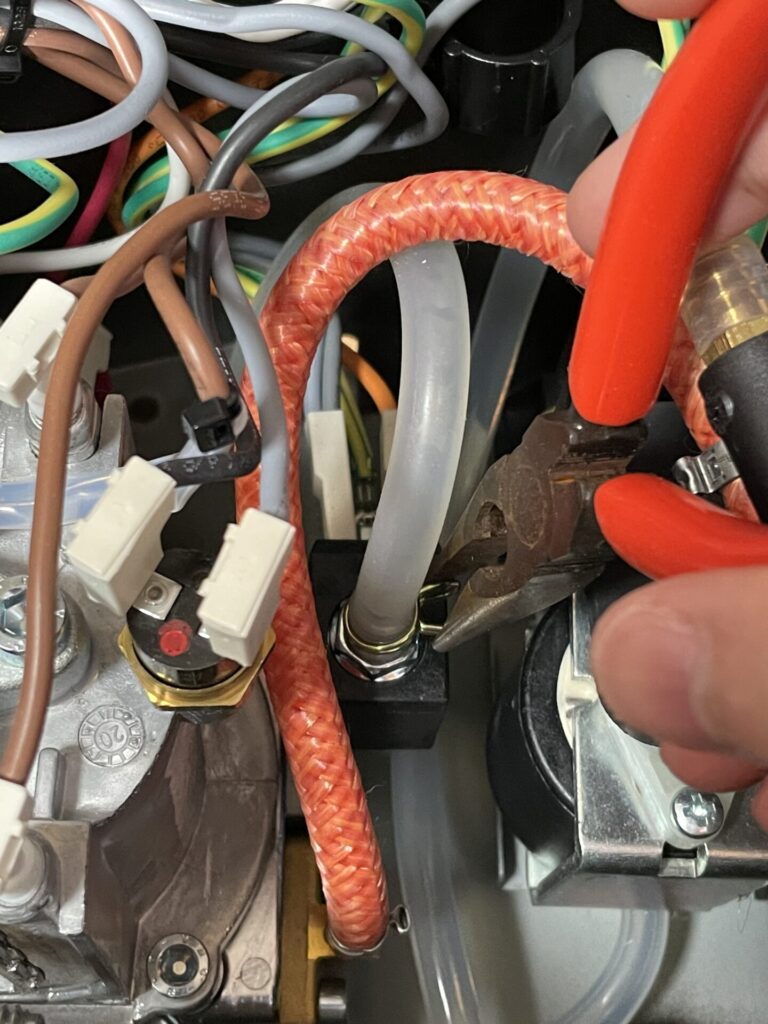
It should look like this once it is off.
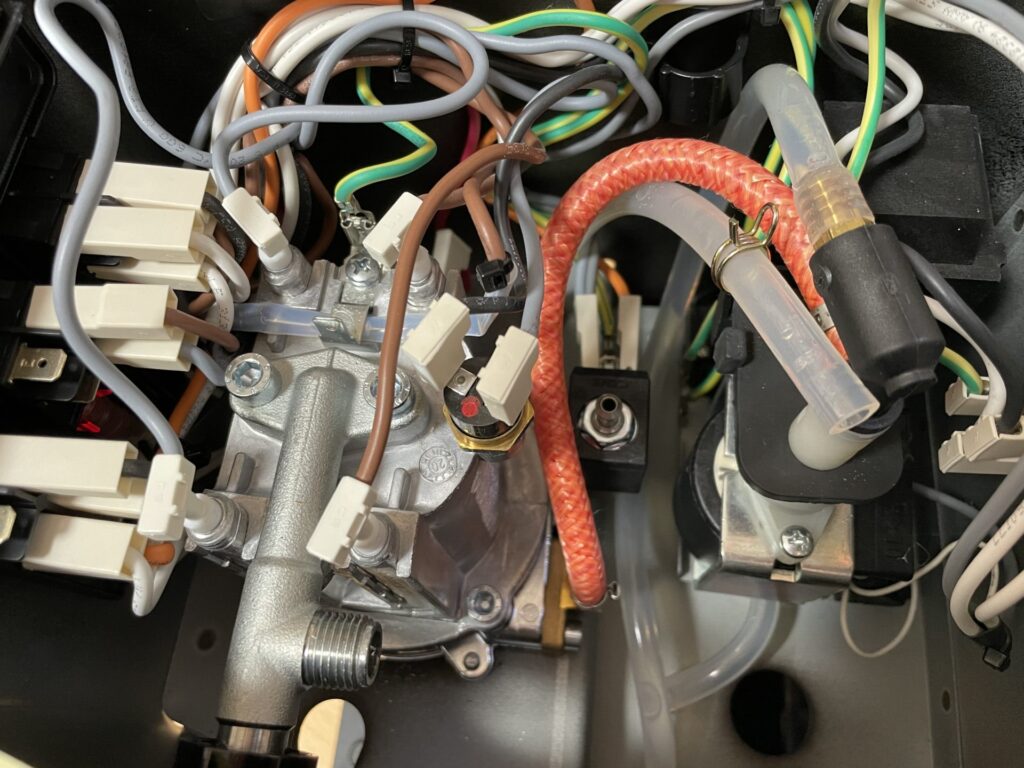
Taking out the Boiler
Finally we are ready to tackle the boiler.
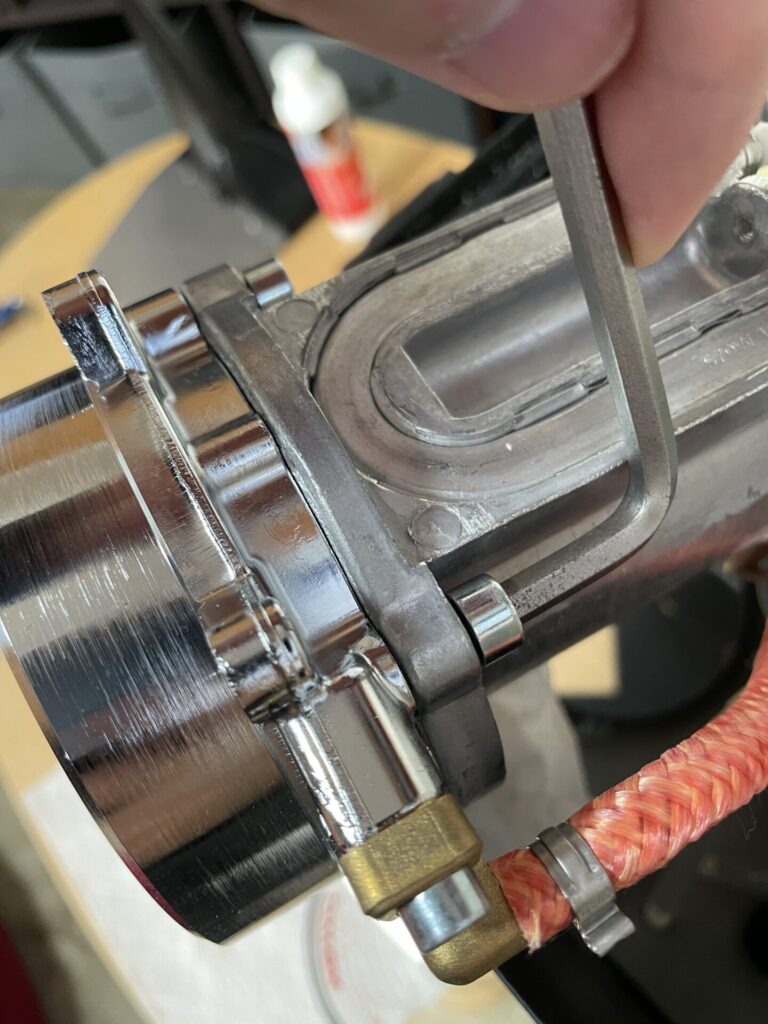
The boiler is held on by 4 bolts from the outside of the machine, right next to the group head.
Just take these off with some hex keys. (sorry the the photo isn’t in focus)
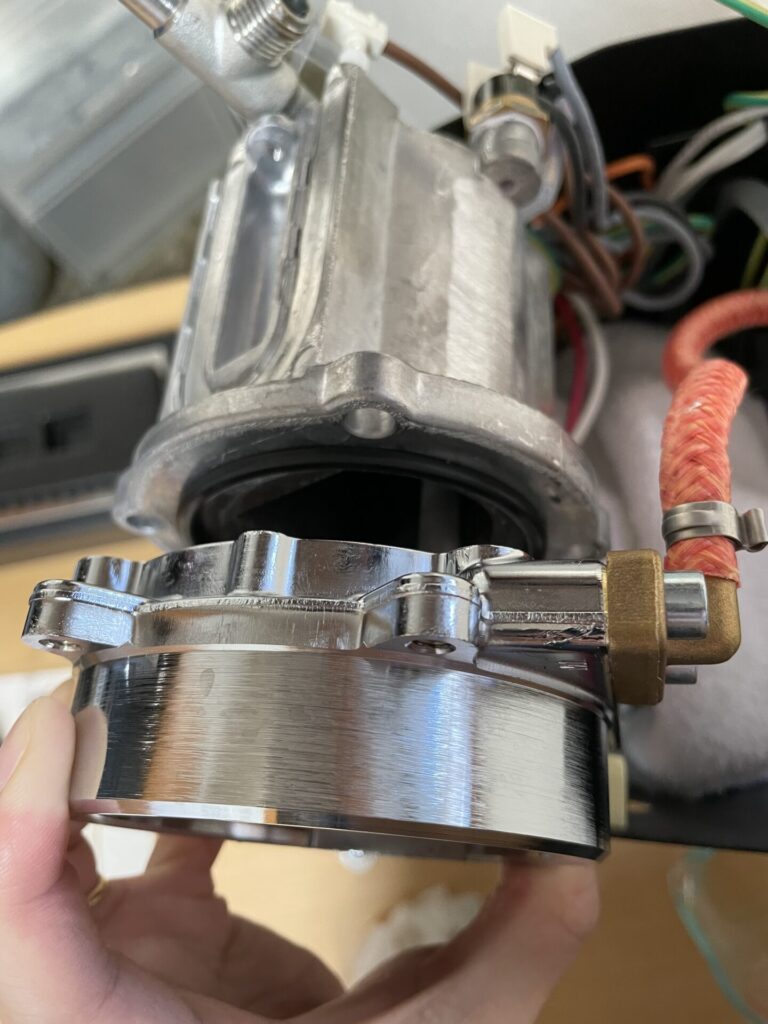
After removing the bolts, the boiler should be loose inside the machine.
Taking care not to disconnect any of the wires, lift out the boiler like this.
The orange pile is still attached, but this connects the pump and the boiler meaning it is meant to be pressurized during use, and I didn’t want to risk damaging the seal.
Draining the Boiler
The boiler still contains a lot of water inside.
So if we open it up without thinking, it’s going to spill everywhere and make a mess. (Trust me, I did it once… water inside your machine is not something you want)
However one I did open the boiler, I figured out a way to safely drain the boiler so let me share this.
The method is rather simple.
Turn the boiler upside down.
Then we are going to drain the boiler through the stream wand pipe.
Place a cup or something to hold the drained water. The boiler is only about 100ml so a cup should do just fine.
Once you are ready, turn the steam knob to open the valve. Water should start to drip out.
It’s a bit slow but after a while it should stop, and that means you got most of the water out.
The bad way to do it (just FYI)
The first time I tried, I did not know how to drain the boiler so I tried a different method.
This method was to empty out the reservoir, and keep the brew switch on until no water came out of the group head.
The pump does push in some air, so this method does drain some water. But as I found out later, the exit pipe out of the boiler to the group head is lifted a bit so this will not be able to remove most of the water.
(Note, If you really kept the machine on for a long time with the steam valve open, technically all the water inside will boil off. But I highly recommend against this method because keeping the heating element ON without any water in the boiler could damage your machine)
Opening the Boiler
For the final step, it’s time to open the boiler.
The boiler has 4 bolts holding together the top and bottom parts.
These bolts were also stupidly tight. So, good luck.
If the boiler is not drained properly, this is when water will start to spill out.
There may be a bit of water left inside, so it might be wise to put a towel below the boiler.
With the 4 bolts removed, the boiler will open up like so.
Inside the Boiler
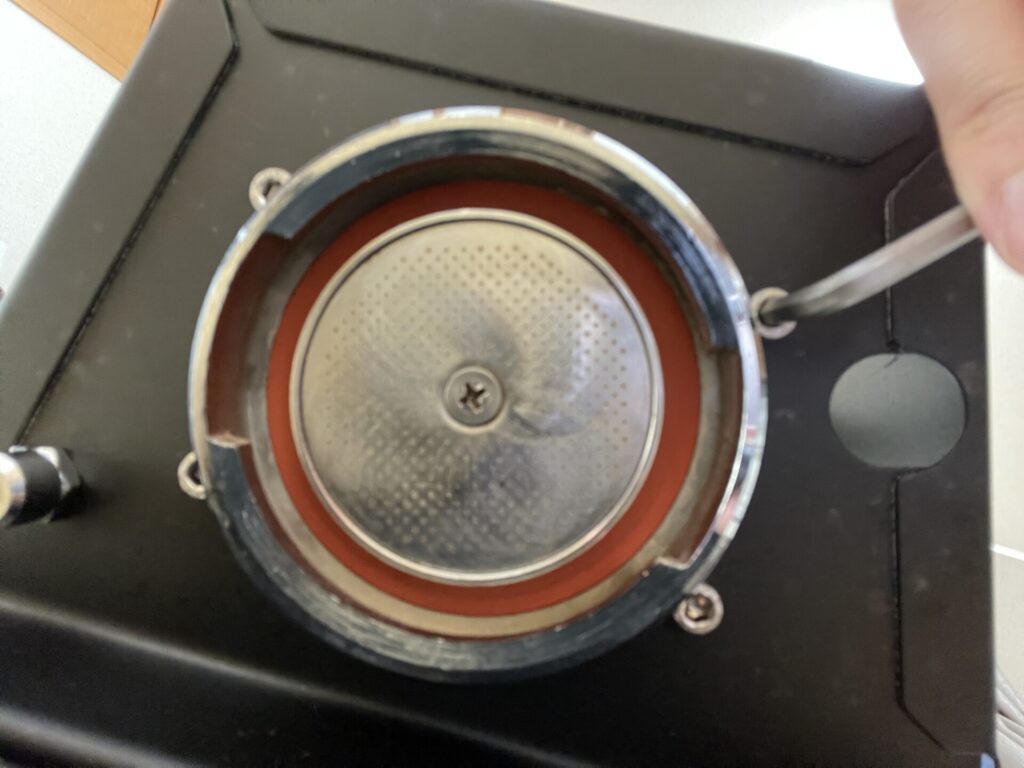
The bottom part of the boiler looks like this inside.
This part alone has some heft to it and it feels very well made.
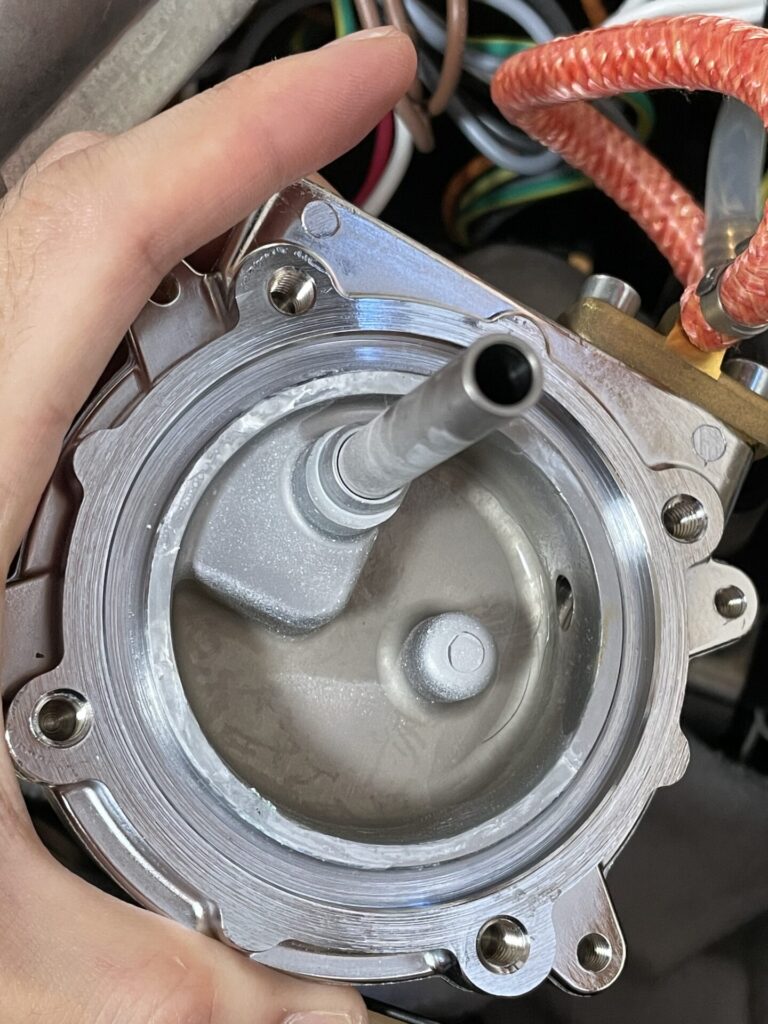
Do you see the pipe sticking up? This is the pipe that goes to the group head.
The orange pipe on the top brings in cold water into the boiler through the hole at the bottom (right side of the photo).
I’m guessing the pipe is raised so that the cold water that gets pumped in does not directly goto the group head.
The top part of the boiler looks like this.
The hole you see at the end of the boiler is the hole that leads to the steam wand. This is the one that we used to drain the boiler.
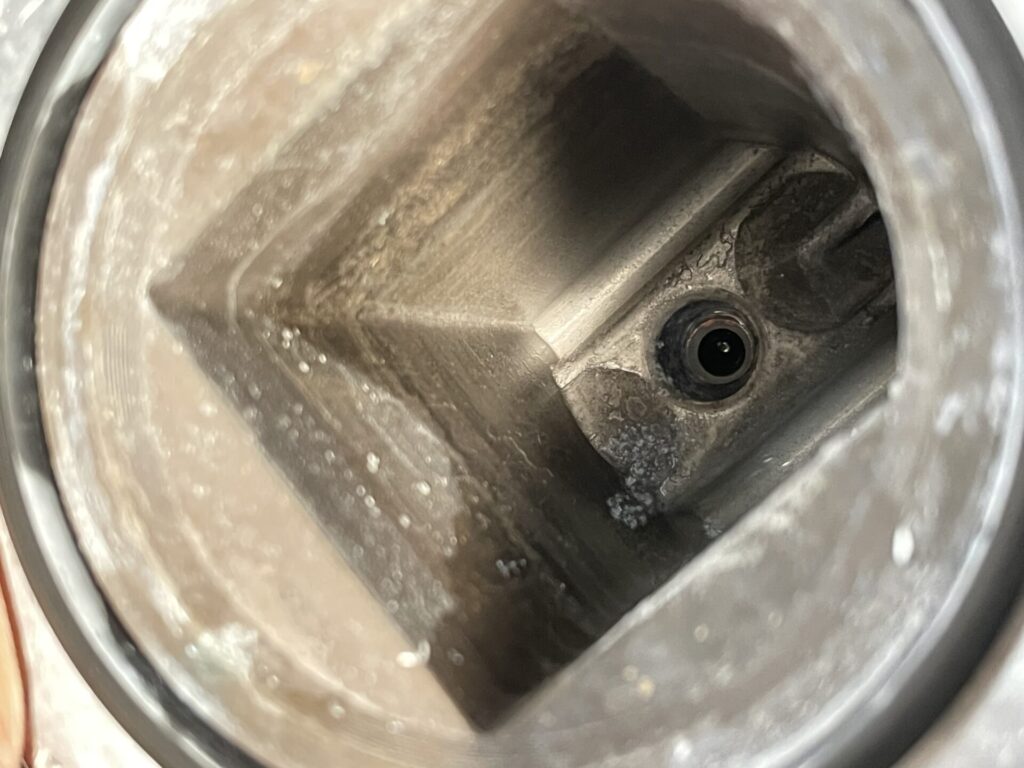
Looking inside the boiler, it really only has a surprisingly small space inside.
The boiler from the outside looks quite chunky, but it really made me realize how small the Gaggia Classic Pro boiler capacity is.
Also looking inside, you can seem some crystals forming on the walls. This is called scale, and is from the minerals dissolved in your water.
So as the result of my year long experiment on how much scale builds up with soft tap water in Japan, well quite a bit. I really need to do some descaling a bit more often.


コメント