
What’s the thing that you look for in a latte? For me, it’s the richness from the combination of coffee and milk.
One of the biggest reasons I bought an espresso machine at home is to make great lattes at home.
To be honest, I wanted any latte, I could just pour some milk in to a pour over. That’s good but for me it is a completely different drink from a proper latte made from espresso and steamed milk.
The difference is the richness. A pour over with milk can be come very watery. Compared to that, an espresso based latte is much stronger and keeps both the richness of the milk and the coffee.
So that got me thinking. A thicker stronger latte made from espresso is better.
What’s the next step? Well obviously I need stronger milk!
And I guess this is how someone came up with this method of Freeze Distilling Milk.
It’s quite a popular technique used in Barista Championships, and its a great way to step up your latte at home.
I was a bit skeptical going in. But I can tell you now, this is the real deal. It really does make a night and day difference.
I would say the difference is similar to going from a pour over to a proper espresso for your latte.
Eager to try? Lets get right in!
What is Freeze Distilled Milk?
Freeze Distilled Milk is a concentrated milk, made by partially melting a frozen block of milk.
Maybe you have frozen a bottle of sports drink so that it keeps cold for longer.
When you drink it when it’s still half frozen, it’s way sweeter than the original drink, right?
It’s basically the same idea with freeze distilled milk.
Water with some stuff dissolved in it has a higher melting point than just water.
So the water containing sugars and fat melt out quicker that the rest of the milk.
By gathering only the first part of the melting milk, you can get a much stronger concentrated milk.
How to make it
Put it simply, you just freeze some milk, melt it, and gather the first parts.
But let me share a bit more about how I do it.
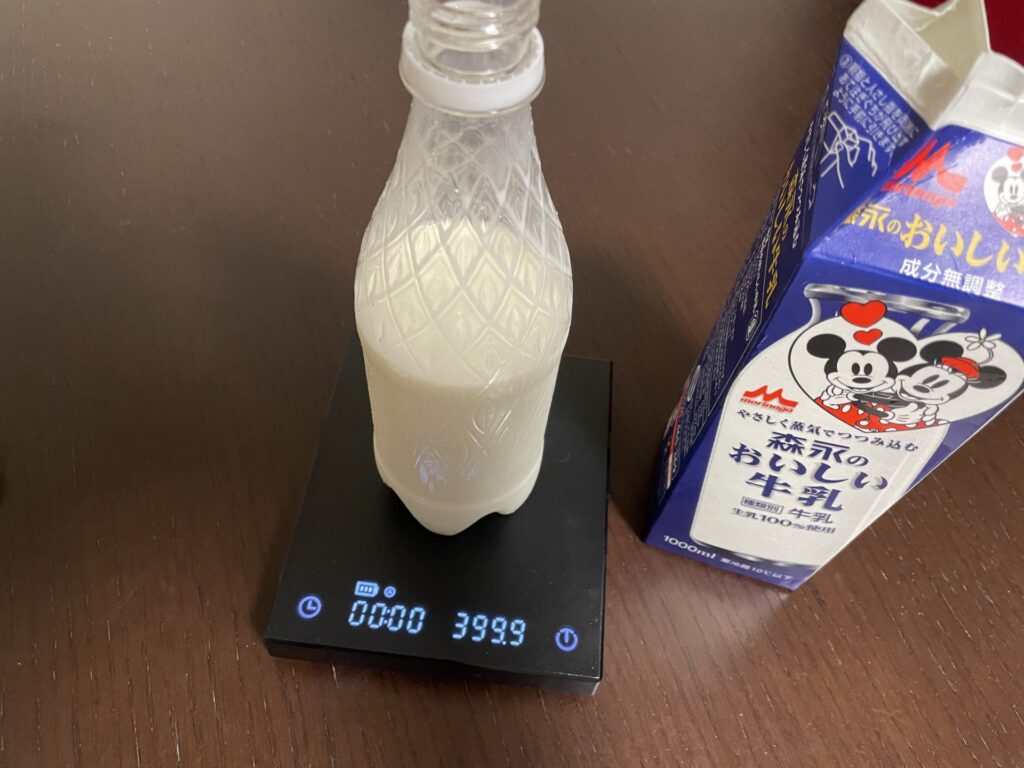
First we need some milk. Make sure you use full fat milk for this.
This time I used about 400g of milk.
Pour it in to a sealable and freezable container, like a plastic bottle.
Water expands when frozen, so I was careful to leave a bit of space in the bottle, and squeeze a bit of air out of the bottle.
(But looking back I didn’t need this much space.)
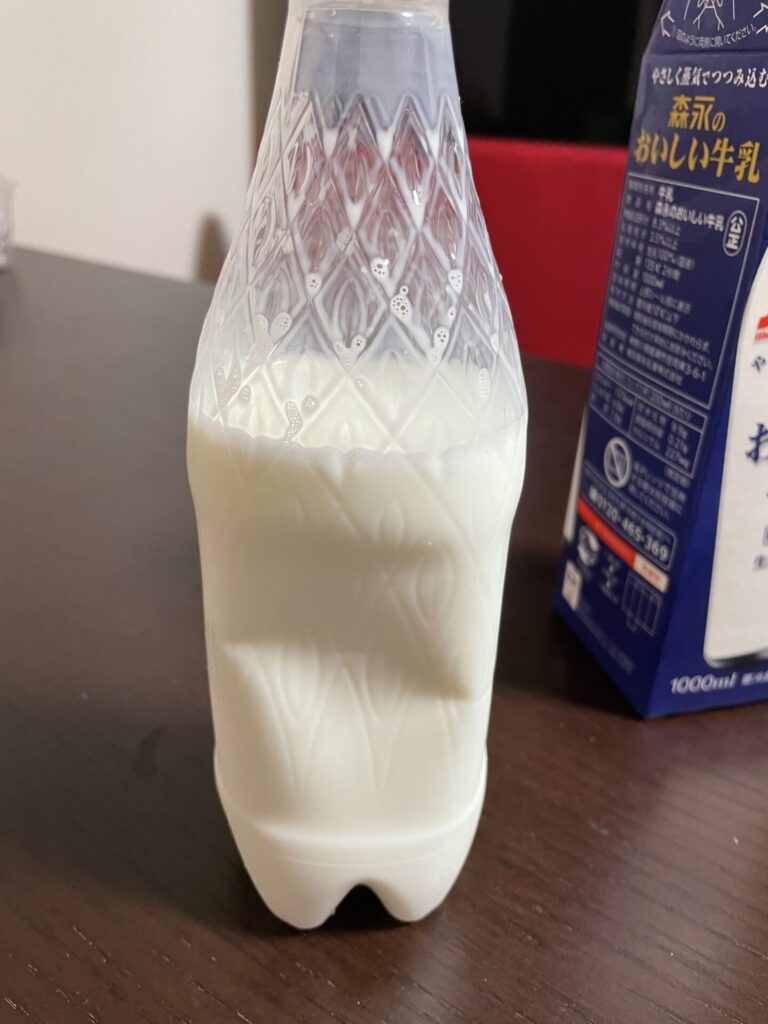
Then we need to freeze this bottle of milk. It froze overnight for me.
Strangely it turned slightly yellow….
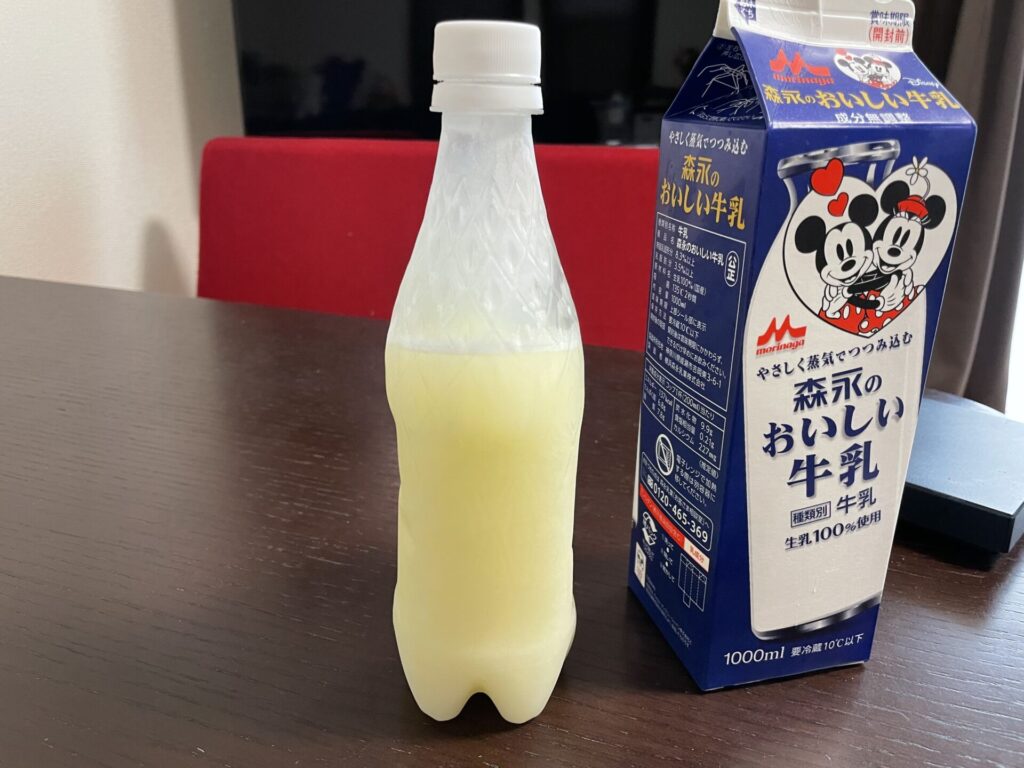
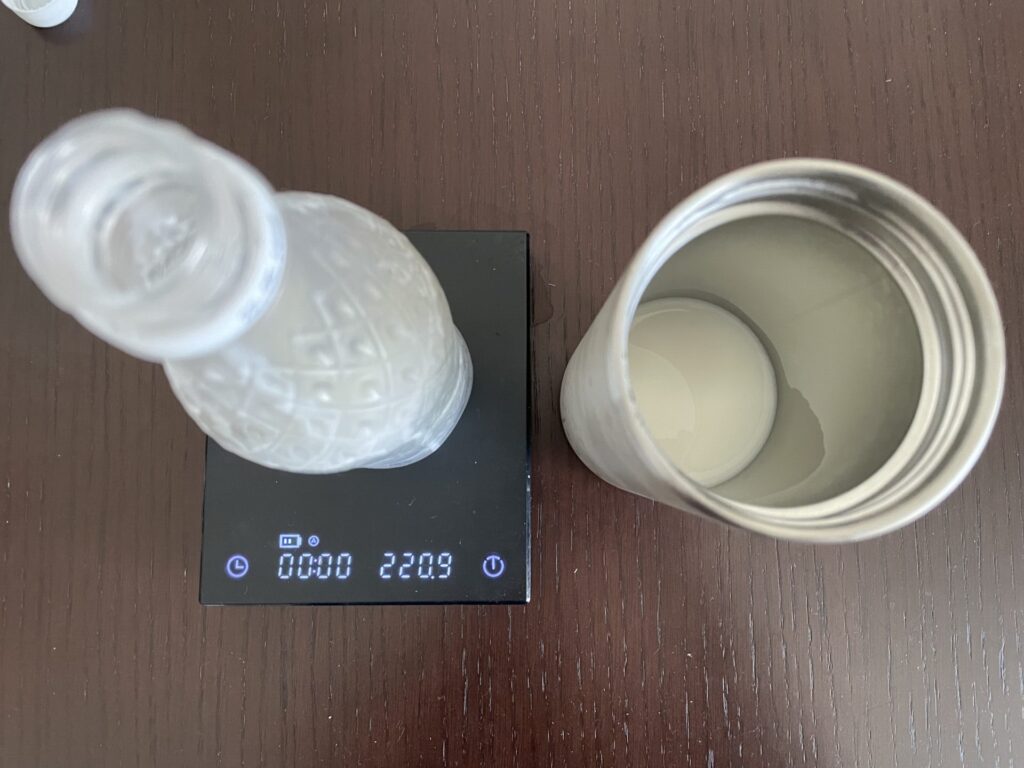
Once frozen, turn it over on top of some container.
I used my tumbler which was a perfect fit.
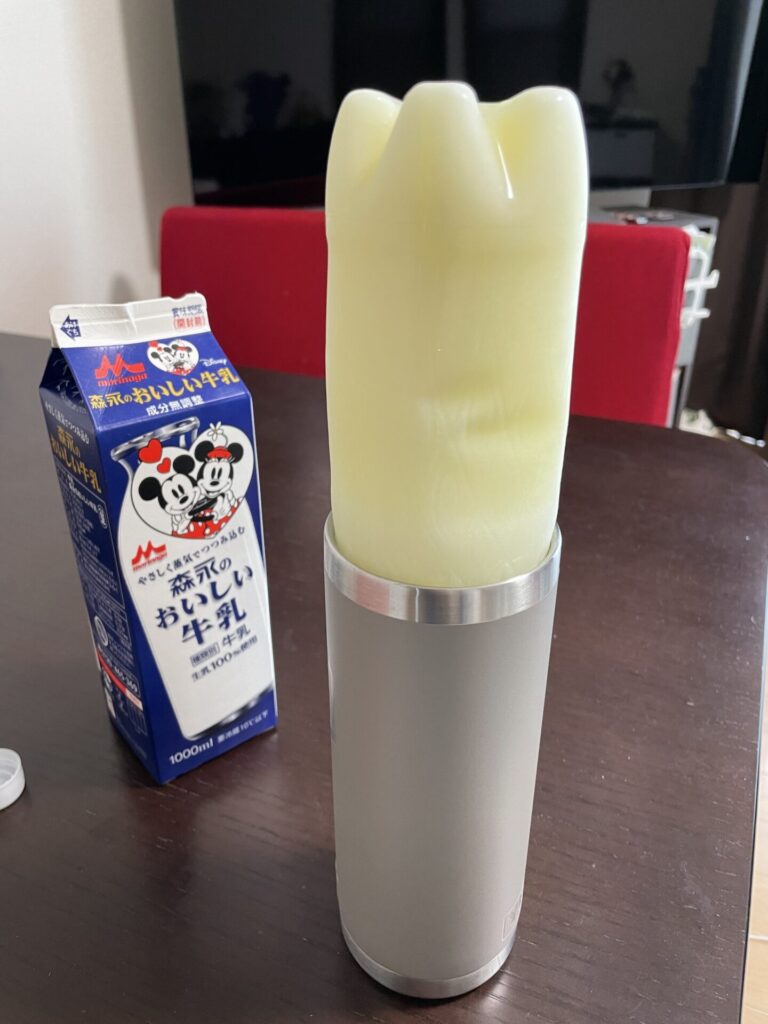
All that’s left is to keep this setup in the fridge and let it slowly melt.
The difficulty might be to find a set of containers that you can fit in your fridge. Make sure you plan ahead before actually freezing the milk.
Regularly check up on how much of the milk has melted.
For my setup,
- about 50g after 6 hours
- about 100g after 12 hours
- about 200g after 21 hours
So yes this will take a couple of days to prepare.
How much of the milk you want to melt is up to your liking.
Give the collected milk a little taste and spot it when you like.
For me, stopping at about half the weight gave me the best results.
The earlier the stronger, but smaller amount of milk you will end up with.
That’s it!
You technically could melt the milk in room temperature, but I would recommend against it, since the molten milk will quickly rise to room temp, and you really don’t want to keep milk at room temp for a long time.
Taste comparison : just the milk
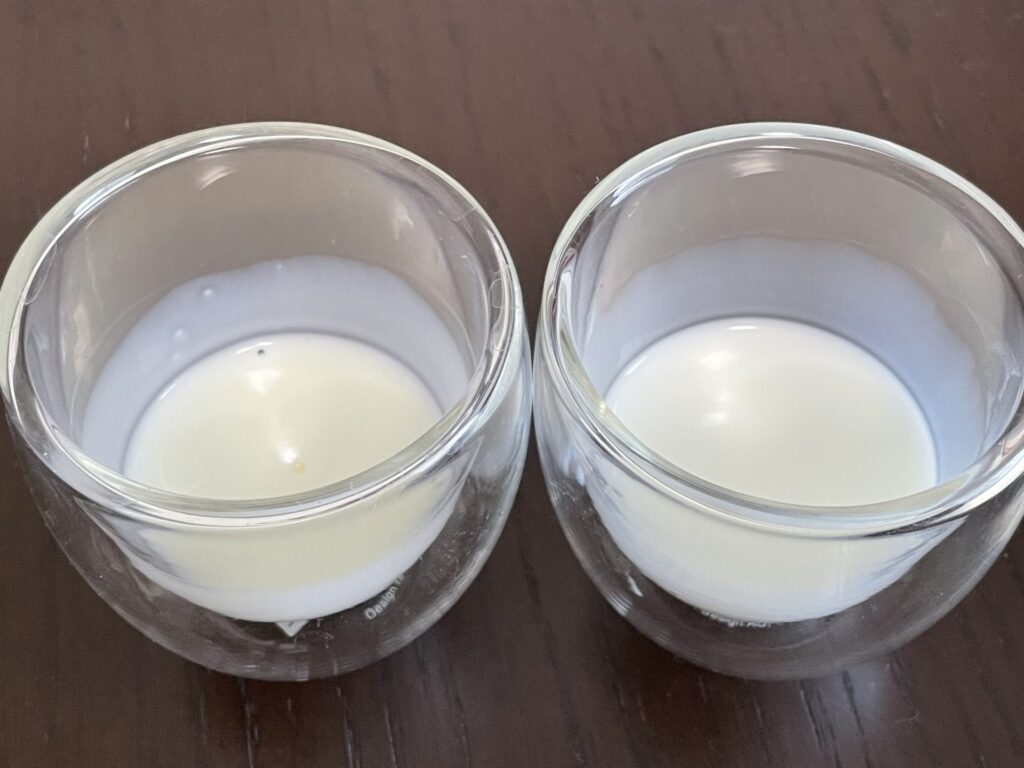
Here I have the freeze distilled milk (on the left) and normal milk (on the right)
The freeze distilled one does look ever so slightly yellower, but other than that, they looked and flowed very similarly.
But the taste, well they were completely different.
The freeze distilled one was much sweeter and richer, kind of like very expensive ice cream.
Taste comparison : as a latte
I pulled two shots of espresso (30g each) and poured a latte with 120g of milk.
You see the cup using the freeze distilled one on the left, and the one with the regular on the right.
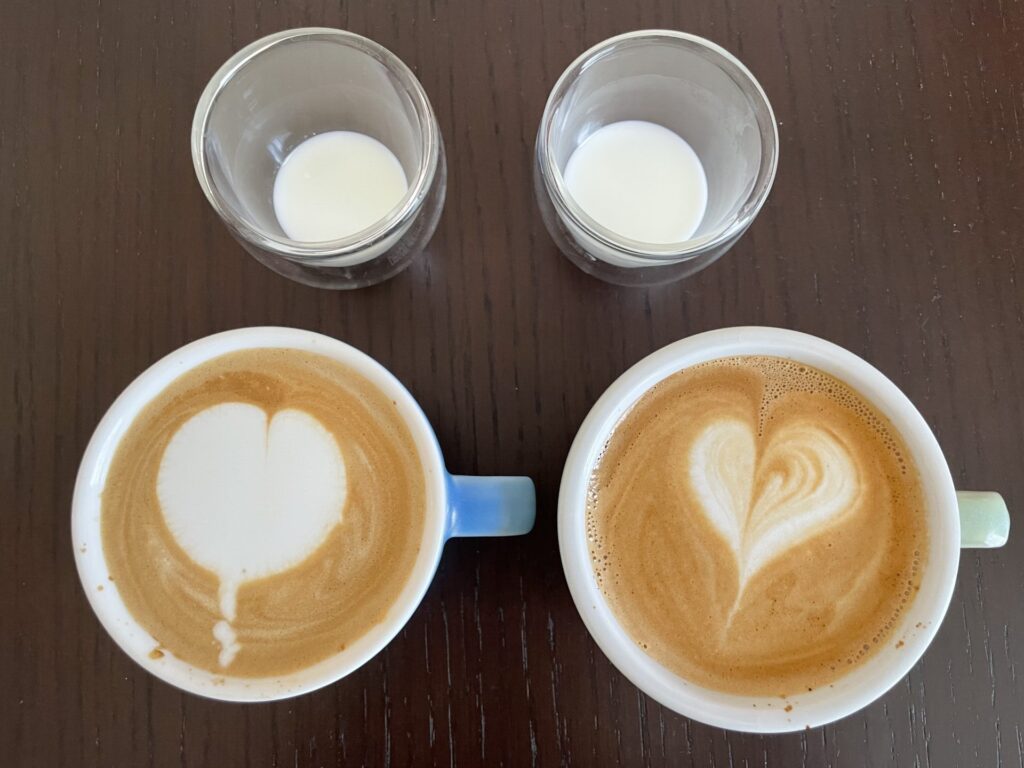
Other than my steaming skills, I did not see any visible difference to the cups.
But again the tastes were night and day.
The cup with the regular milk is good, but the freeze distilled one packs much more of a punch. It’s rich, dense, and sweet.
Going back to the regular cup, made it even feel a bit watery.
I would say this is cafe grade, maybe even better than some cafes.
Things to look out for
Freeze distilled milk will step up your latte, there’s no doubt there.
But then why don’t cafes all use it? Well there are a couple of obvious drawbacks.
The most important, probably is that it takes a lot of time to prepare.
It’s not difficult to do, but it add more tasks to an already busy barista.
Making just 200g of it took more than a day. The larger the volume, the more time it will take.
And another point is the waste factor.
The remaining milk ice is mostly water, but it is still thin milk.
It’s kind of difficult to find a way to effectively use this leftover.
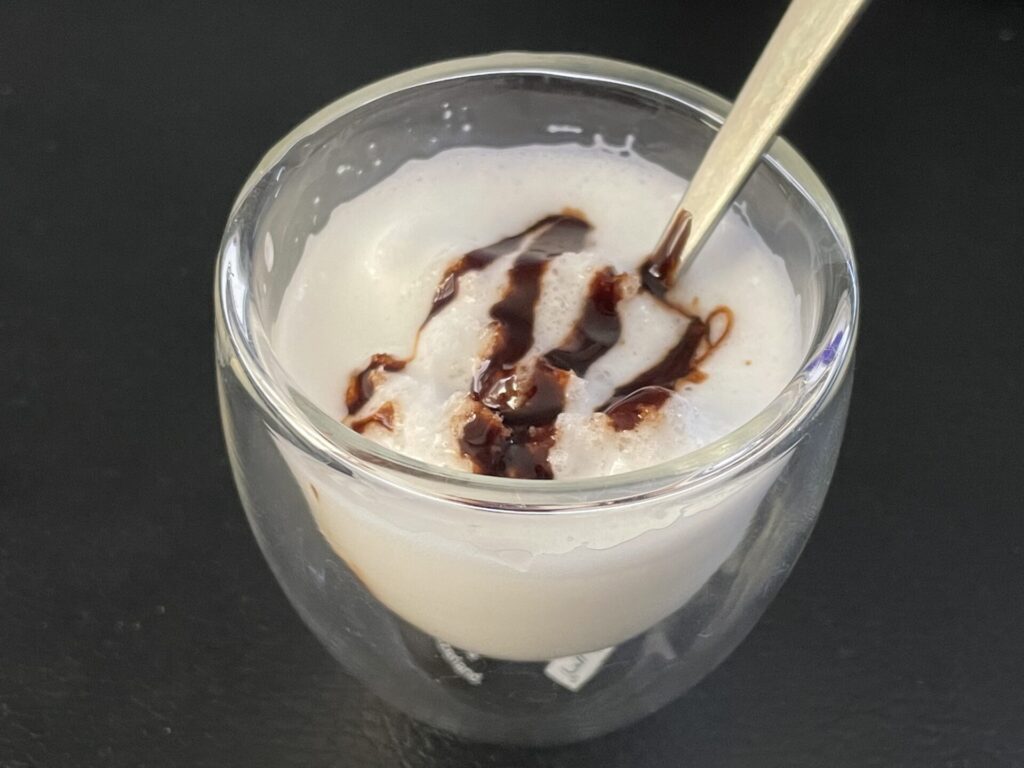
The remaining ice became flaky so I tried making it in to a sorbet.
Just shook it in the bottle for a while to break it down, and added a bit of chocolate syrup on to.
It’s wasn’t amazing, but getting a small desert from is always welcome.
Even though there are some downsides, I think it is a solid and easy way to upgrade your latte.
I strongly recommend giving it a try at least once.
コメント