
Hi everyone!
So I finally bought a Gaggia Classic Pro and have been trying it out for a while now. So today I will like to explain how I have been using the machine.
I am still a beginner at espresso brewing, so I will not be giving pro tips. However, being a beginner with the machine myself, I probably am experiencing you are. So I would like to share some details of how I use the machine from a beginner’s perspective.
If you have any tips, or spot somethings which I am doing wrong, I would greatly appreciate it if you let be know in the comments.
Let’s get straight in!
Switches, Lamps and Knob
I would like to quickly explain the main interface of the machine, the switches, lamps and the knob. They seemed simple enough at the start but there were some confusing combinations.
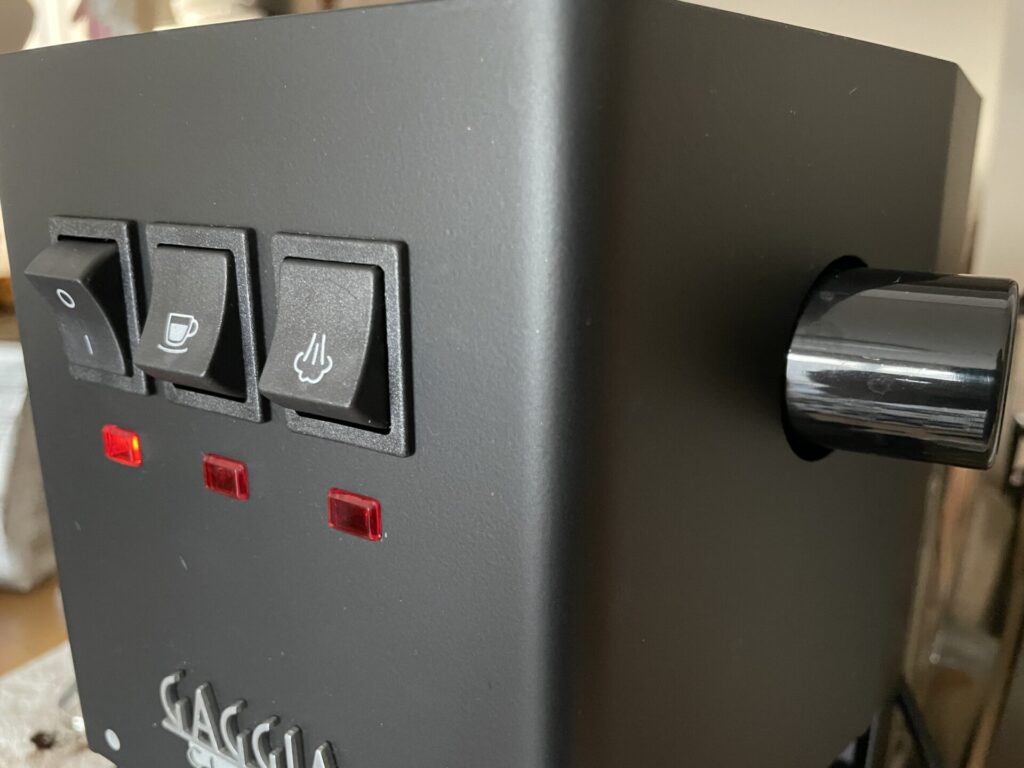
The Gaggia Classic Pro has 3 switches, and 3 lamps. Each switch and lamp are somewhat paired together and control or indicate related aspects.
As a note, all the switches are in their ON state when the lower portion is pushed in.
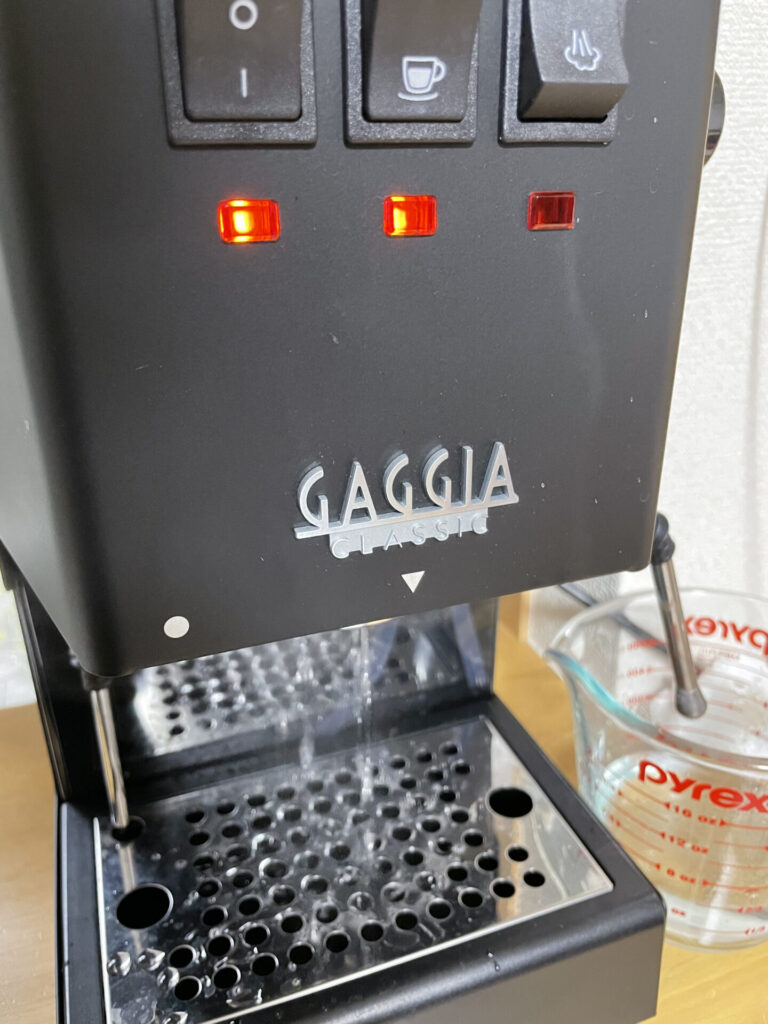
Power switch and lamp
The left switch and lamp are for power. This could not be more simple. Switch it ON to turn the machine ON, and the lamp with light up while it is ON.
The Gaggia Classic Pro is a relatively small machine with a small boiler. So it may not matter too much, but it is preferable to turn the machine ON a while (maybe like 30min) before you actually want to brew. By waiting, the heat from the boiler will heat up the group head, portafilter, the cup tray, which will stabilize the brew temperature while you are brewing.
Brew Switch and Steam Switch
The middle button with the cup icon is the brew switch. By turning this switch ON, the pump activates and hot water comes out of the group head.
The right button with steam icon is the steam switch. Turning this switch ON, raises the boiler temperature to allow for steam. The switch being off means that the boiler temperature is set to brewing temperatures.
When turning ON the steam switch does not actually activate the steam, unlike for the brew switch. This felt a little bit awkward at first but you probably will get used to it.
Steam Knob
The knob on the right side of the machine is the steam knob. Rotating it counter clock-wise will allow steam to come out of the steam wand.
With the steam button OFF, opening the knob will do nothing (well, some residue water may come out).
By turning ON both the brew and steam switches, and opening the steam knob, you can get hot water from the steam wand. (This I think is a very unintuitive way of doing things, but at least there is a way to do it)
Brew lamp and Steam lamp = boiler temperature indicators
The remaining 2 lamps indicate the boiler temperature. The middle is the brew lamp and the right is the steam lamp. When the brew lamp is ON, this means that the boiler is HIGHER than the brew temperature. Likewise, the steam lamp turns ON when the boiler reaches a temperature higher than the steaming temperature.
For the basic use, you should turn the brew switch ON when the brew lamp is ON. Or similarly, open the steam knob when the steam lamp turns ON.
However, to get the best results, you should actually do the opposite. This is a bit confusing but let me explain.
First you need to understand that the heating element for the boiler is ON when the lamp is OFF.
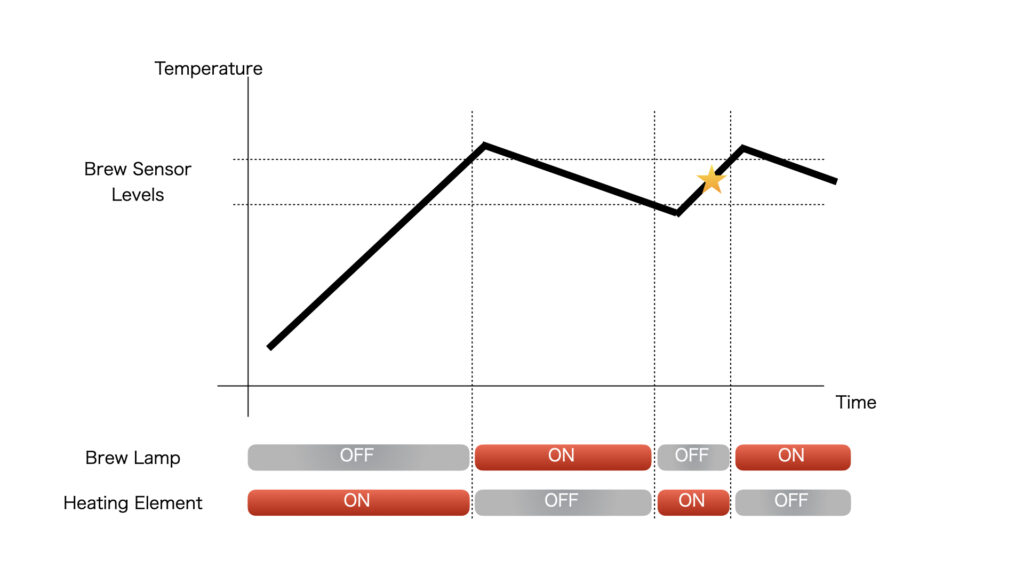
The boiler has temperature sensors check it ifs hot enough AND to keep it from over heating. It essentially has 2 levels, a level to turn OFF and a different level to turn it back ON (in technical terms this is call a hysteresis). As shown in the graph, the heating element is turned ON while the lamp is OFF, and vise-versa. This keeps the boiler temperature with in the target temperature range.
The temperature levels are different but the same idea applies to the steam lamp as well.
Now when you turn ON the brew switch, the pump pushes cold water from the reservoir into the boiler to push the hot water into the group head. This will decrease the boiler temperature. If you hit the brew switch when the brew lamp is ON ( = heating element is OFF), then this will rapidly drop the temperature.
Oppositely if you hit the switch when the brew lamp is OFF ( = heating element is ON), then you can maintain the boiler temperature a little bit better.
It goes without saying but you should not be brewing before the lamp even turns ON once after powering ON the machine (as shown on the first rising line of the graph). You should aim for the point indicate with the star, the rising portion of the cycle.
Sorry that was quite a long tangent, but this sort of thing is referred to as temperature surfing, its a technique to get consistent temperatures for your brews with a machines like the Gaggia Classic Pro, which do not have the most accurate temperature controls.
Setup
Ok, let’s get into actually setting up the machine.
Wash up
You should remove the all the parts you can from the machine and give them a good wash. The portafilter, basket, drip tray, reservoir, drain pipe (the pipe on the left side of the machine). Make sure you don’t forget to put back the drain pipe.
Other parts are difficult to remove so maybe wipe it down with a clean wet paper towel.
Fill up the reservoir to the max fill line. You can remove the tank from the front to fill it directly, or pour water in from the top. (I think its easier to fill from the top)
I use normal tap water. The tap water in Japan is soft, so scaling should not be too much of an issue, but if you live in an area with hard water, you may want to invest in some water softening filters. (I will check the scaling after a while, and see if scaling actually isn’t an issue)
Do not use distilled water for your machine. This will not cause scale, but it will actually dissolve the metal from the boiler and damage it.
Priming
The first step in using your machine is to prime the boiler, which just means to fill it up with water. This is important because heating the boiler without any water will damage it.
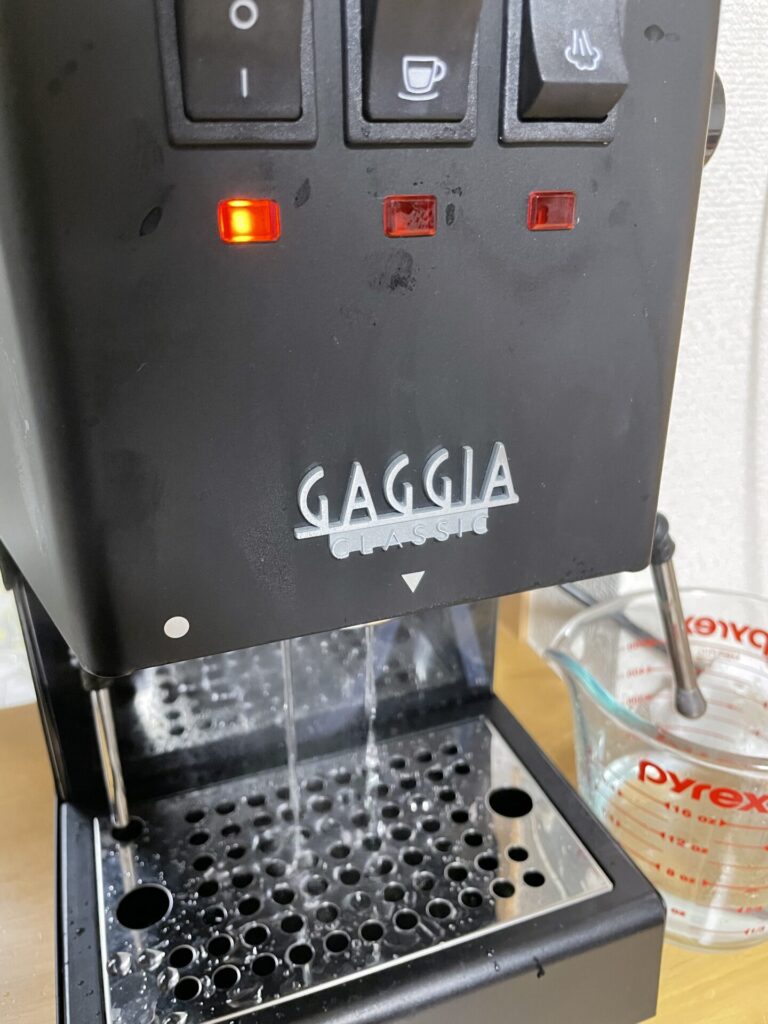
To prime the boiler, put some container under the steam wand, open the steam knob. Then turn the machine ON and the brew switch ON.
You should hear the pump turn ON, then water should start coming out of the group head. If you wait a little longer, the boiler will fill up and water should start coming out of the steam wand as well. Once a steady steam comes out of the wand, the boiler is primed.
Brewing Espresso
Finally we are ready to brew some espresso.
Preheat
As I mentioned earlier, you may want to turn the machine ON and let it preheat for a while. Make sure to keep the portafilter attached to heat that up as well.
Prepare your grounds
Grind up some beans. a typical dose is 7g for a single basket, 14g for a double. But this is not a fixed thing, you need to adjust it depending on your beans.
You will need to grind very fine for normal baskets. If you have preground coffee, use the pressurized baskets.
Puck Prep
Puck prep is the act of putting your grounds into the basket, leveling it and tamping it.
There’s a whole lot of different things people do here, but I will keep it very basic this time.
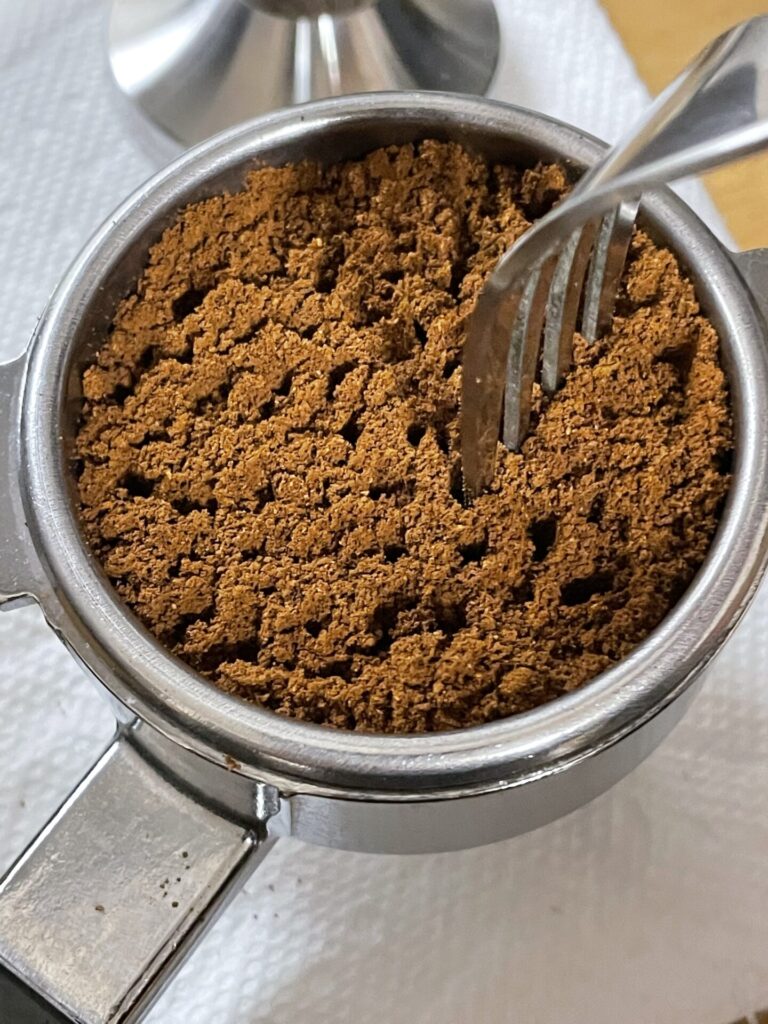
Transfer the grounds into the basket.
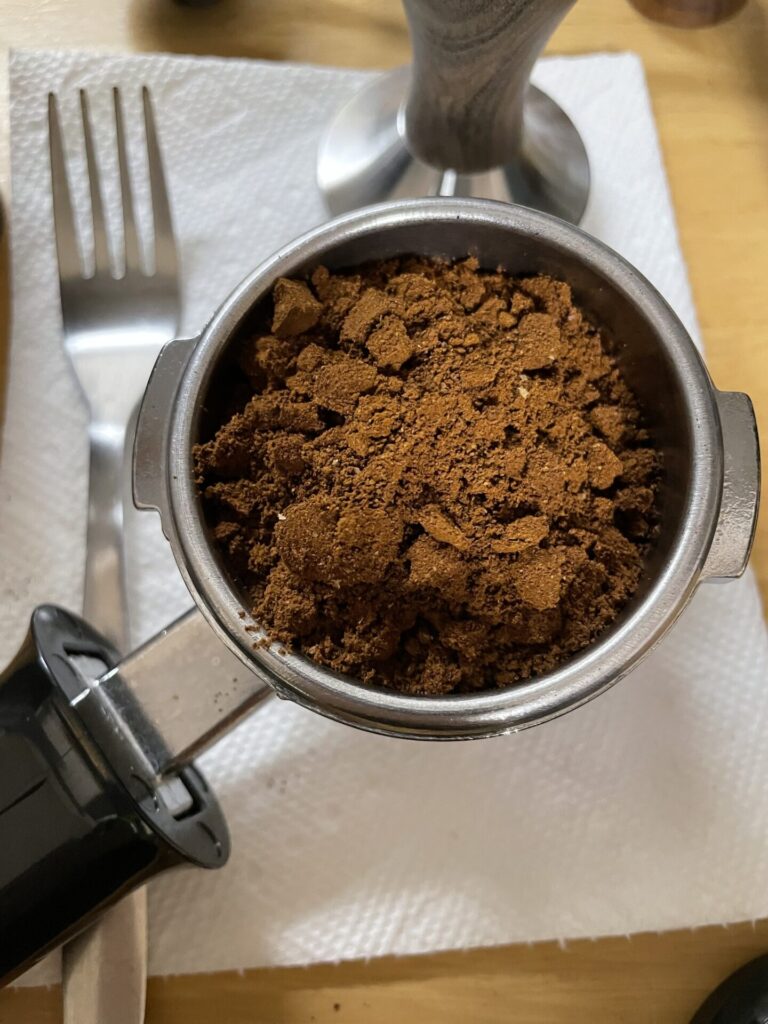
You will probably have some clumps of grounds, so it may be good to break up the grounds with a fork or something. (There are specific tools to do this, but a fork will do for starters.)
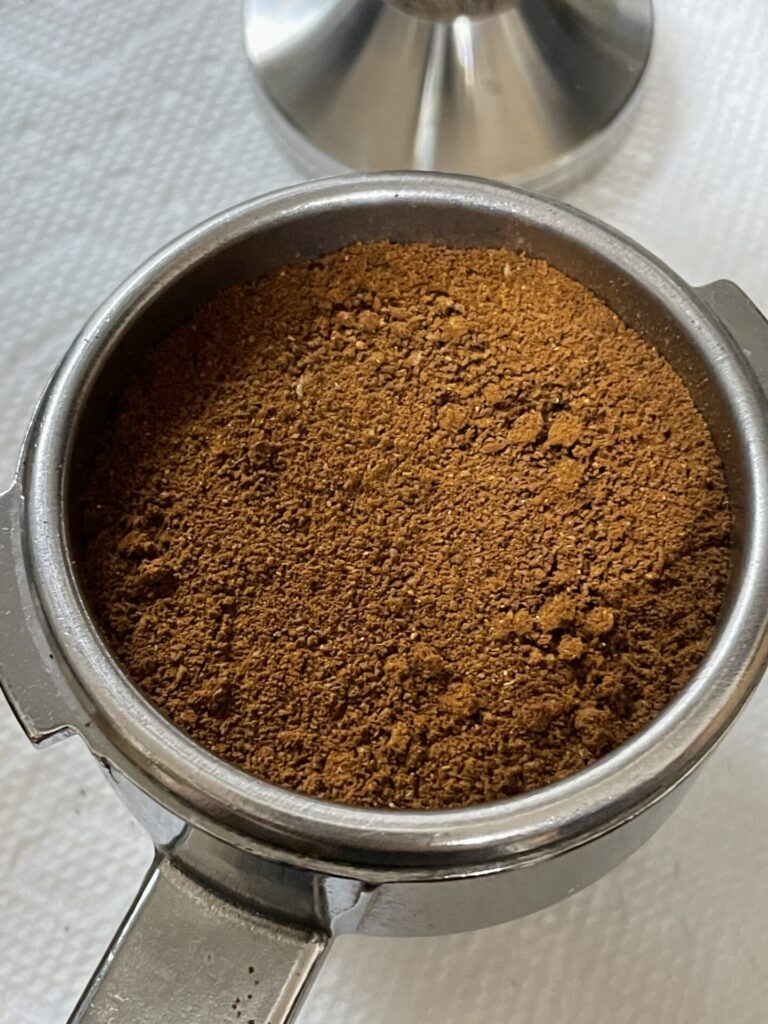
Once you leveled the grounds, gently tap the portafiter on the counter to sort of settle the grounds. You could also tap the side with your hand.
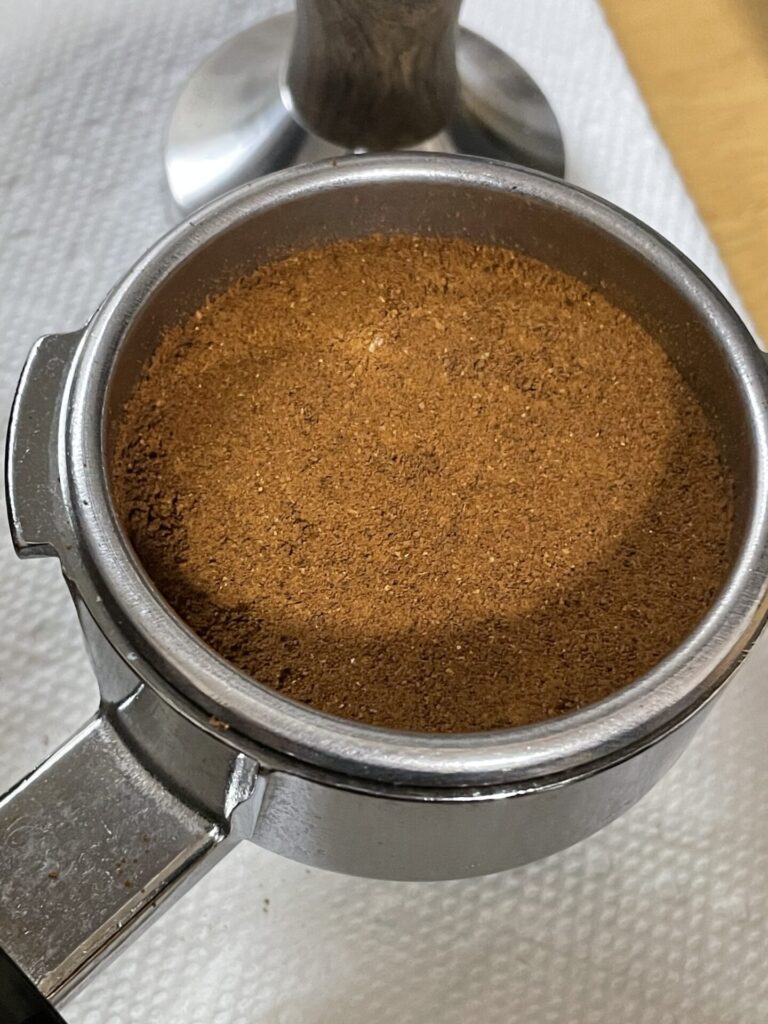
Get your tamper and give it a level tamp. You don’t need too much force here. The key point is to have the tamp flat, and to apply the same pressure every time for consistent results.

We are done with the puck prep!
Extraction
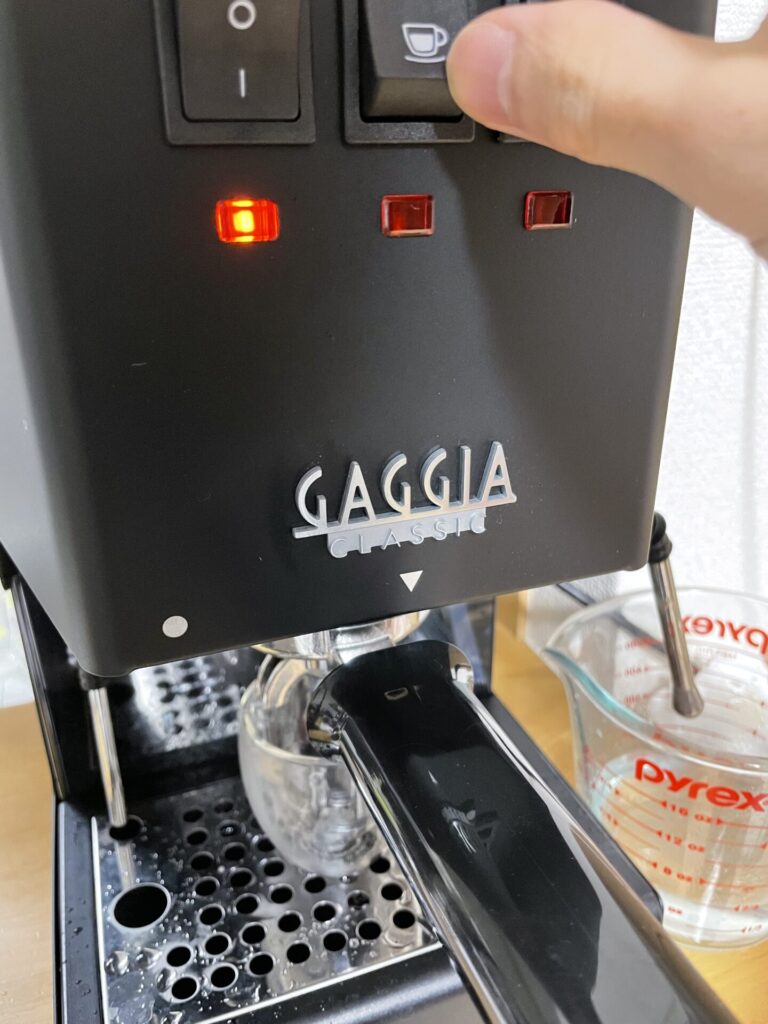
Once the boiler is nicely preheated and the brew lamp turns ON, purge some water by hitting the brew button.
This will remove some over heated water from the group head.
Run the water until the brew lamp turns OFF, then turn the brew switch OFF.
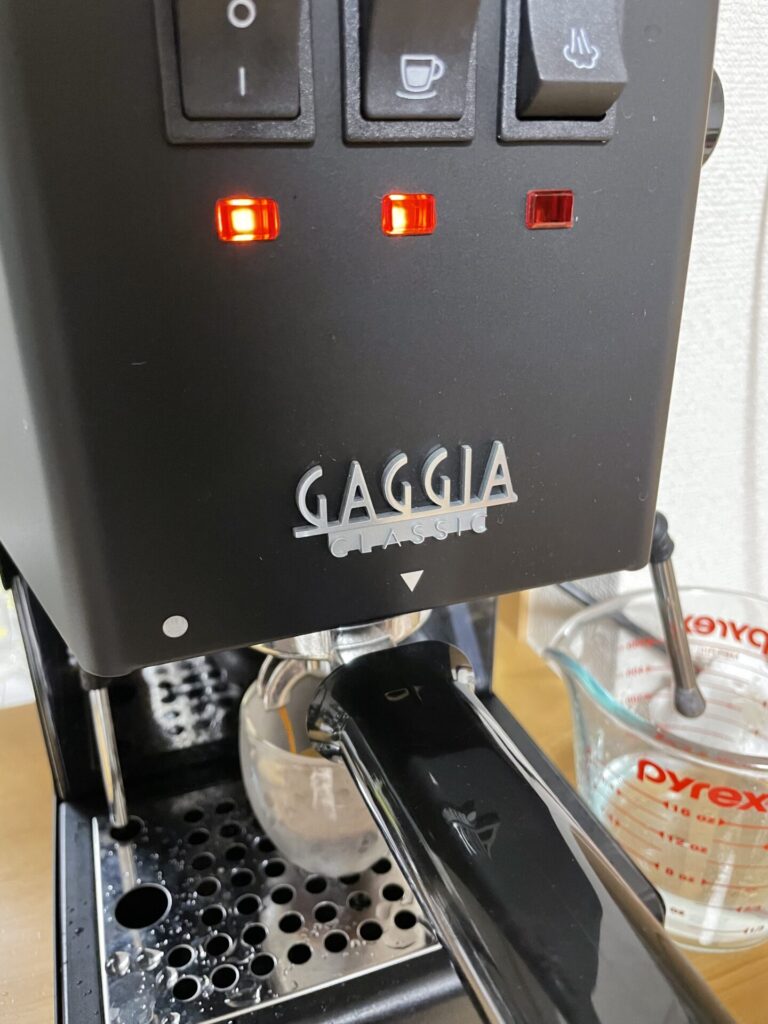
Lock in the portafilter and place your cup, wait about 10 sec (to let the temperature rise a little bit), and turn the brew switch ON. Ideally, the brew lamp should be still OFF (heating element is ON).
Wait for the extraction to complete.
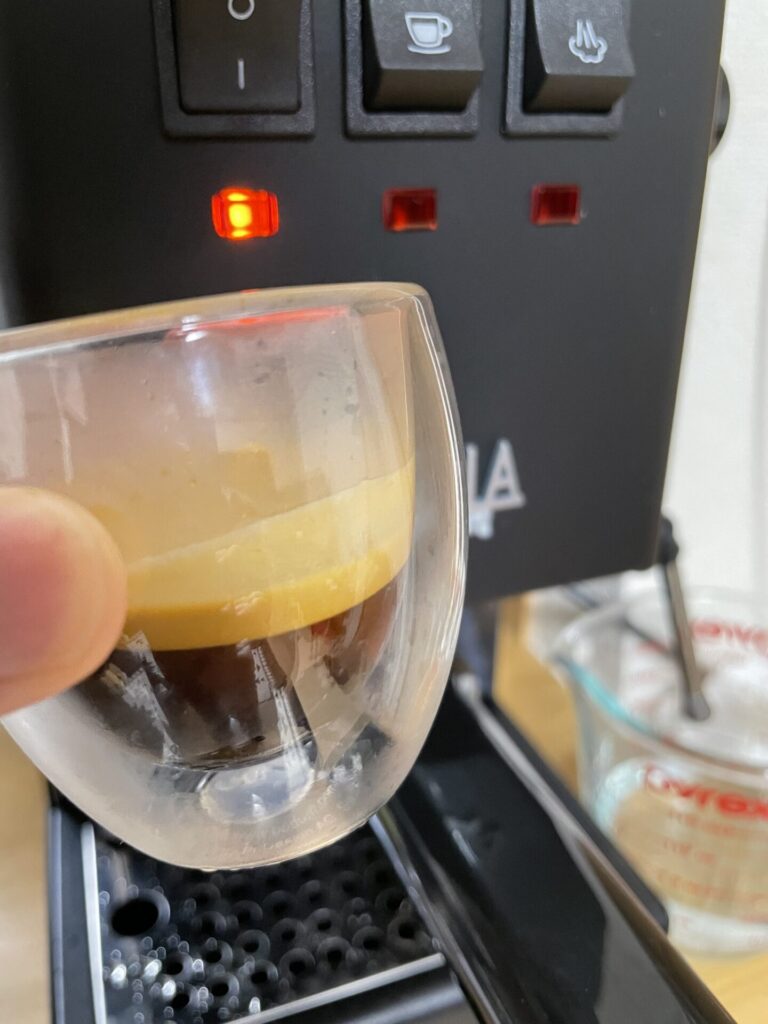
A good reference point would be a 2:1 ratio, which means if you had 14g of coffee beans, your aiming for around 28g of espresso out. Of course this needs to be tweaked.
I could not get my scale in under the cup, but if you can that would be good.
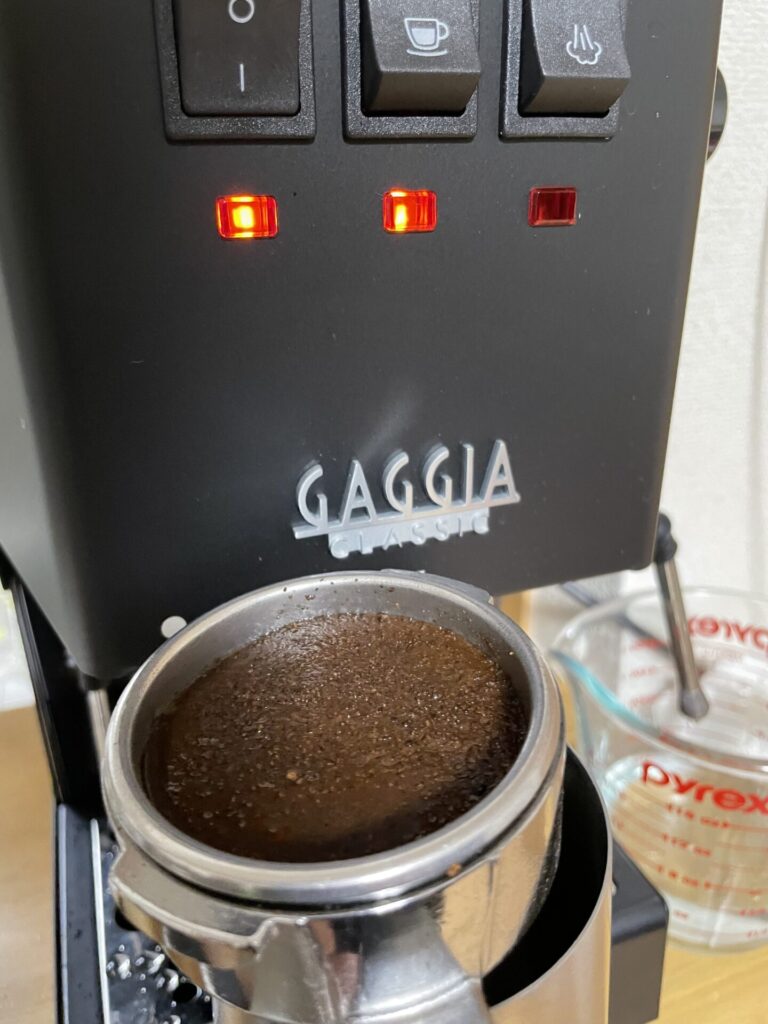
Here is our espresso!
Clean up
After extracting, remove the portafilter. Like the Gaggia Classic Pro, proper espresso machines should have a solenoid valve to relieve the pressure from the basket after an extraction. The puck should be relatively dry (depends on your basket size and dose).
Knock out the coffee puck and rinse the basket.
There is usually some coffee grounds stuck on to the group head, so flush them off by running some water out of the group head.
Occasionally, I had the entire puck get stuck on the group head. So when I remove the portafilter, it was empty.
Steaming milk
Turn the steam button ON and wait for the temperature to rise.
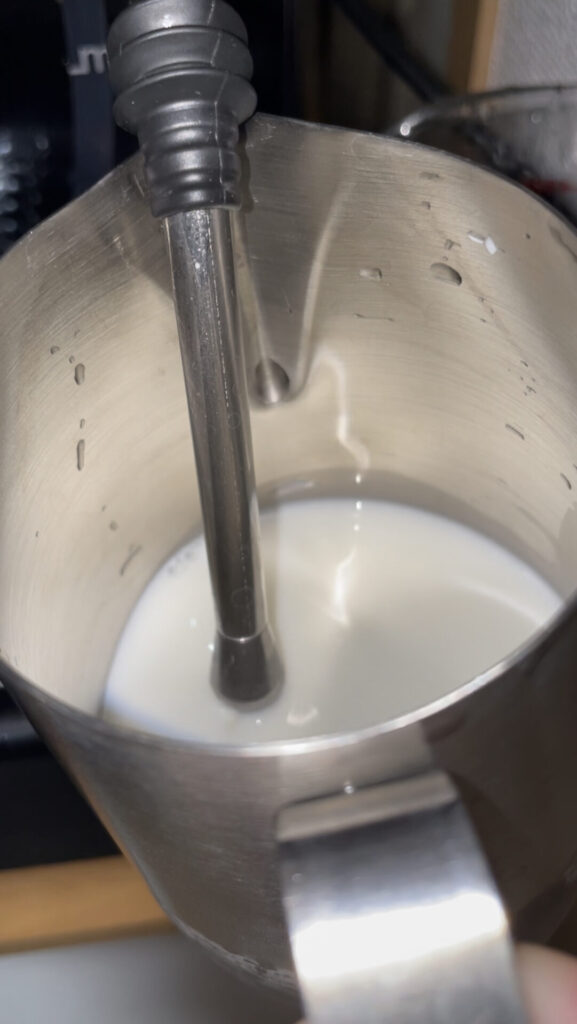
Prepare some milk in a jug. Make sure to use cold milk.
Once the lamp turns ON you are ready to steam.
Place your jug so that the tip of the the steam wand is submerged in the milk. Then open the steam knob.
A key thing is to turn the knob several times so that it is fully open.
Make sure to keep the tip of the wand under the surface of the milk at all times. Otherwise bad things will happen.. (I had it happen once, it was a mess.)
I will explain milk steaming techniques in a different post once I know how to properly do it.
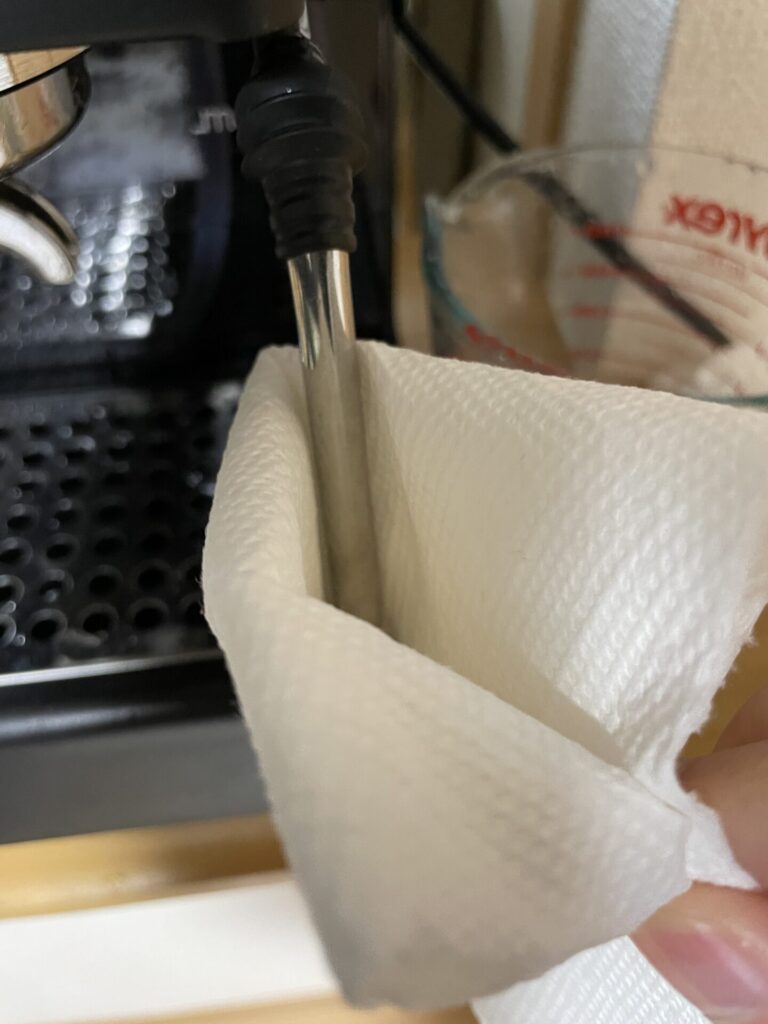
Once you are done steaming, wipe down the wand and purge it. Place a towel around the tip and open the knob. Please be careful not to burn yourself with the steam. The point of purging is to remove any milk that may have entered to wand.
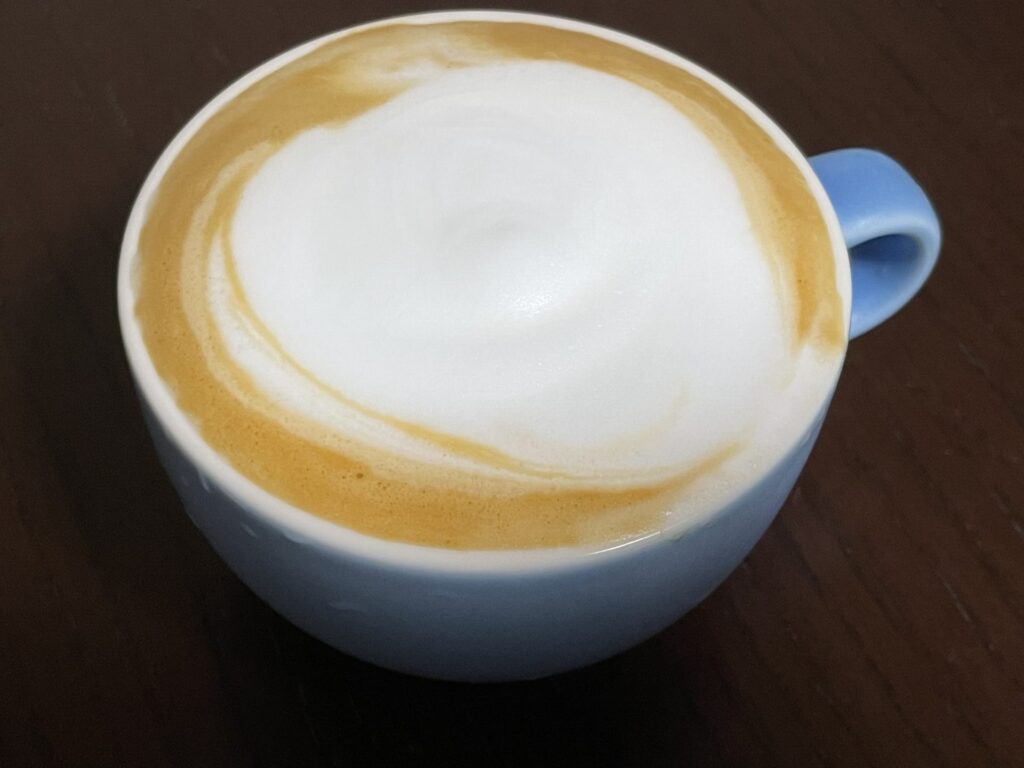
Pour your milk into the espresso and we are done!
So that wraps up my guide to using the Gaggia Classic Pro.
It is quite complicated in the beginning but you will soon get used to it. It is so much fun to practice and master the skill.

コメント