
Hi everyone!
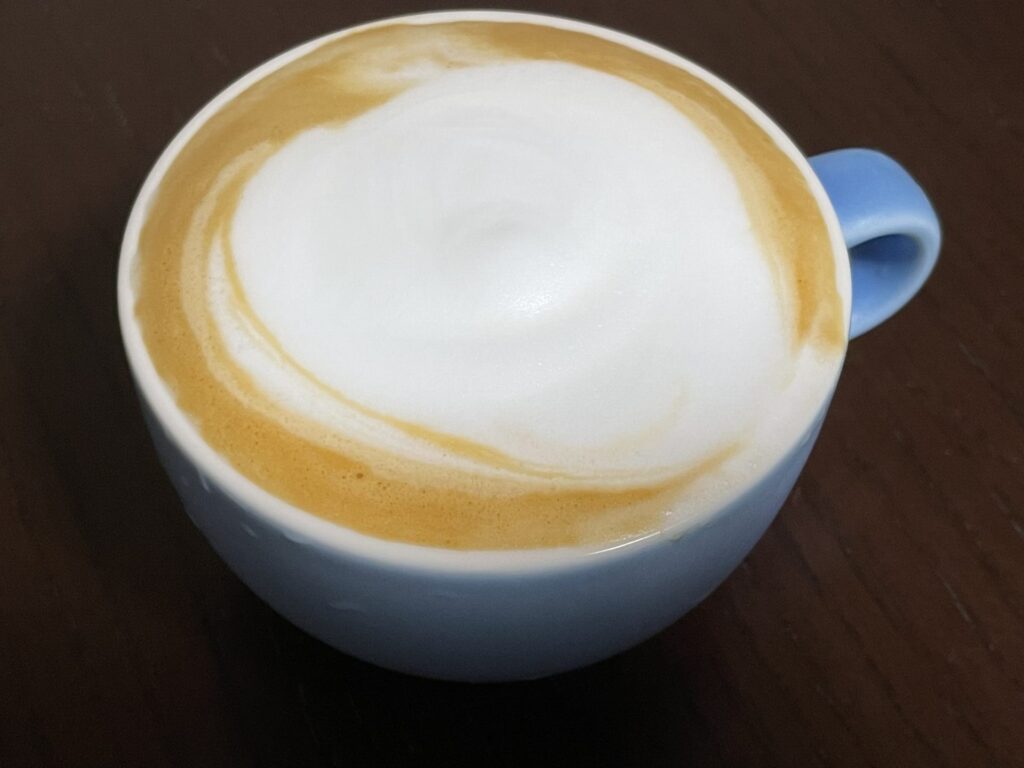
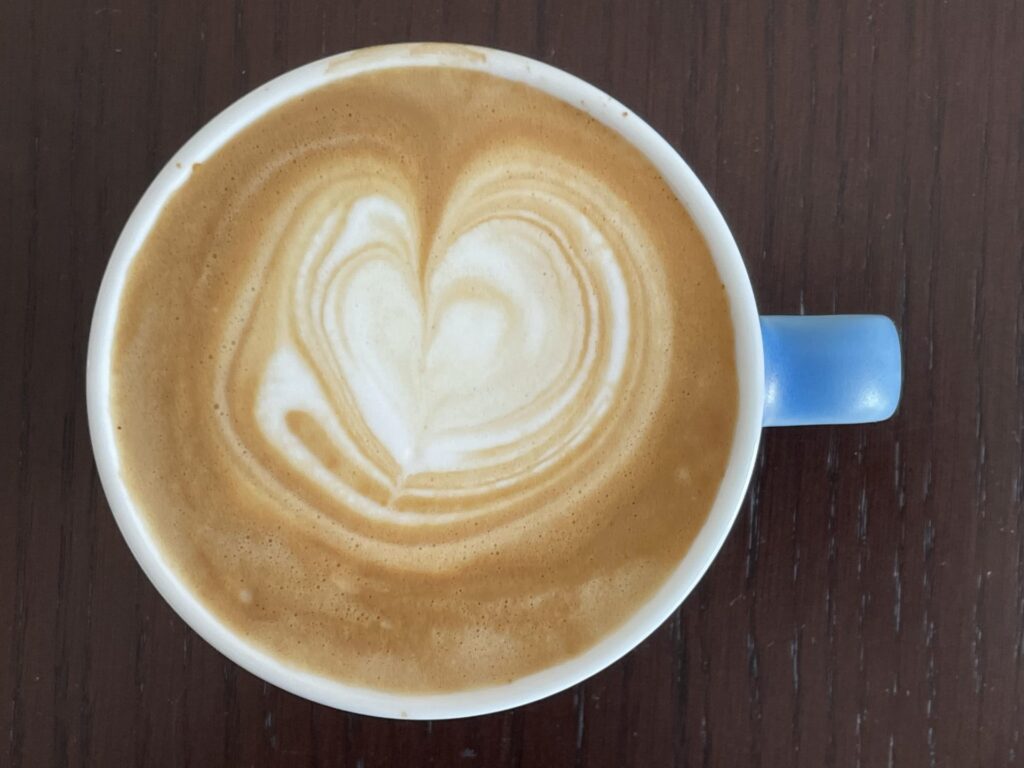
I’m sure everyone knows about latte art. A skilled barista can draw all sorts of neat patterns by pouring foamed milk in to espresso in a precise controlled way. This is a free image of what it should look like.

Now that I have my own espresso machine, naturally I have to give this a try! So I have been practicing almost everyday.
I am at no skill level to teach anyone the craft, but I think many people may be interested in the process of how a complete beginner leans to do it.
I’ve decided to take a picture of every latte I pour from my very first try. I will be sharing my progress in this series of posts.
Without further to do, this will be part 1!
My first goal is to get the basic heart down consistently.
Trial 1
My first ever try! Wow thats horrible. haha.
I honestly had no clue what I was doing this time. Pulled an espresso, and tried steaming some milk. I didn’t expect to get any art at this point.
The milk texture is really not good enough for any sort of art. There are so many large bubbles.
Trial 2
My focus this time was to get rid of the big bubbles, and that seem to go relatively well.
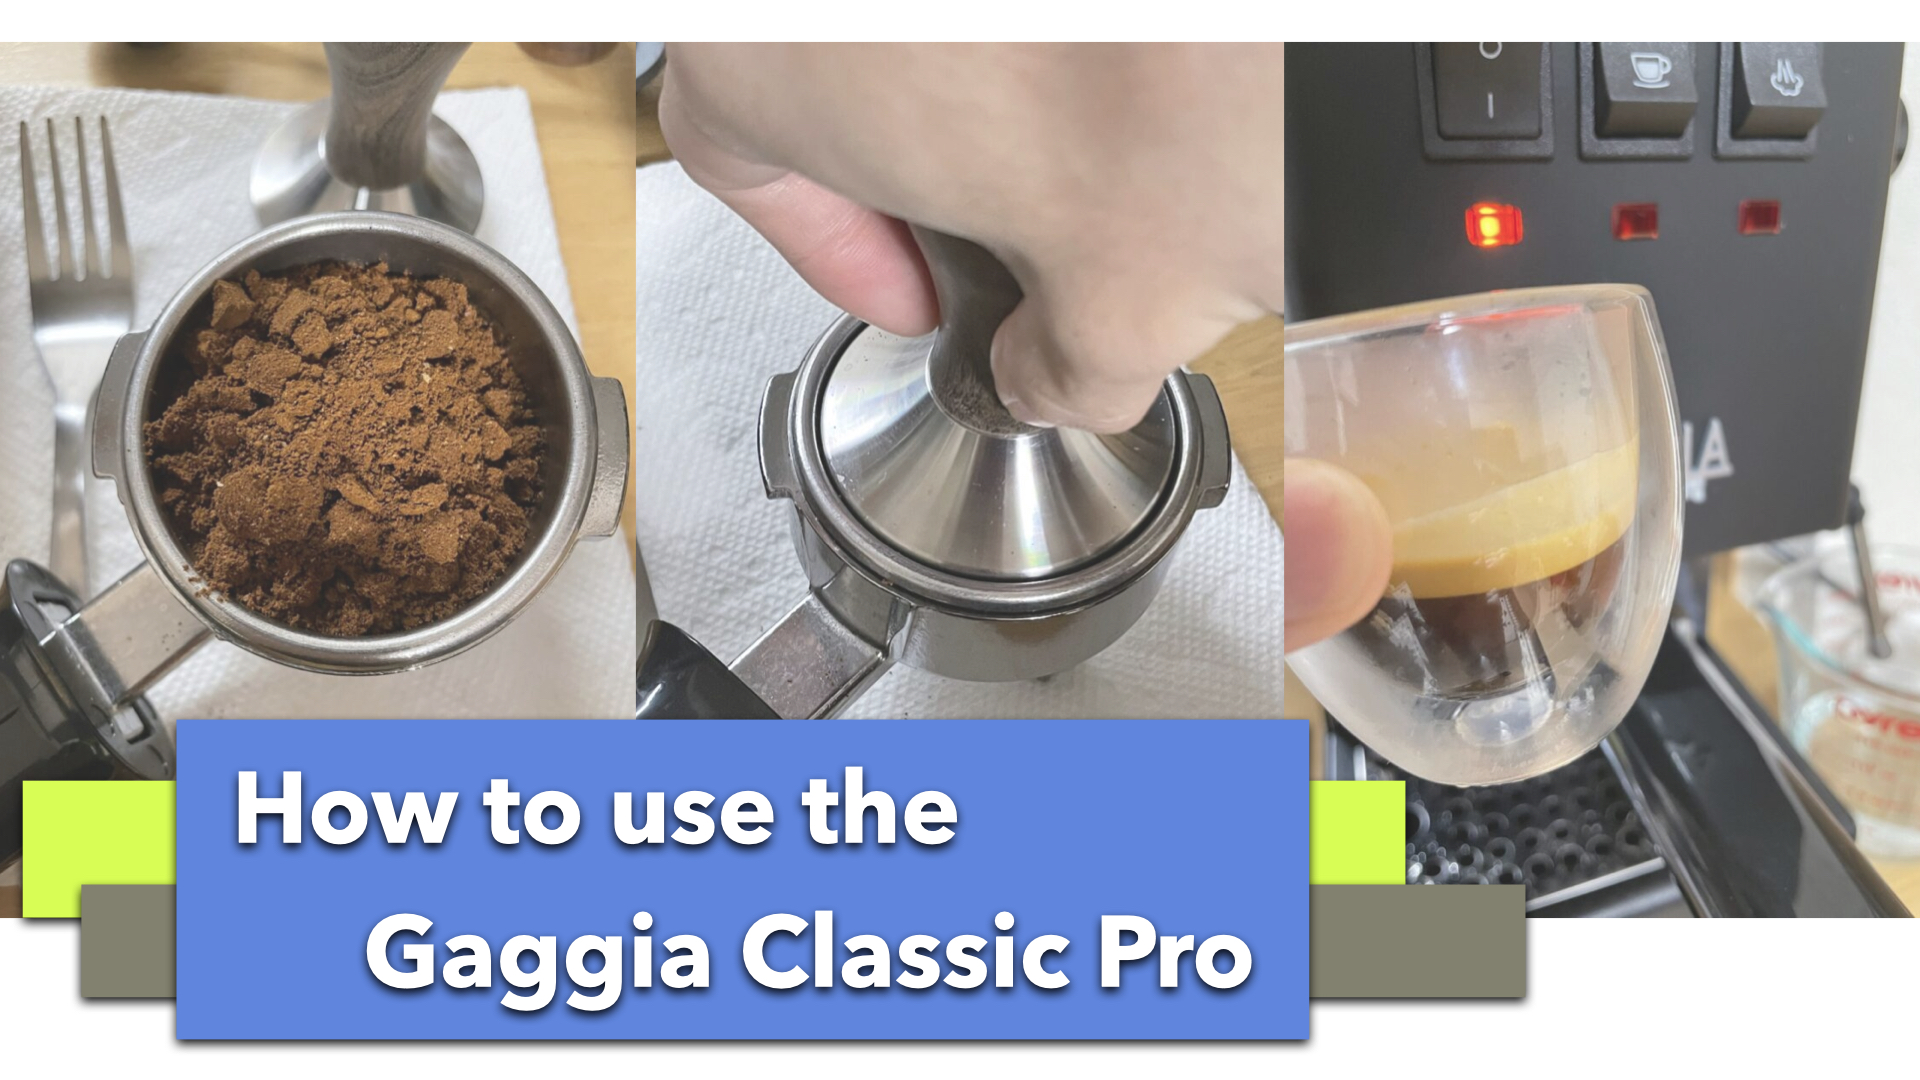
The key trick was to fully open the steam valve. This is about 5 to 6 full turns on the Gaggia Classic Pro. The mistake on my first try was that I only turned the knob about 1 turn. Don’t play it safe, you need to go all the way.
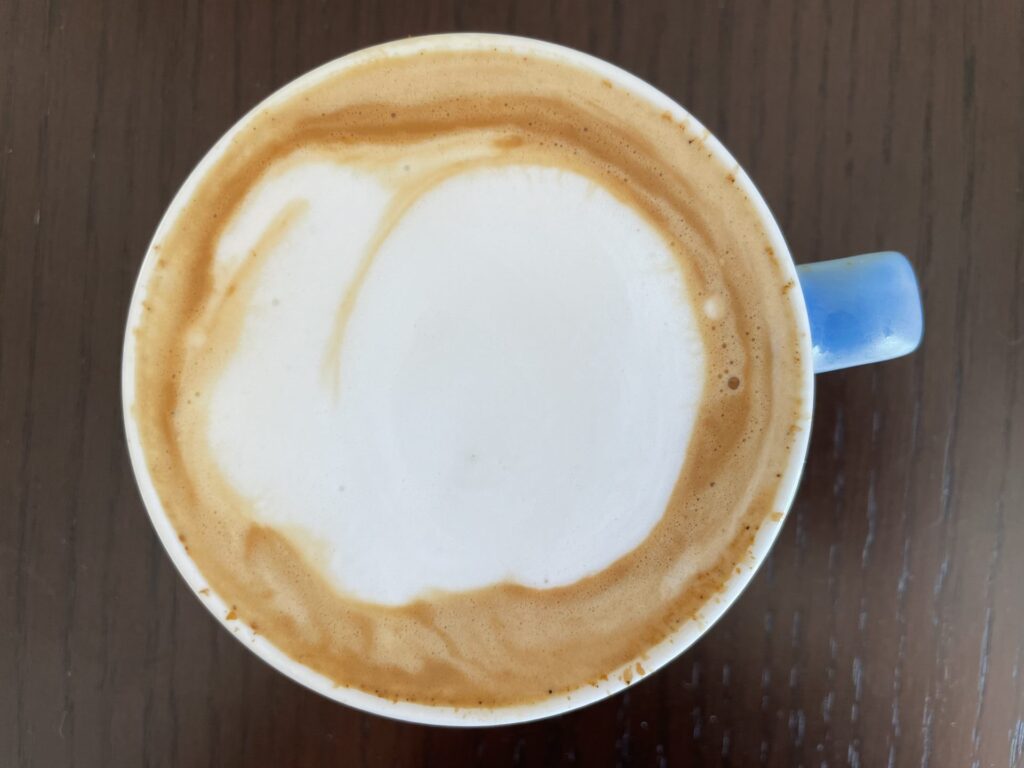
The issue I had with this pour was that the white foam did not seem to spread out at all, like I see in all the videos of people that actually can do this.
Trial 3
Really not spreading anywhere…
Trial 4
This kind of looks like a heart! nice.
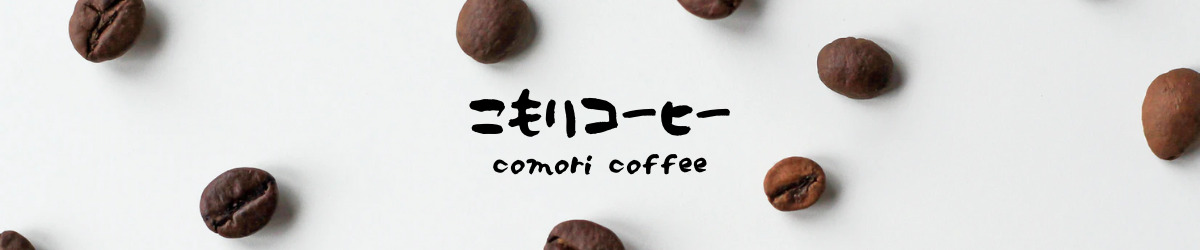
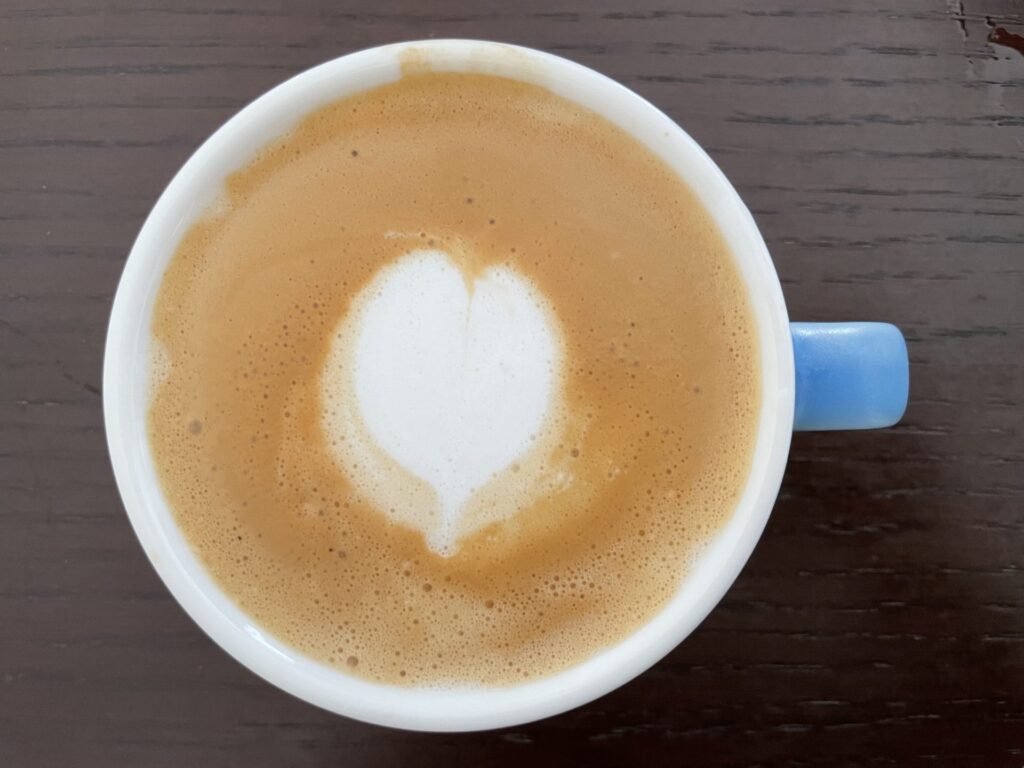
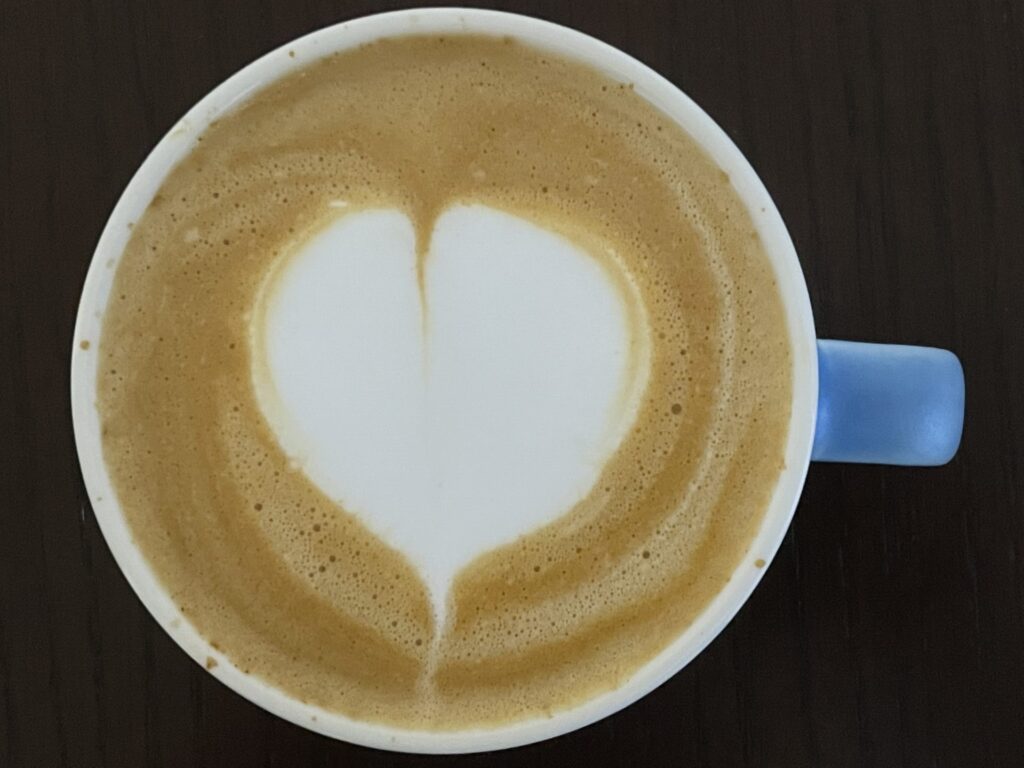
Trial 5
I was pretty happy about this one.
The milk texture seem to be what I was not doing right. I wasn’t adding enough air in to the milk. That results in very thin foam which restricts the spread.
Another important point was the distance from the spout to the surface of the liquid. This is a point that gets stressed in every single latte art tutorial. And I think I really grasped the meaning on this try. When the spout is too high, the foam sinks and doesn’t appear as a nice pattern on the surface.
Trial6
Looking good.
Trial 7
This seemed like I didn’t have enough foam.
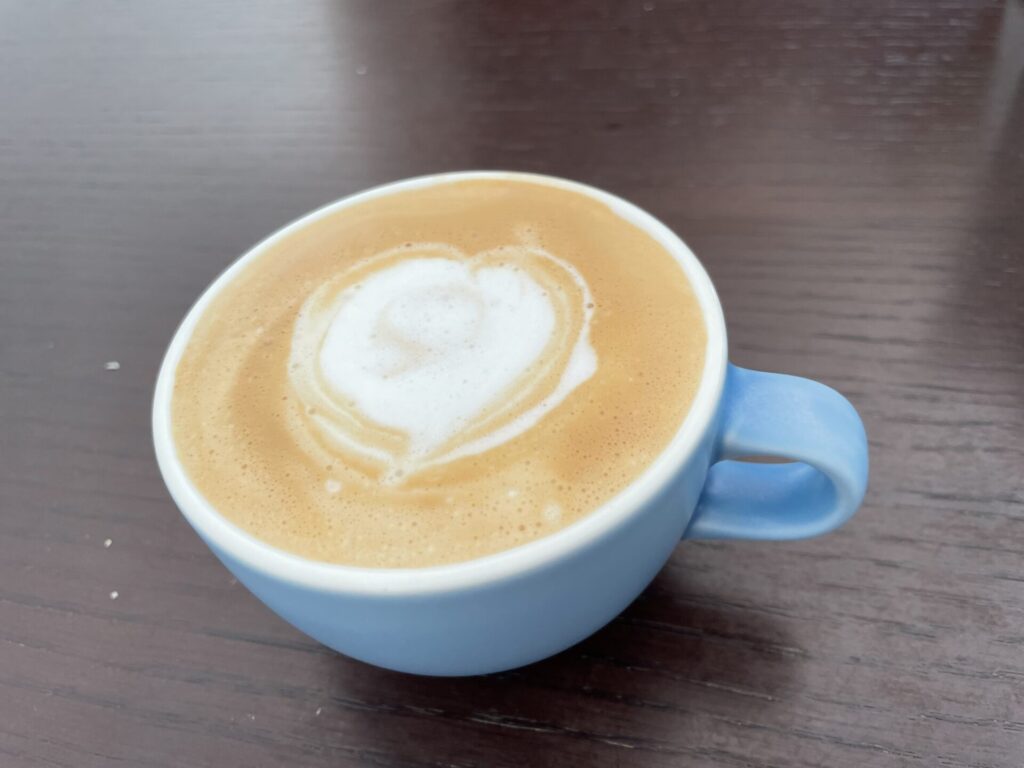
Trial 8
Counter acted way too much. Just a blob.
Trial9
I got a head of myself and started rippling. I had a feeling that I could do it. (of course I couldn’t but anyway)
By this point I started to get a sense of the milk texture the moment I started pouring.
Trial 10
Not very controlled, but you can see ripples.
Trail 11
Starting to look a little bit close to a heart?
Trail 12
hum…
Trial 13
Too much foam again!
Trial 14
I think I should return to the basics and master that before I try rippling.
Trial 15
So back to the basics. Too many large bubbles.
Trial 16
Ok, ok, not too bad.
Trial 17
Getting a bit consistent.
Trial 18

Doesn’t look so good but, this one was the first one I saw the foam wrapping back around.
This is a key skill I need to master.
Trial 19
A little shaky, but the shape seems to be stabilizing.
Trial 20
The foam looks very thin in this one. Could be the lighting.
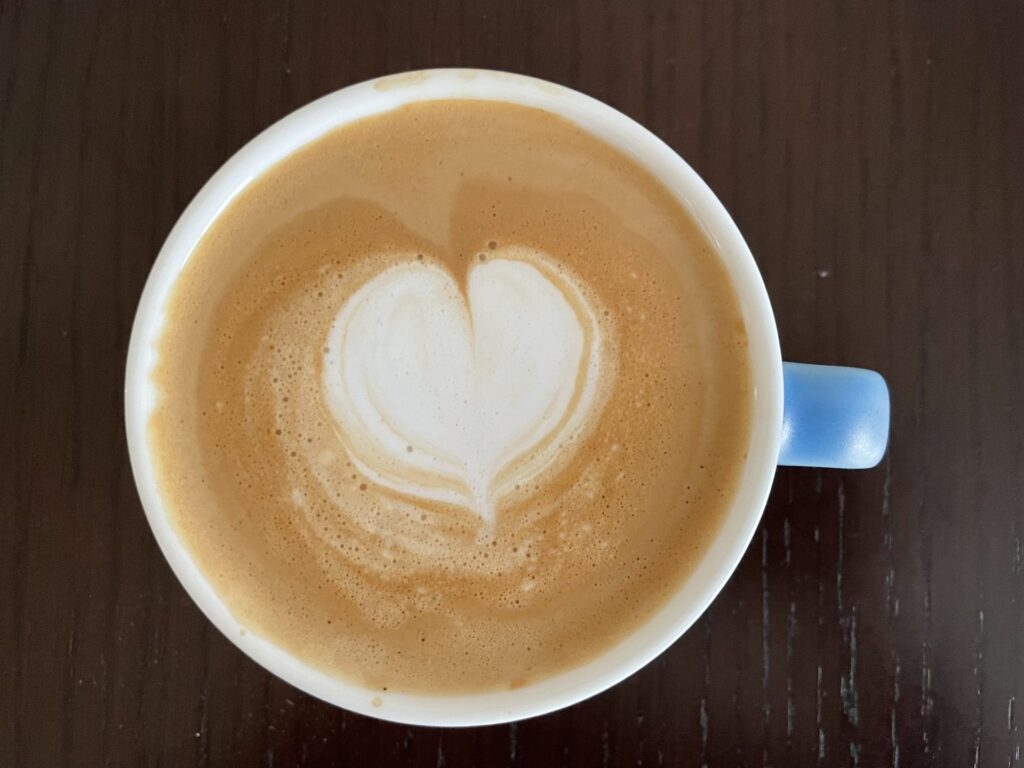
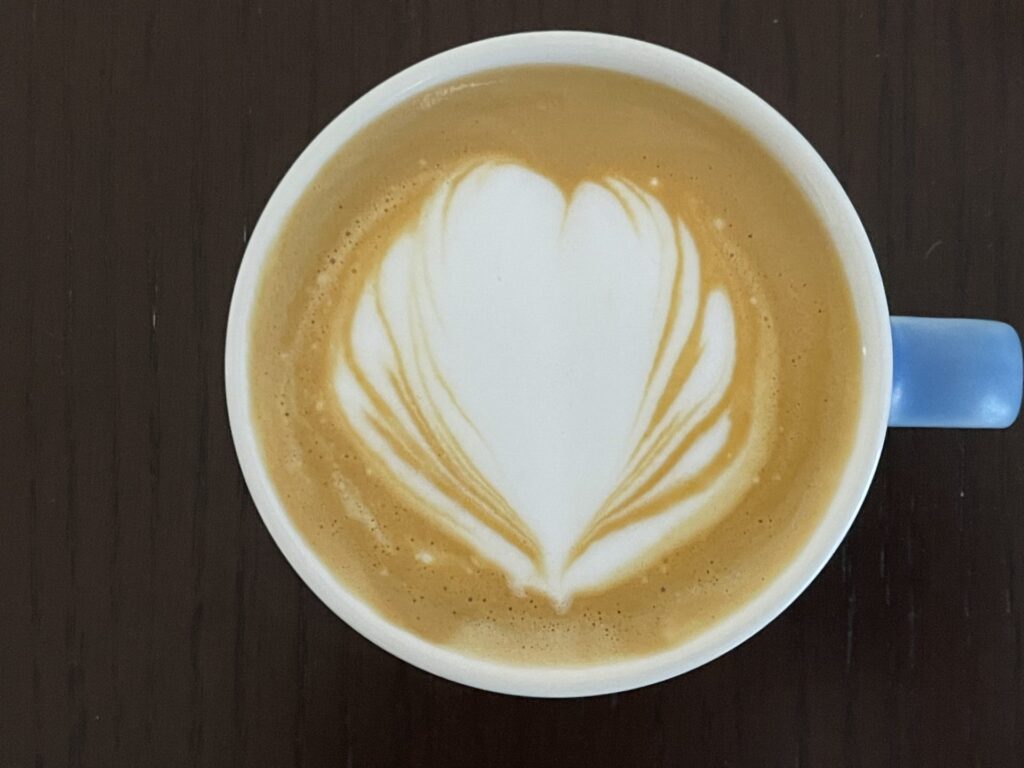
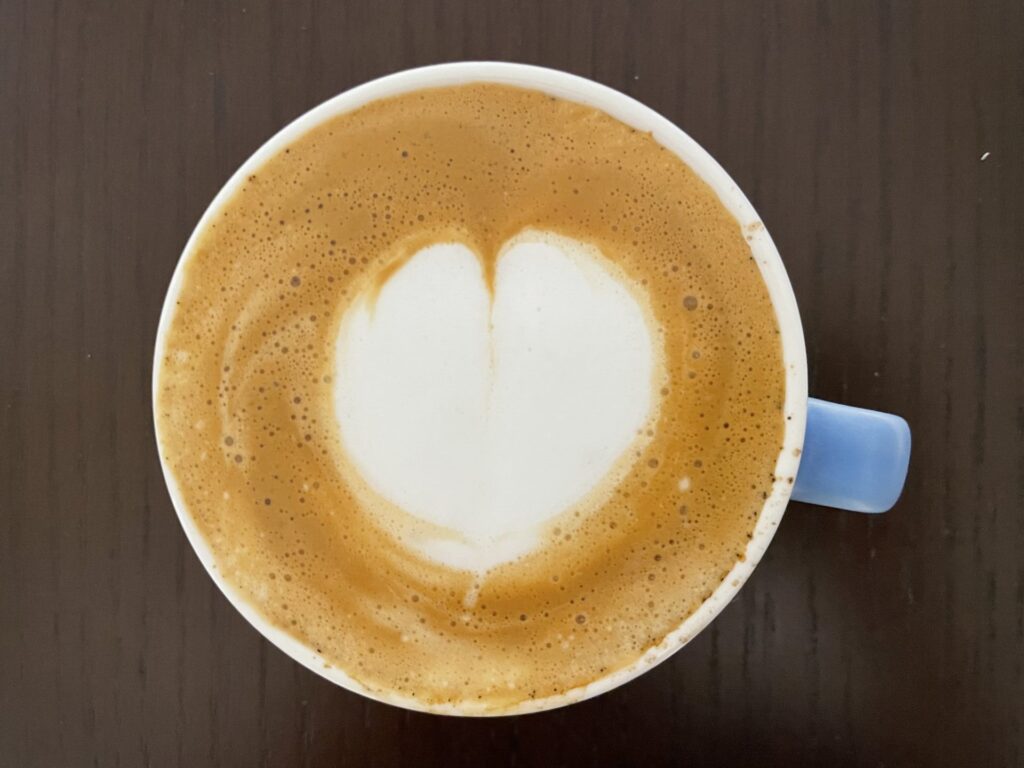
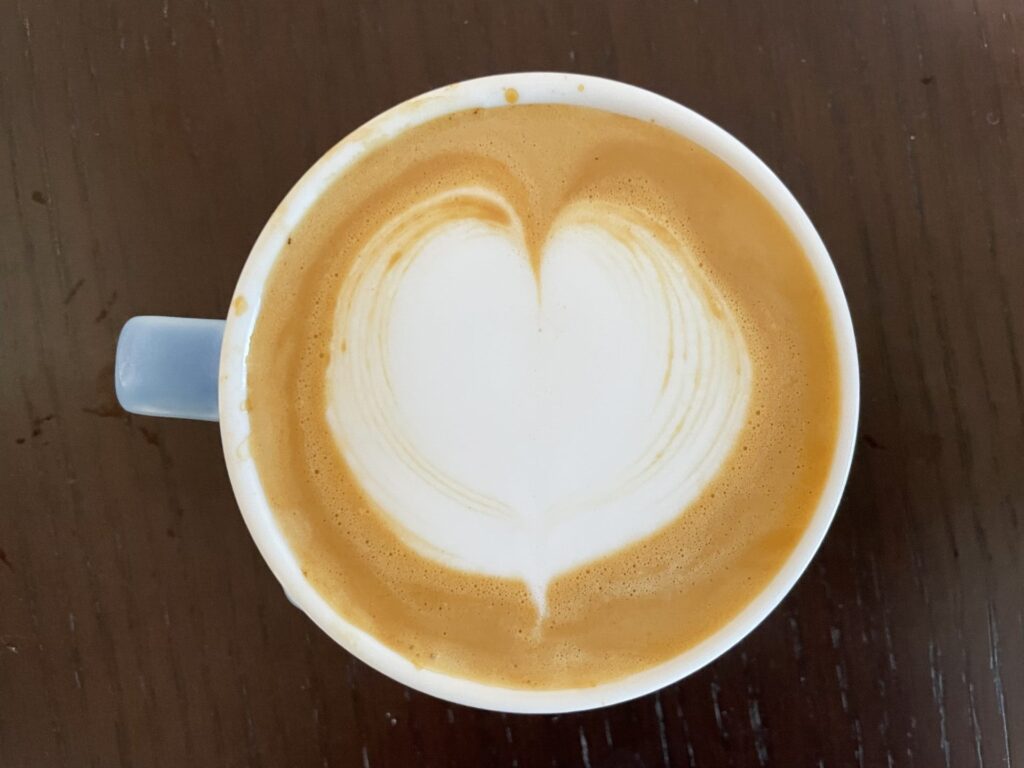
Trial 21
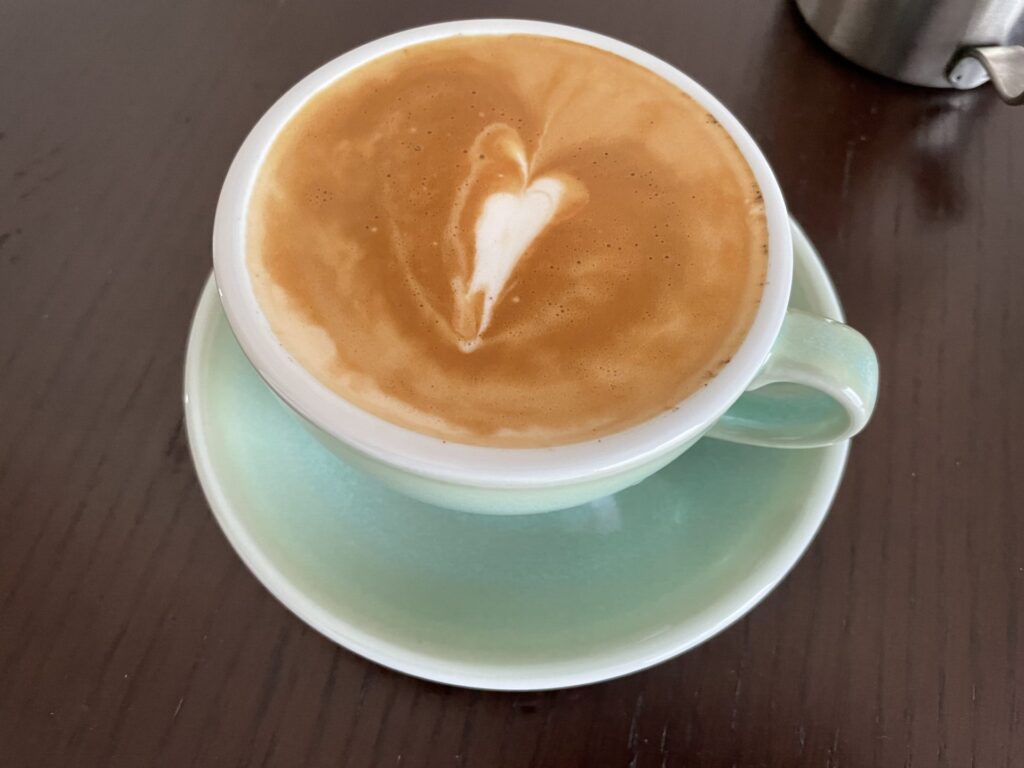
I got a new cup from loveramics! Such a nice color right?
The previous blue cup was 180ml and this one is a slightly bigger 200ml cup. I added a bit more milk in my pitcher, but I didn’t properly adjust the amount of air I put in.
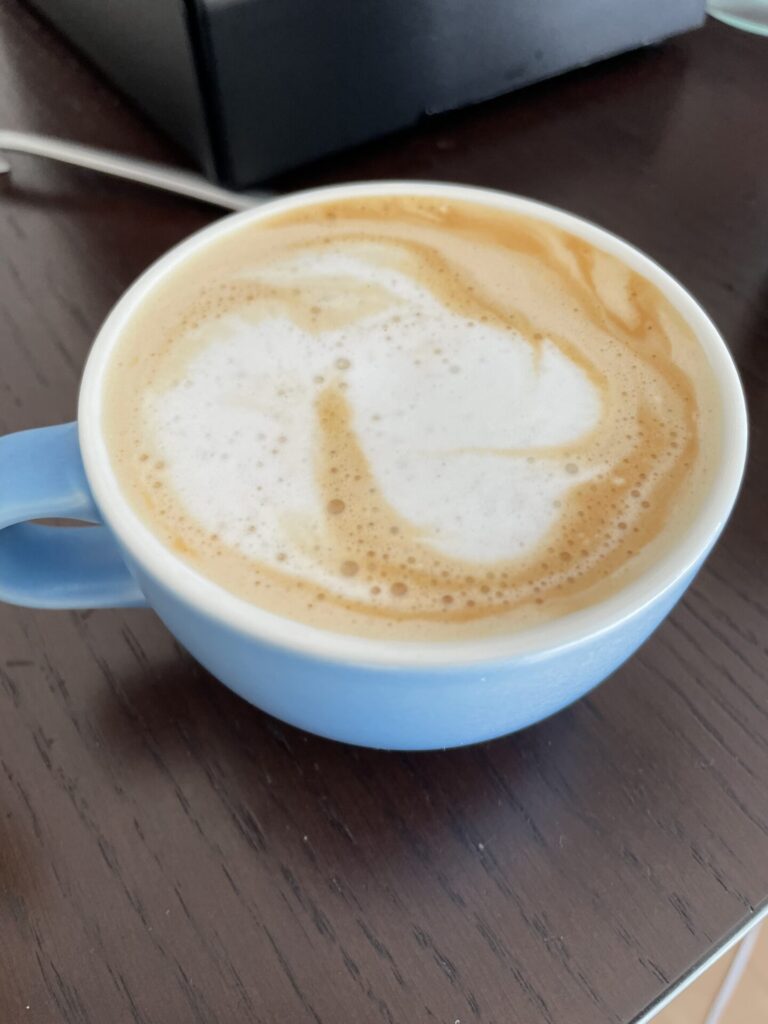
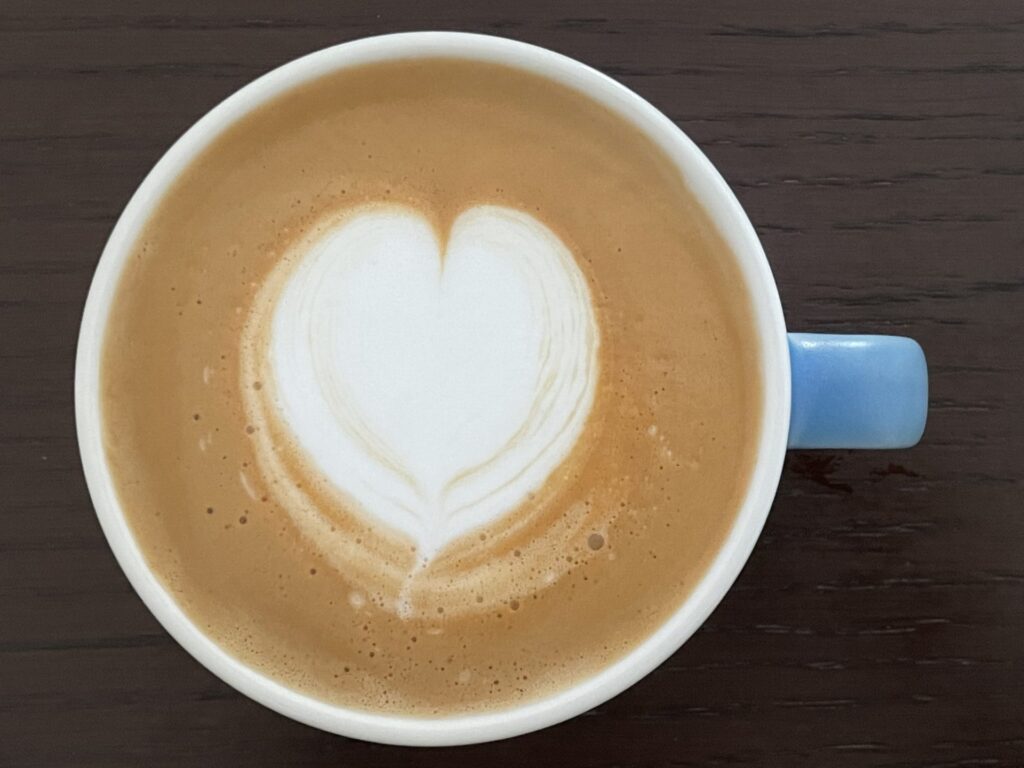
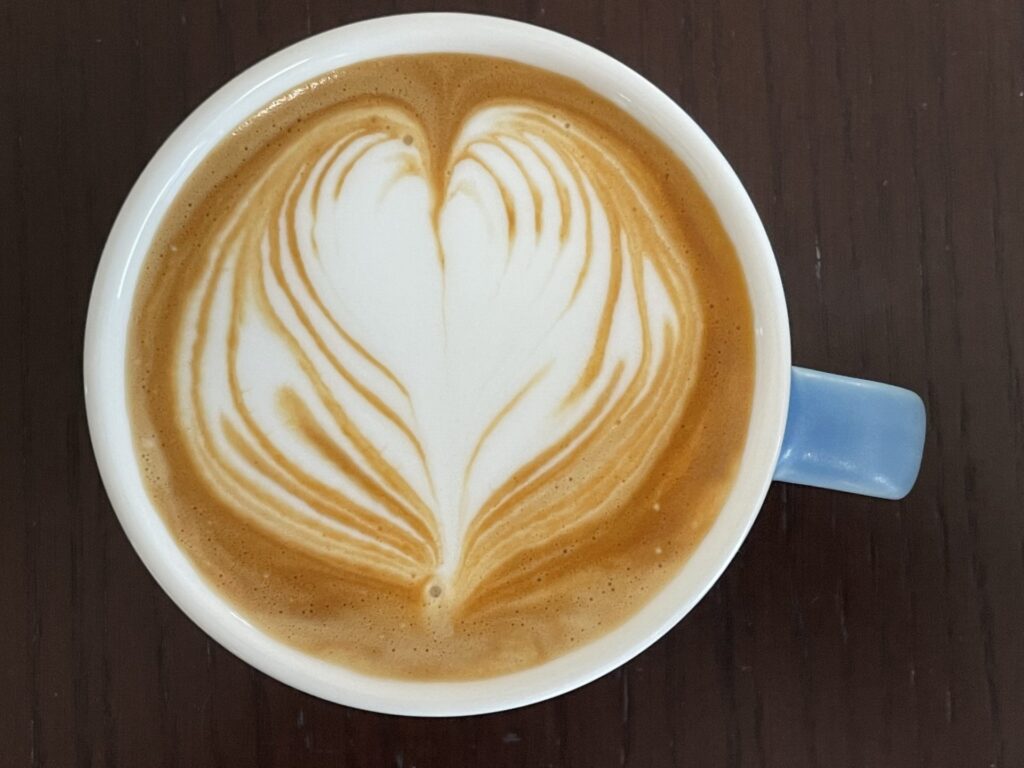
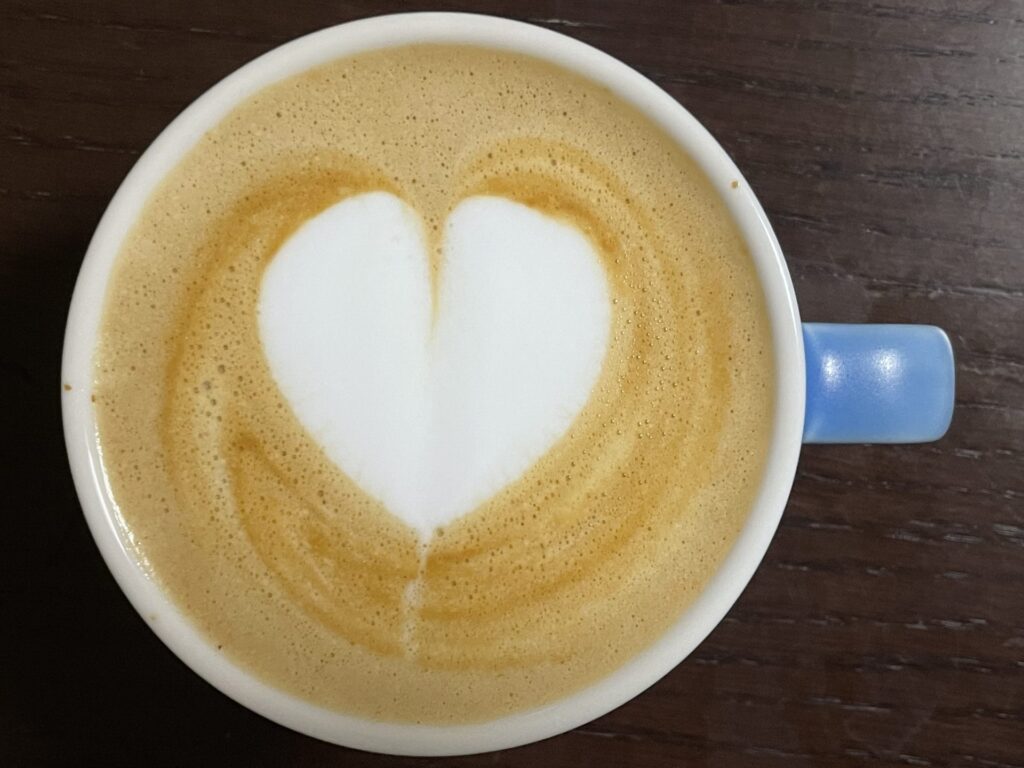
Trial 22
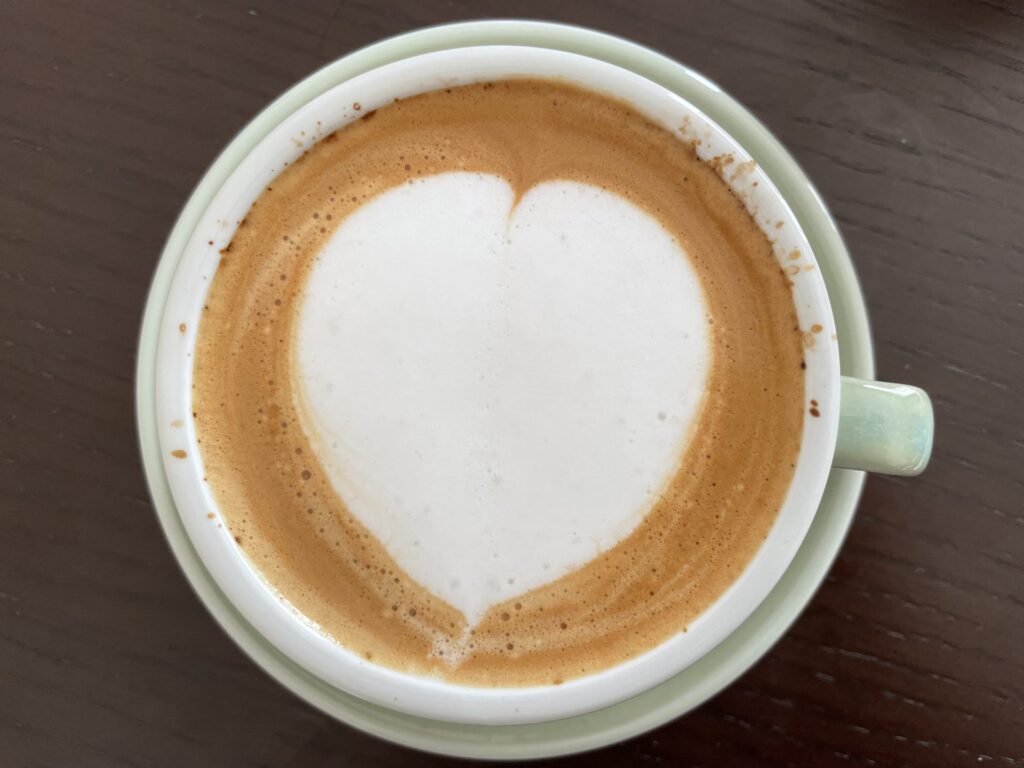
I seem to have adjusted to the new cup nicely.
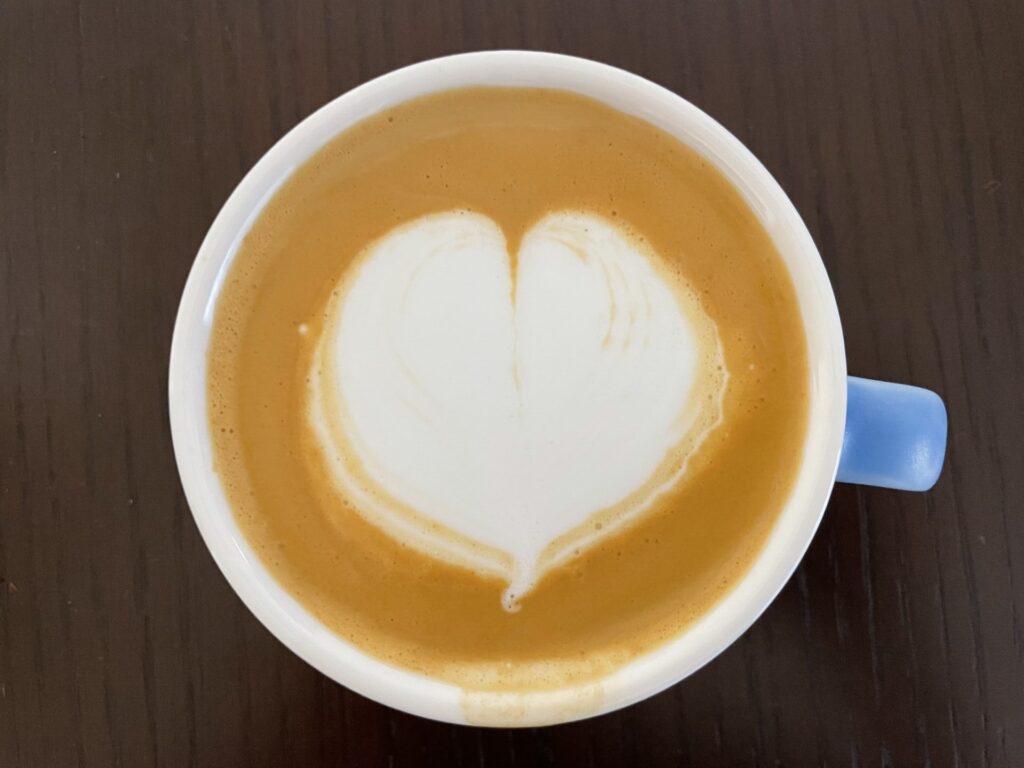
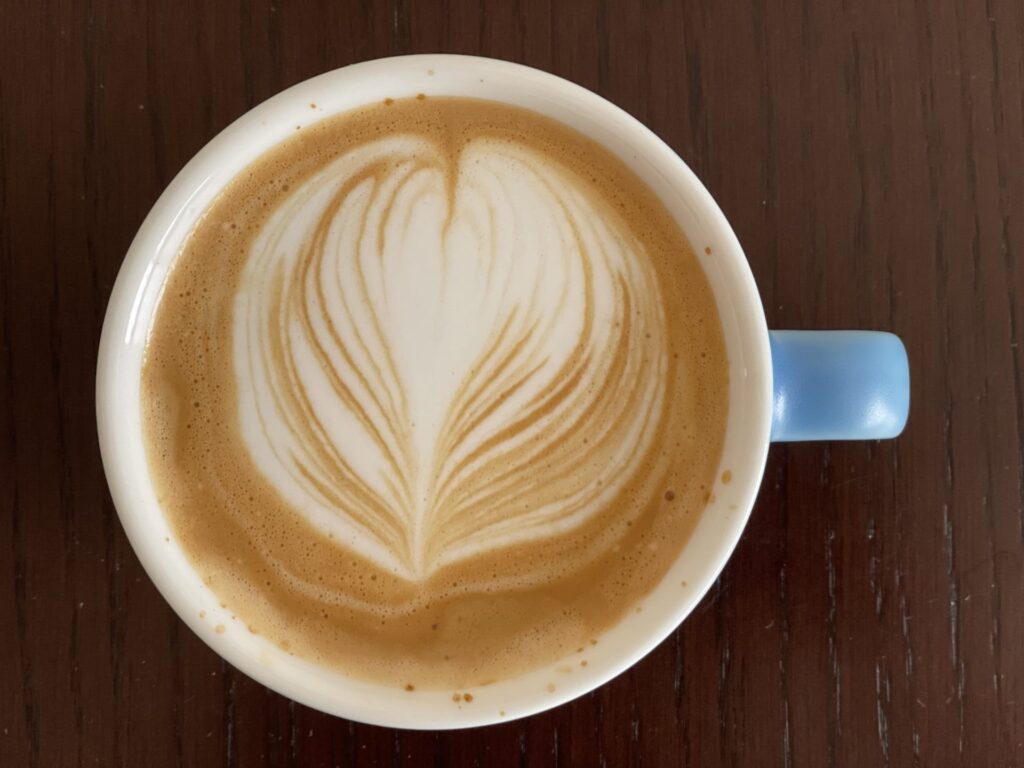
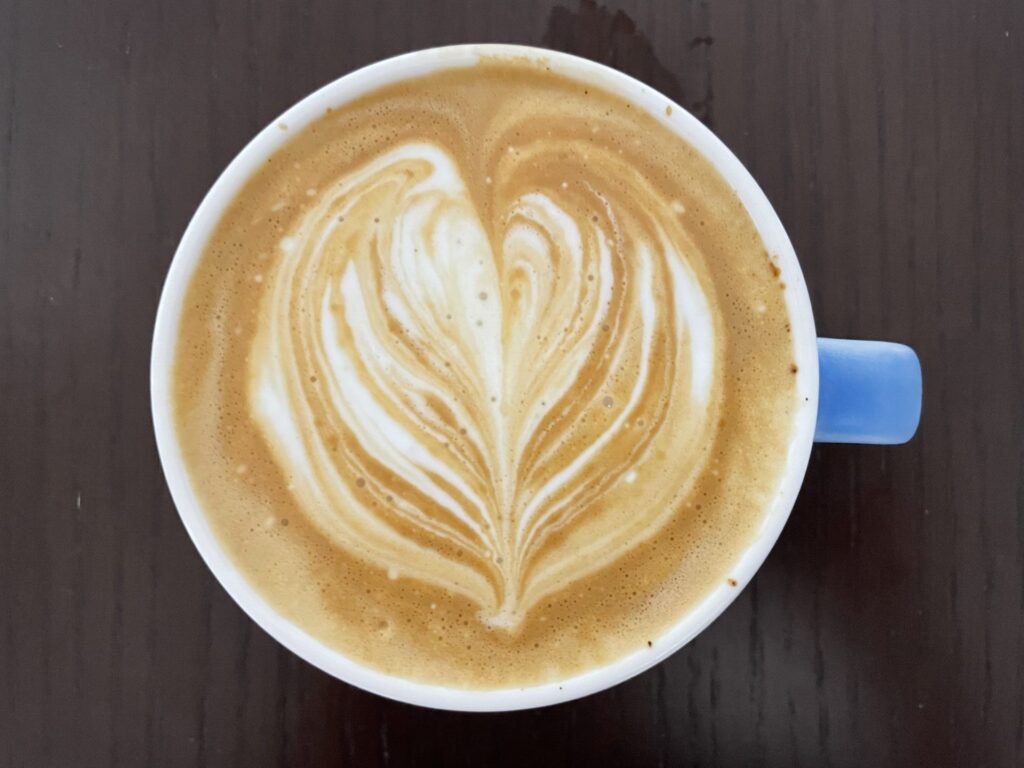
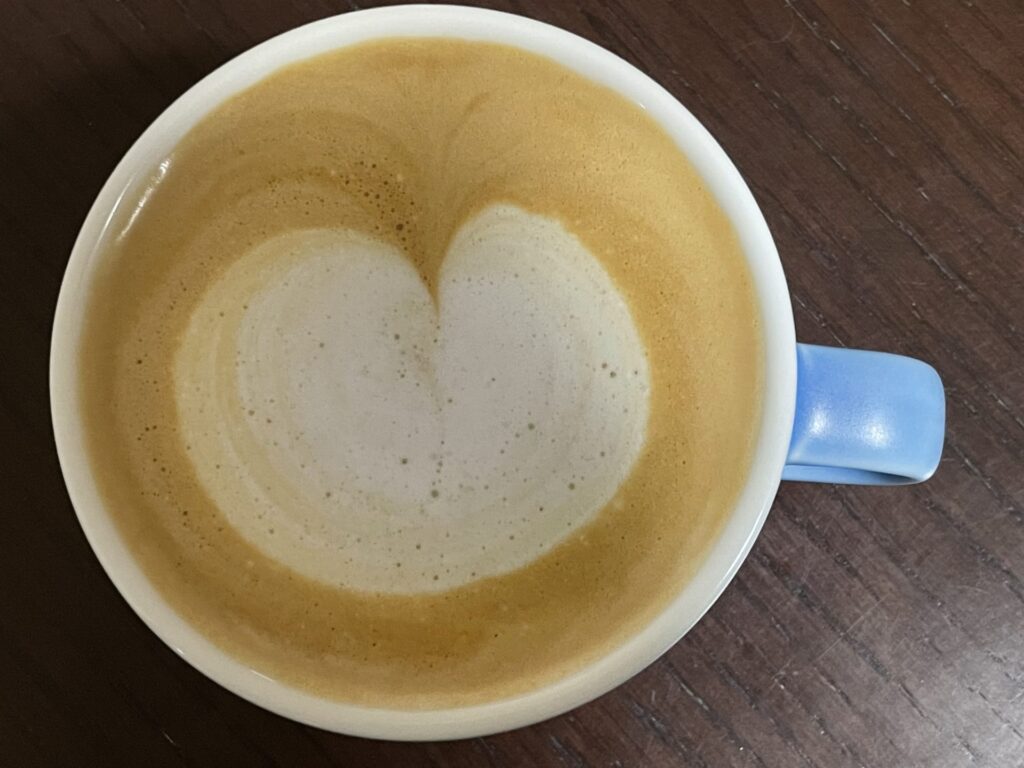
Trail 23
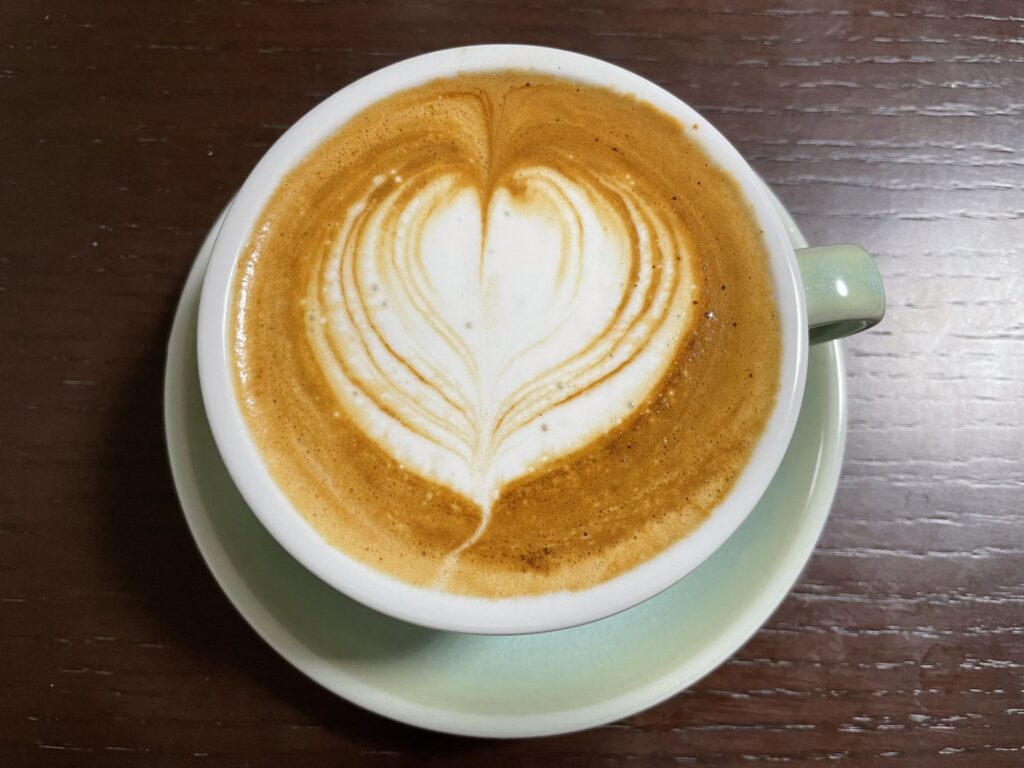
This one looks pretty decent, right?
Ok, let’s break it off right here for part 1.
It’s kind of reassuring that a complete beginner can get to this point with around 20 pours. (May be a lot of you could get better faster)
By the way, pouring latte art is really fun! I’m glad I made the investment for my espresso machine
Till next time!

コメント