
It has already been over half a year since I got the DF64 grinder. I use it almost everyday but recently something has been bothering me slightly. So I thought I would try to investigate the issue and try to solve it today.

I wrote this post about how to align flat burrs. The focus here was to align the burrs so that they are perfectly parallel.
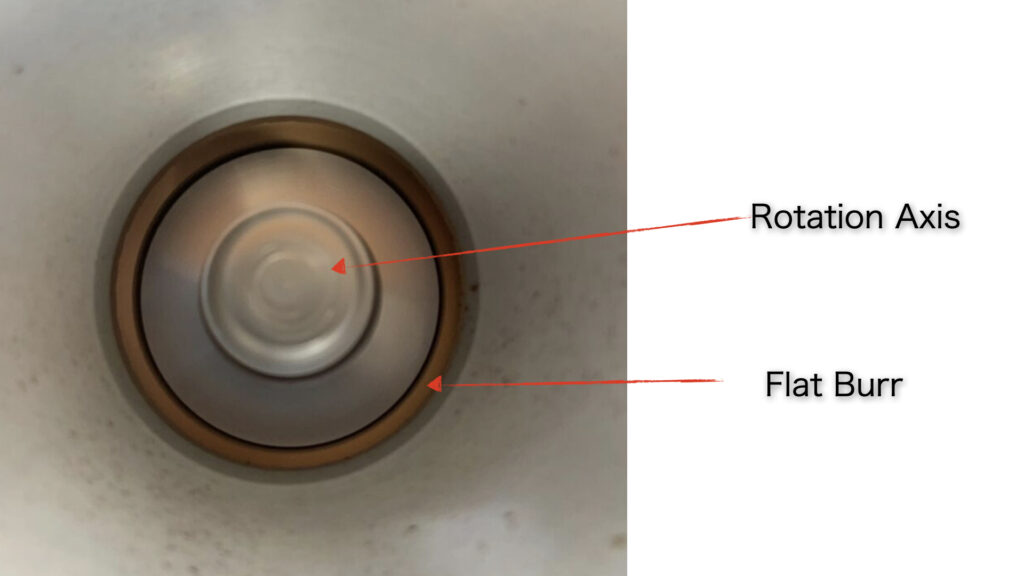
The thing that has been bothering me is when I look at the motor spinning it seems like the center of the rotation is not aligned.
I seem to notice this especially when the motor is slowing down and about to stop, it looks as though the axis is wobbling.
I spent so much time aligning the parallelness of the burrs, but if they are off center that would nullify the work.
I want to get to the bottom of this to be sure I’m getting the most out of my grinder.
The (Potential) Issue
Again, the last alignment I explained was concerned about getting the burrs perfectly parallel to each other.
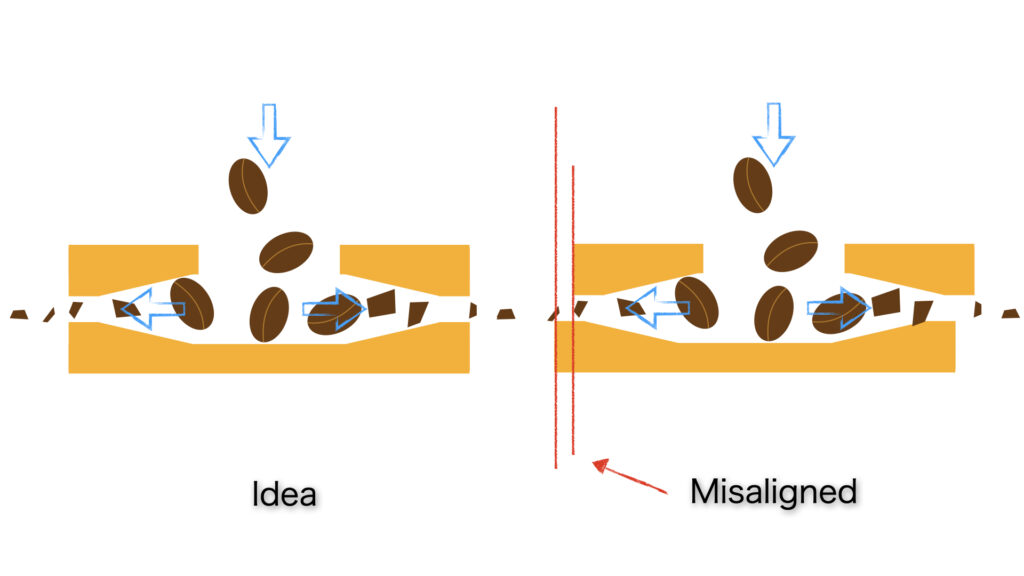
The issue this time is that the burrs could be off center even though they are parallel. The diagram is a bit exaggerated but this is the idea.
How to check
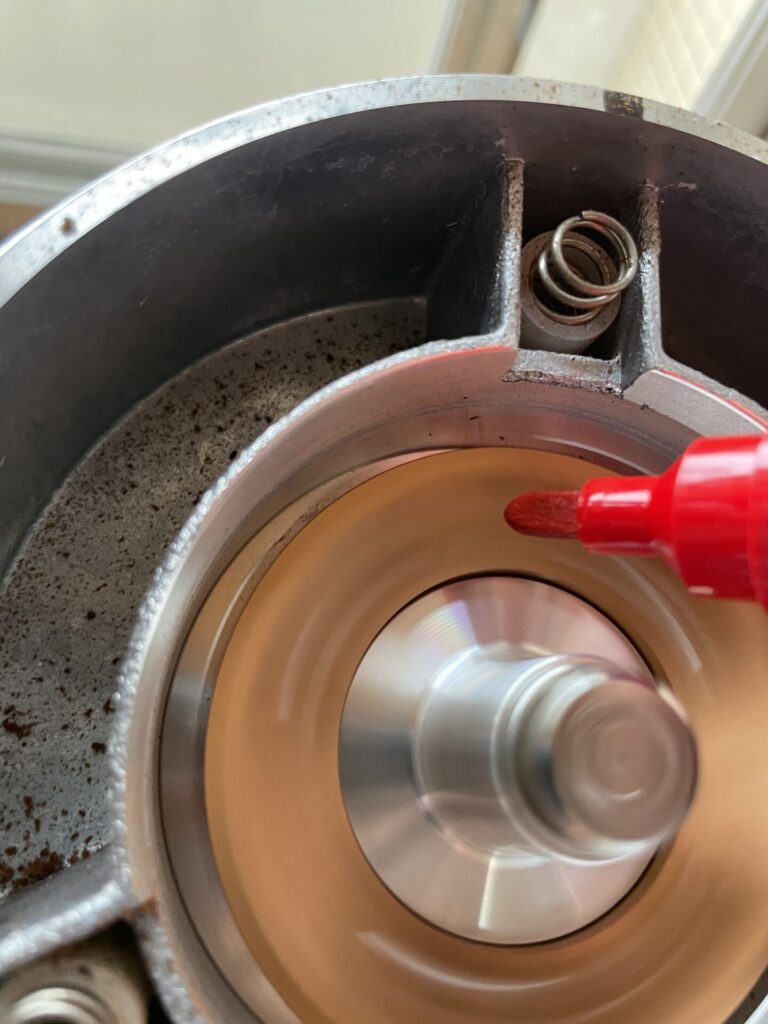
So the first step is to actually check if this problem is actually happening. To do this I used the white board marker, a very handy tool in burr aligning.
I kept the motor spinning and touched the marker at certain points. This will draw a perfect circle around the center of rotation. If this circle and some rotating part are off center, that means that that part is off-center.
It goes without saying but, touching the grinder while the motor is on is very dangerous. Please take care if you are going to try this.
It could hurt you, and/or the grinder.
So using this method, I checked a few points.
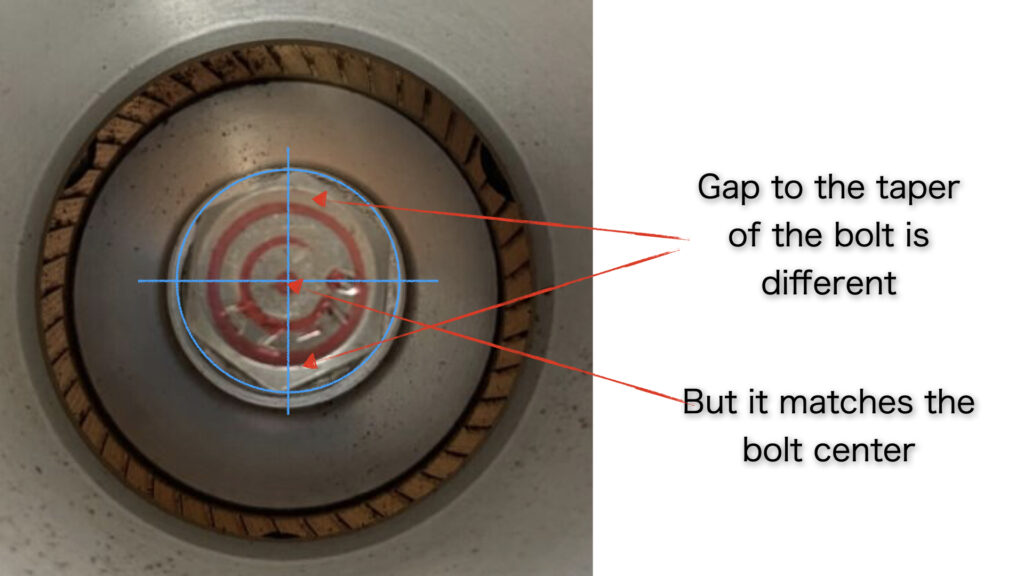
First is the motor axis bolt. This was the part that looked wobbly, so I wanted to check this first.
This is the result. I drew a few circles and loaded the pictures in the my pc to check their center. It turns out that there was no issue here.
The center of the bolt taken from drawing a circle just outside the six vertices of the bolt lined up with the marker circles.
What I did notice is that the tapered part of the bolt is not centered, so the marker circle had different gaps to the taper depending on the position. But this has no impact on the alignment so it’s not an issue. (although I wish that the bolt manufacturer did properly align this.)
Now that I know the axis is OK, let’s check some other parts. The other point of interest is of course the burr.
So I drew a circle with the marker right inside the hole of the burr.
It’s very difficult to make out in the picture, the there is a bit of ink on the right side of the burr, but not the left. (Note: I did have the marker pointing straight down.) This indicates that the burr is slightly closer to the center of rotation on the right side. And taking a closer look, I could barely see a gap between the silver part and the gold burr.
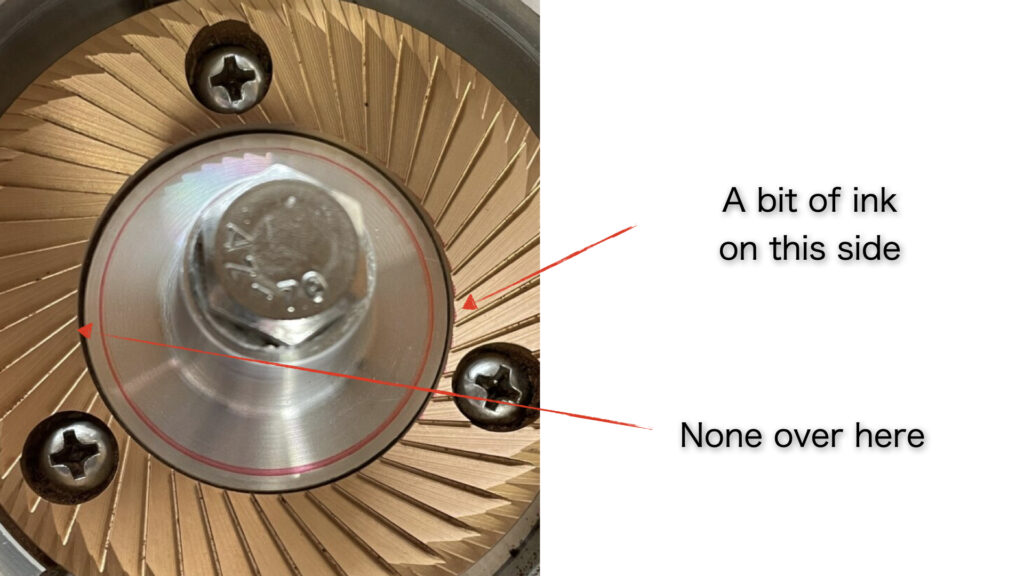
Having identified the issue, I took the bolts holding the burr off, and sure enough there is a bit of play between the burr and the carrier. It’s probably less than a 1mm but it’s surely there.
How to align the burr
So the aim is to get the burr center perfectly aligned to the center of motor rotation. The difficulty is that the burr carrier has a bit of play, so even if you place the burr dead center, it will get misaligned while I tighten the bolts.
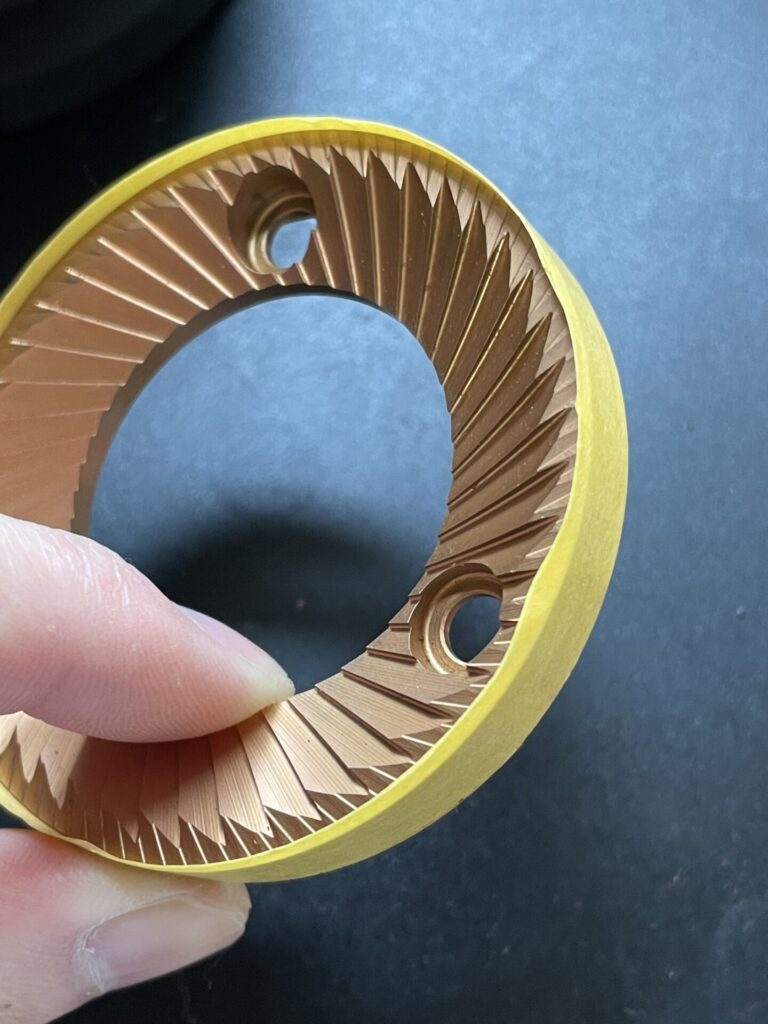
The solution I came up with was to use some masking tape to fill the play. By adding some tape of the exterior of the burr, I was able to fill the play. In my case I used 2 layers of tape all around.

By tightening the bolts in this state, there is no way that the burrs will be off center.
Make sure that you take off the tape once you are done securing the bolts.
A word of caution here, if you put too much tape to really fill the play, you will have a difficult time taking the tape off afterwards.
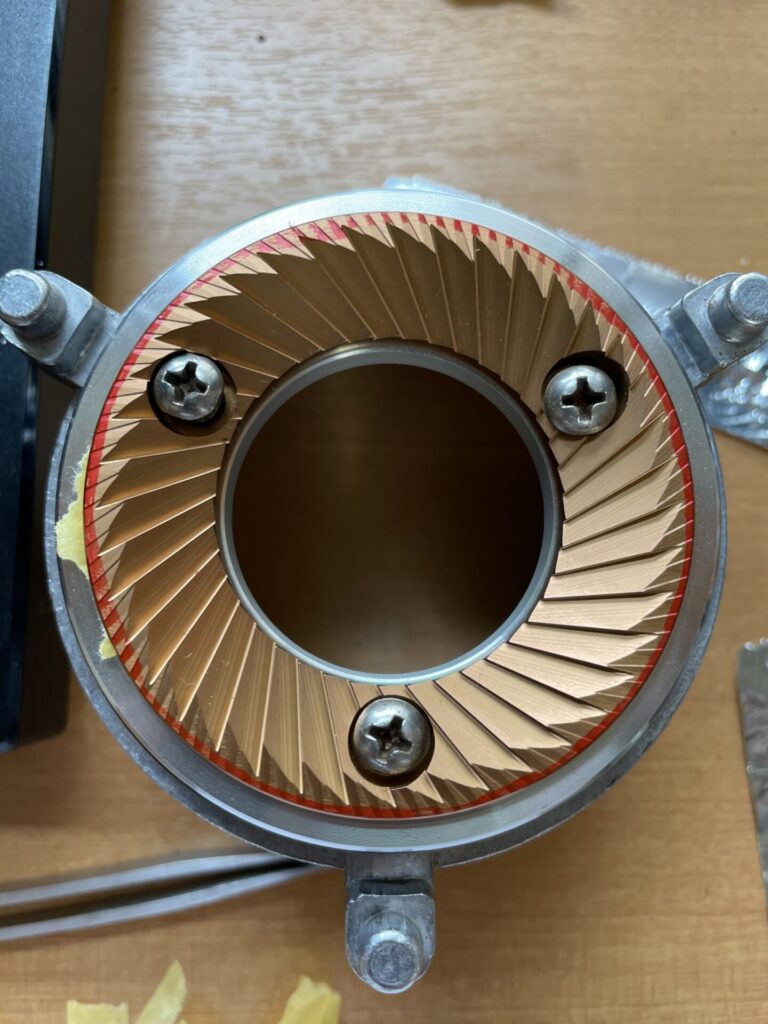
I aligned the upper (stationary) burr with the same technique.
Make sure that you also align the parallel-ness as well.
It was actually harder to remove the tape on the stationary carrier, so watch out for that.
The whole process took about 2 hours but I’m satisfied (at least for now).
So what?
Yes, you heard me right, it took 2 hours.
The question is does it make that much difference?
I ground some beans after aligning them, but well I don’t know…. Do they look uniform?
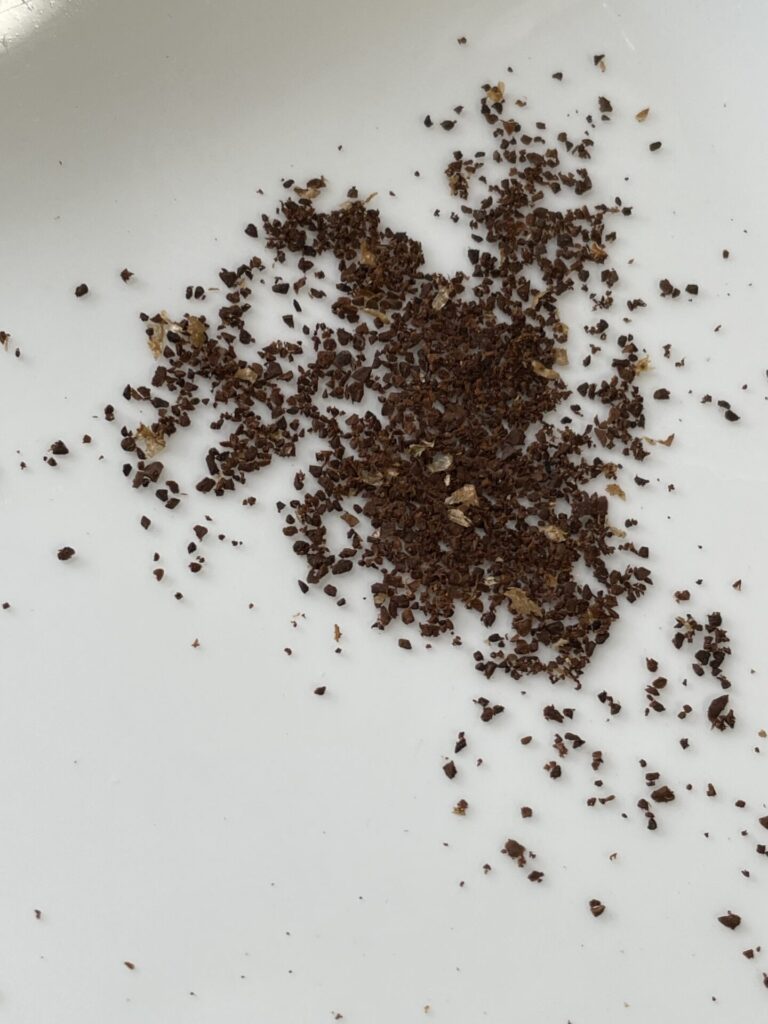
I obviously brewed a cup with this as well. It was a very nice cup, but there are so many other factors in play here so I cannot tell if this was the effect of aligning the burrs or something else.
Well, I think there is a degree of placebo effect here. But at the end of the day, if I feel better about my grinder that’s all that counts. haha


コメント