All of you probably know what a steam wands is. It’s the stick on an espresso machine which provides you with steam. It’s normally used to steam milk for a latte, etc.. It aerates the milk and heats it up at the same time.
But using it the normal way isn’t too fun, right?
So I tried out the recently trending way to prepare iced coffee using the steam wand.
I don’t know if there is a universal name for it yet, but I will go with the “Aerocano” name. The name coming from the fact that you are aerating an americano, I guess.
Let’s check out this somewhat peculiar drink!
What is an Aerocano?
It’s an iced coffee with this thick creamy layer of foam.

The aerocano is similar to Nitro Cold Brew coffees. It has a beer like layer of foam which gives it a very distinct texture.
Nitro Cold Brews require a pretty elaborate setup, with specialized servers with nitrogen gas tanks and such.
The aerocano technique enables you to make a similar drink with only your espresso machine.
Let’s see how to make it.
How to Aerocano
There is “correct” way to do it, but let me share how I found it best to make it
STEP1: Brew an shot of espresso
Simply brew a shot of espresso as you would normally do it. You should play around with the size of the shot, but just as an idea I used 12g of beans to pull a 30g espresso. (something in between a typical single and a double shot)
After you pull the shot, switch the machine into steam mode (if you have a single boiler)
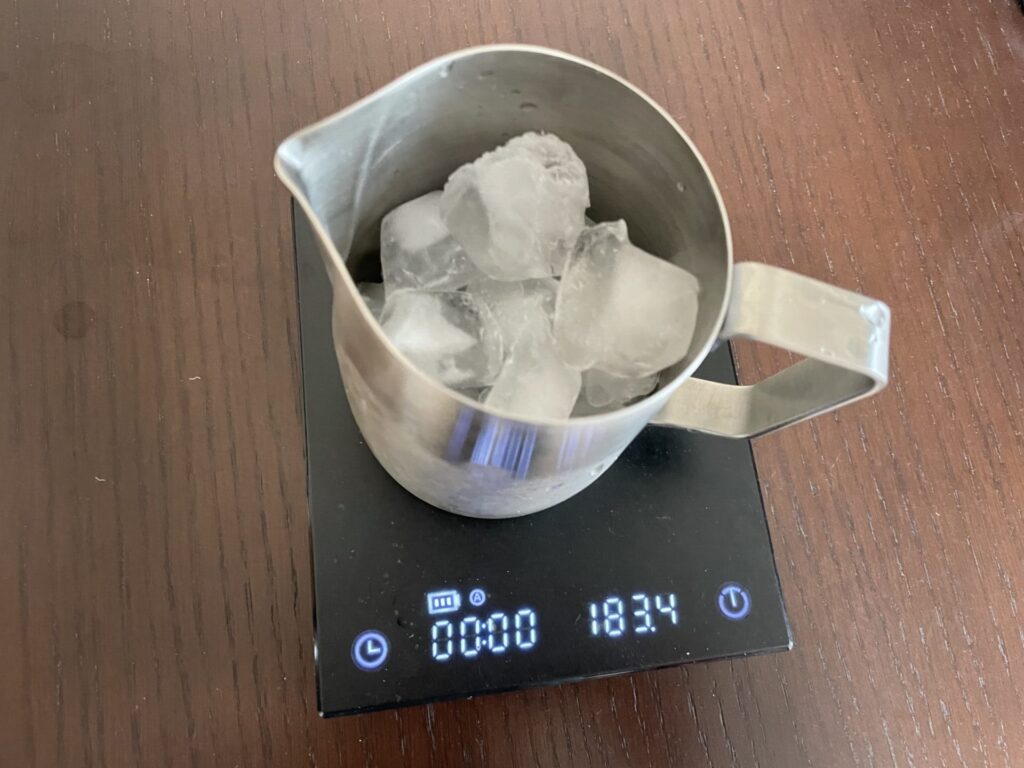
STEP2: Get some ice in a steaming pitcher
I use about 180g of ice.
You might think thats too much, but we will be melting down most of it so this is fine.
STEP3: Pour the espresso into the pitcher
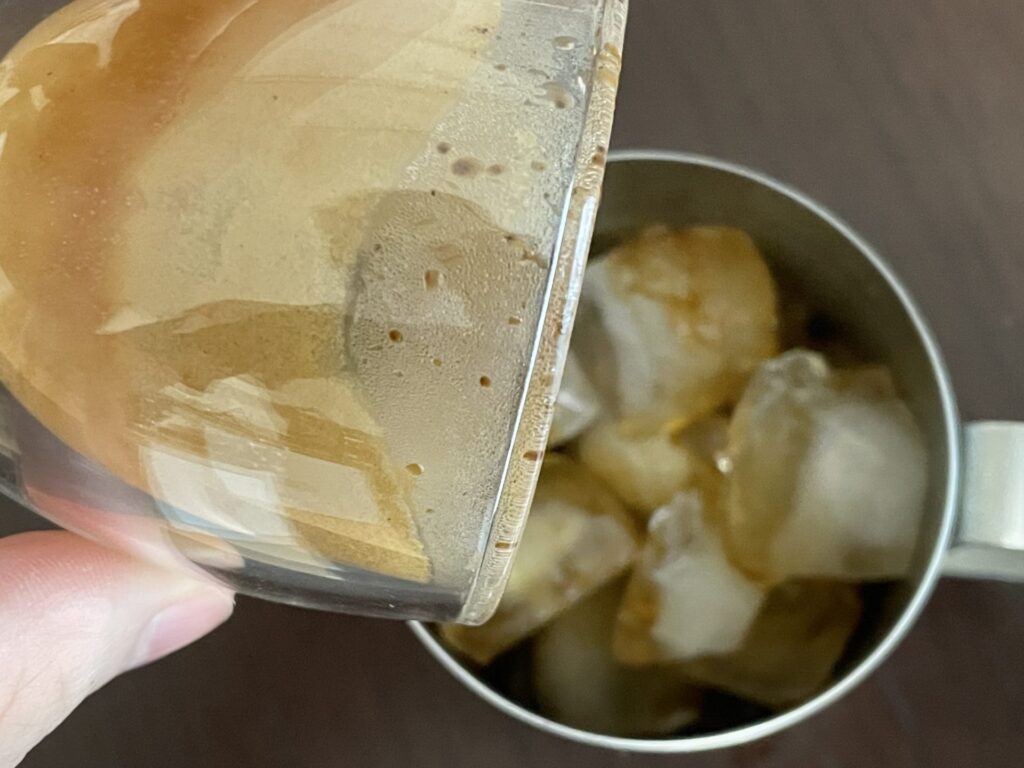
Dump the espresso you pulled onto the ice.
The liquid to ice ratio is messed up, but don’t worry.
STEP4: Steam it
This is the heart of the aerocano technique.
We will steam the pitcher we prepared.
The goal is to incorporate air into the coffee, and to melt down the ice.
Initially, you might not even know where to place the wand. But just make sure that the tip of the wand is submerged and turn the steam on.
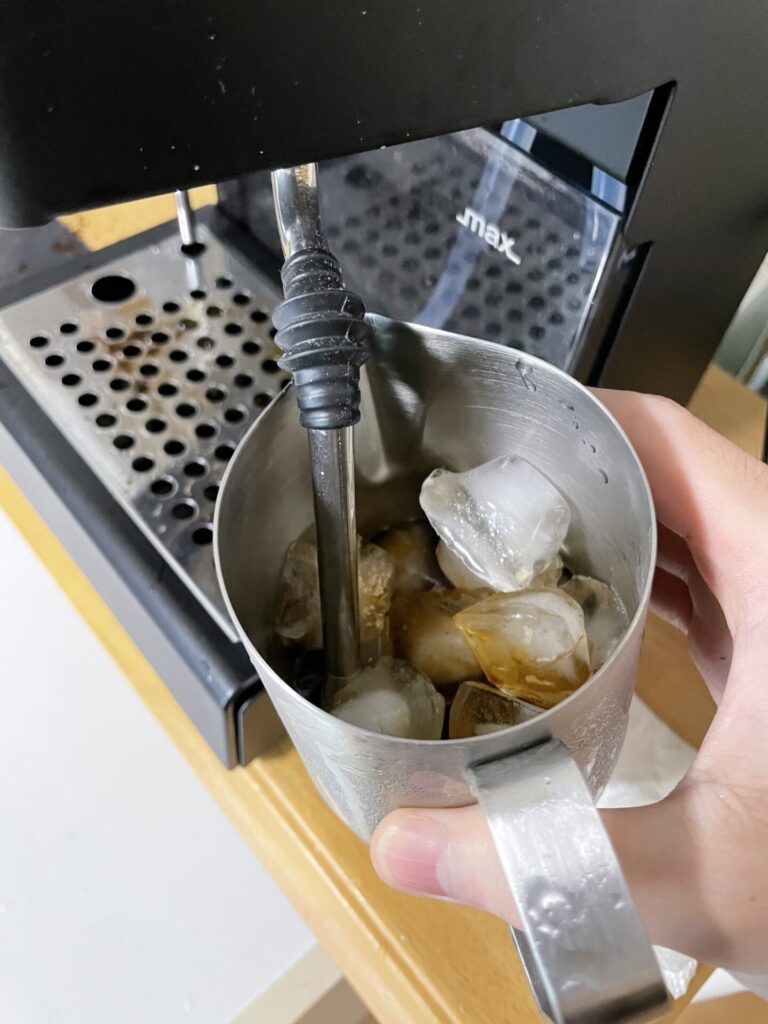
In a matter of seconds, a lot of the ice will melt down.
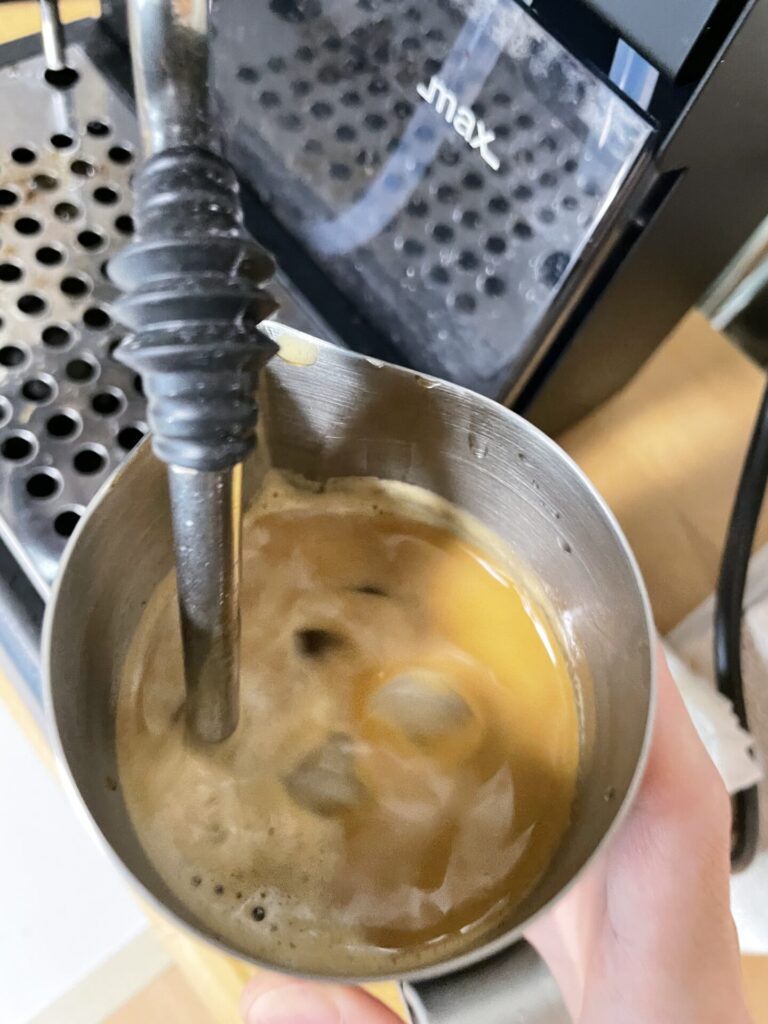
Make sure that you down melt down all the ice, since after that point the coffee will start to heat up.
Try to aerate the coffee before all the ice is gone.
The trick is to stop relatively early while quite a lot of ice still remains.
STEP5: Pour it in to a glass and enjoy
The visual appearance of the aerocano is a big part of the appeal, so please pour it in to a glass.
Right after steaming, the microfoam is mixed in with the liquid, so the drink almost looks like you have some milk in it.

But if you let it set for a moment, the foam separates out.

Most aerocano guides seem to start from an americano, rather than espresso like I did. (hence the name, aerocano)
I tried this and it definitely works, and alternatively you can start from a sprover if you like.
Starting from an americano, does make it easier to start steaming since you have more liquid to start with.
But by starting with espresso, to get a higher ice to coffee ratio, you can steam for longer without heating up the coffee. So I found it best to do it this way
How does it taste?
The key distinguishing feature is the texture. The foam really gets creamy, and it’s very fun drink.
Taste-wise it is simply coffee cooled down with ice. So the taste will be as good as the espresso you started off with.
The remaining ice will continue to melt and dilute the drink, so it would be best to finish it quite quickly.
The foam is surprisingly strong, so you make end up with just foam.
The aerocano is a very fun and easy refreshing drink! Please give it a try.


コメント