
Hi everyone!
I have a feeling that a lot of coffee enthusiasts are taking their coffee black without sugar or milk. This is undoubtedly the best way to really taste the beans in your cup. And if you spend you spend the extra money to get high quality beans, I feel it’s the way to get the most out of them.
Having said that, I do like having a milk drink once in a while. And in the end, you should enjoy your coffee any way you like.
So today I thought that I would cover a couple of ways you can make good latte, without an espresso machine.
Two things you need for a latte
I will leave the intricacies of what a latte, cappuccino, flat white, etc.. are for today. The two things you need for a latte are;
- a strong coffee that will not get over powered by the added milk
- a light smoothly textured foamed milk
The true way to make most milk drinks require the use of an espresso machine. The strong coffee is obviously espresso, and the milk is textured by using the steam wand of the machine.
The problem is not many people have an espresso machine at home.
So I have tried a couple of ways to prepare the two things using tools that are more common at home.
Strong coffee : with a Moka pot
The popular low cost way to make espresso-like strong coffee is to use the Moka pot.
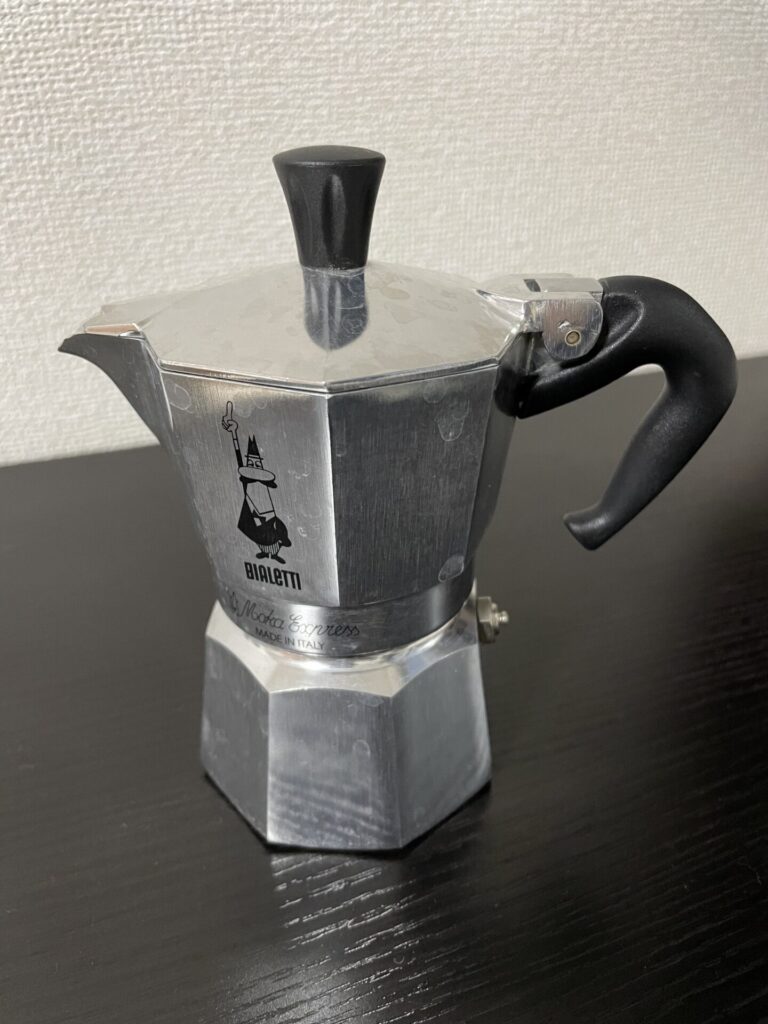
The one I have is the 2 cup Moka Express from BIALETTI. It’s about $25, but this would depend on where you live.
Here’s the recipe / guide to brewing with a moka pot.
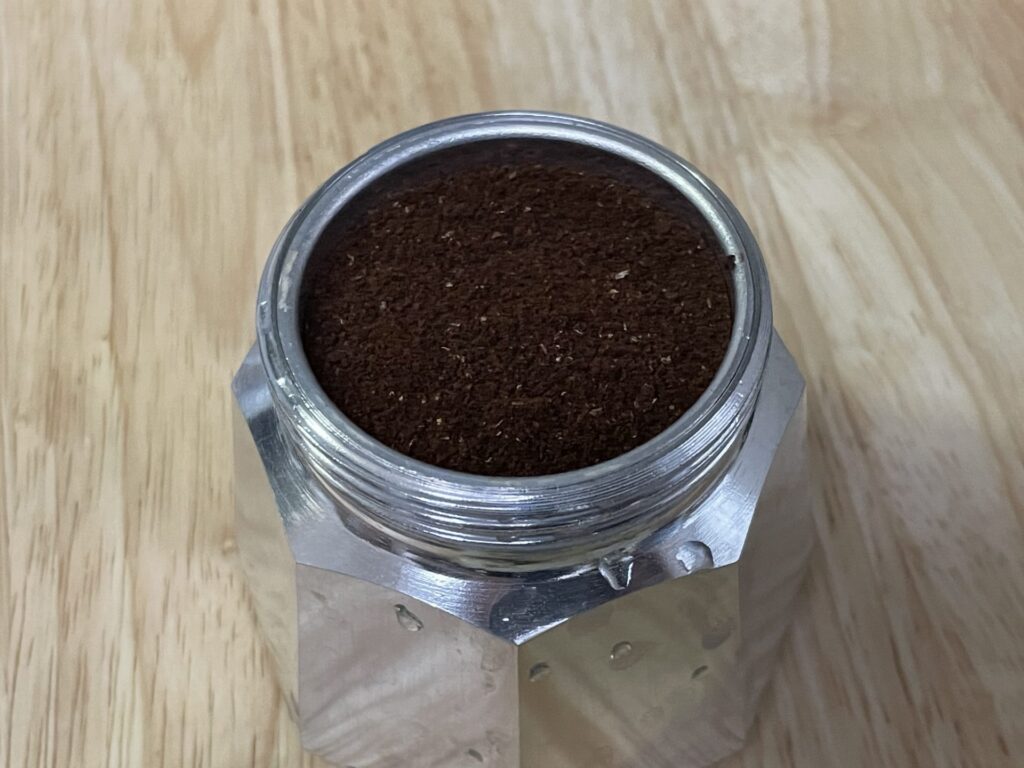
Weigh out 10g of coffee. Grind it a little bit finer than what you would use for filter coffee. For the TIMEMORE SLIM PLUS I use, 10 clicks seemed to be the best for the moka pot. (Usually use about 14 clicks for my filter coffee)
Transfer your grounds to the basket and make it level. There is no need to tamp the coffee. Just make sure you don’t have big clumps of coffee.
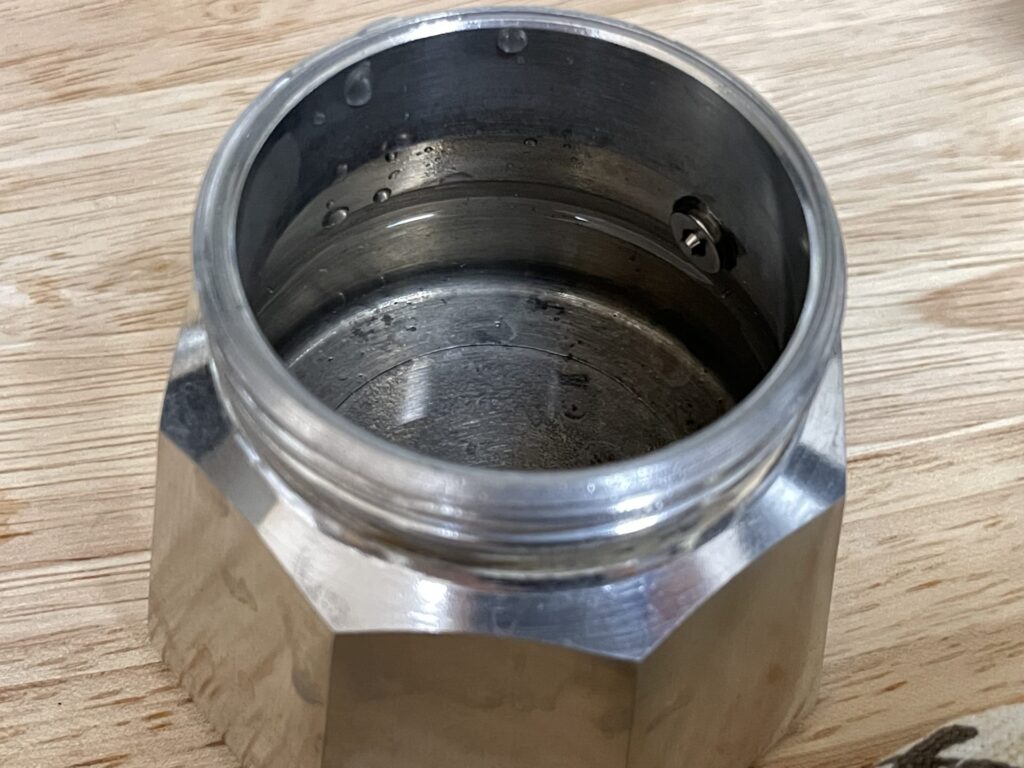
Next put boiling water in the water chamber below the basket. And yes, it should be boiling water you heat separately. It is definitely possible to use cold water and boil it in the moka pot. But this may add unnecessary heat to your grinds before the extraction starts.
Add boiling water up to the bottom of the valve.
Being very careful not to touch the hot bottom part of the pot, screw the top part on and place it on the stove.
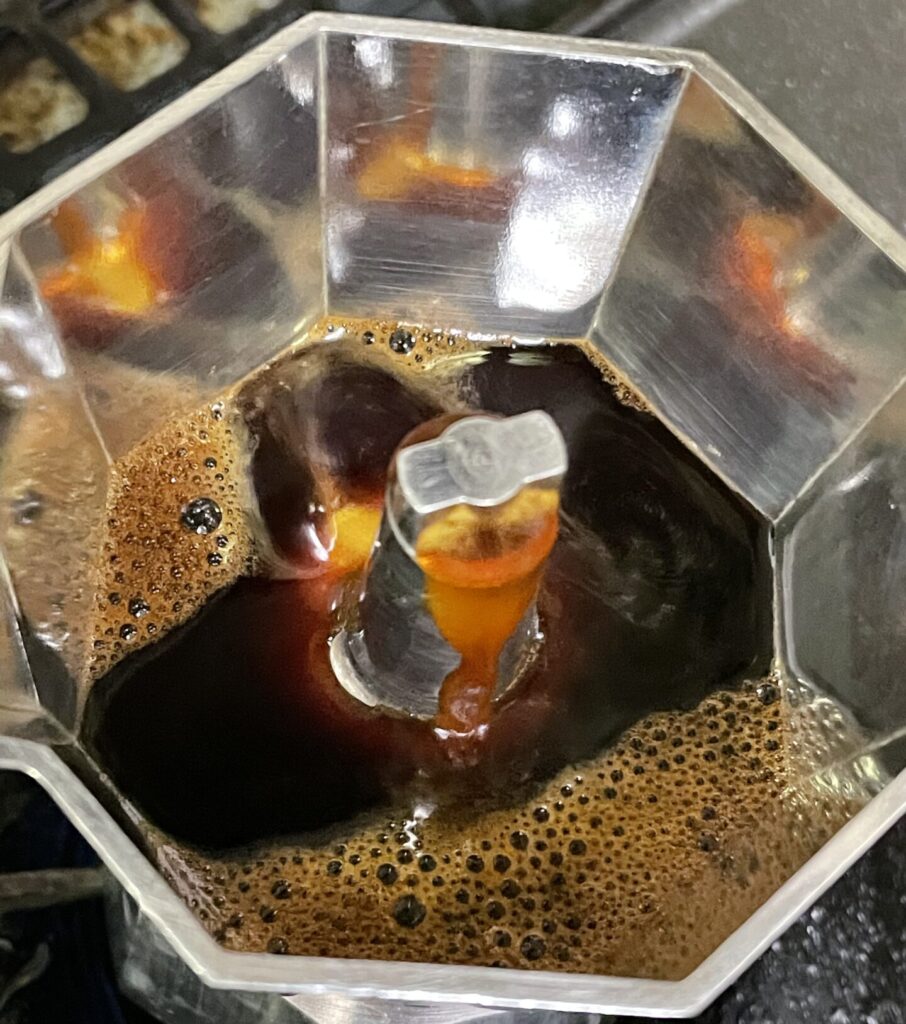
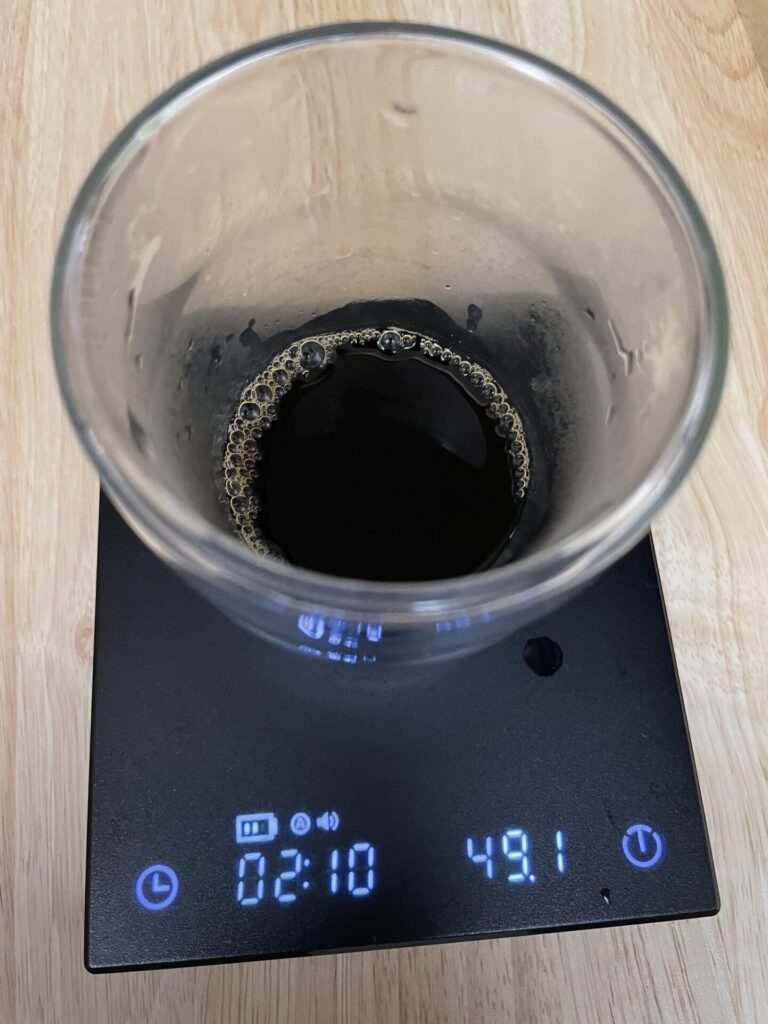
Keep the lid open to see what is going on. After a while coffee will start to flow out. The moment you hear/see the first bubbles take it off the stove. Keep a bowl of water ready so that you can cool the pot by putting the bottom part of the pot in. This will stop the brewing process and prevent over extraction.
With this recipe and size of pot, I get about 60g of strong coffee. Make sure you taste it at this stage to check how you did. If it’s got a bad sort of sourness, maybe your grind setting is too coarse. On the other hand if you have an over powering bitterness you are probably too fine.
In my case, I first tried with 12 clicks on my TIMEMORE SLIM PLUS. The coffee had a very punchy sourness at the beginning. It did go away pretty quickly so it wasn’t that bad but I tried going a bit finger finer with my grind. This made the coffee better balanced.
Strong coffee : with a pour over
Not everyone owns a moka pot, so this next method uses a pour over dripper like a V60.
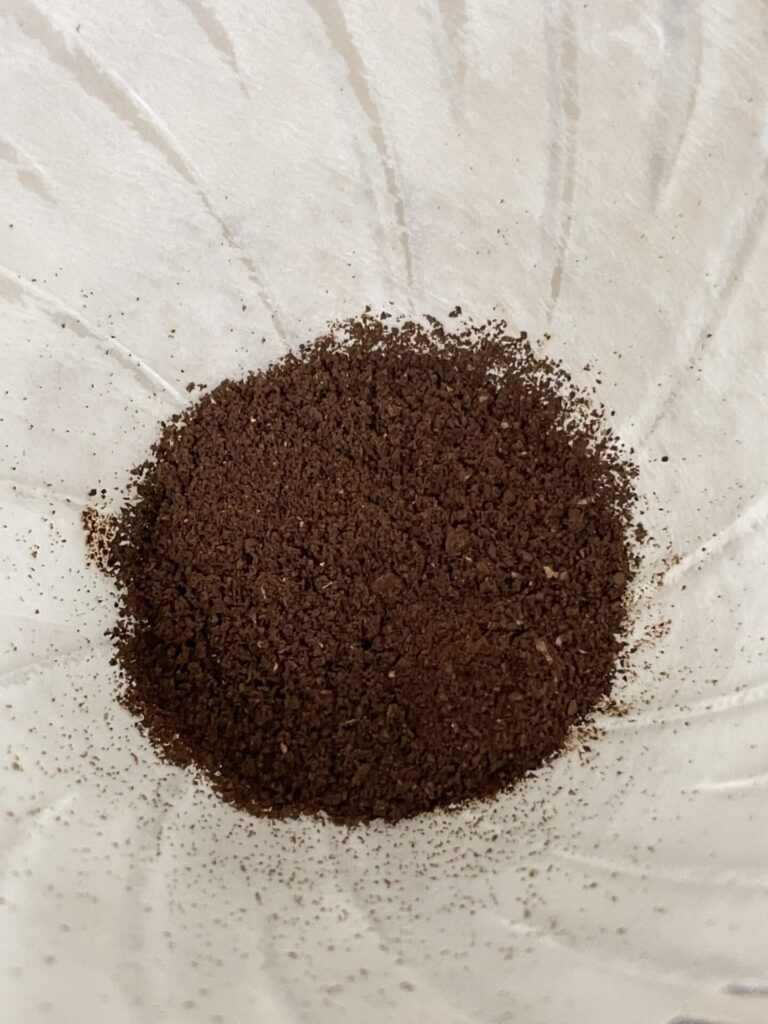
The grind setting should be finer than a normal pour over. (I used 10 clicks) For this recipe I used 10g.
But it would be very difficult to get strong coffee with a normal pour over. So we will try an immersion brew to increase the brew time to help the extraction.
I used the switch dripper from HARIO (jump here for a review). It’s basically a V60 with immersion brew capabilities. I strongly recommend it for those who want to improve the repeatability of your brews.
Don’t worry if you don’t have a switch. I will cover how you can do immersion brewing with a normal V60.
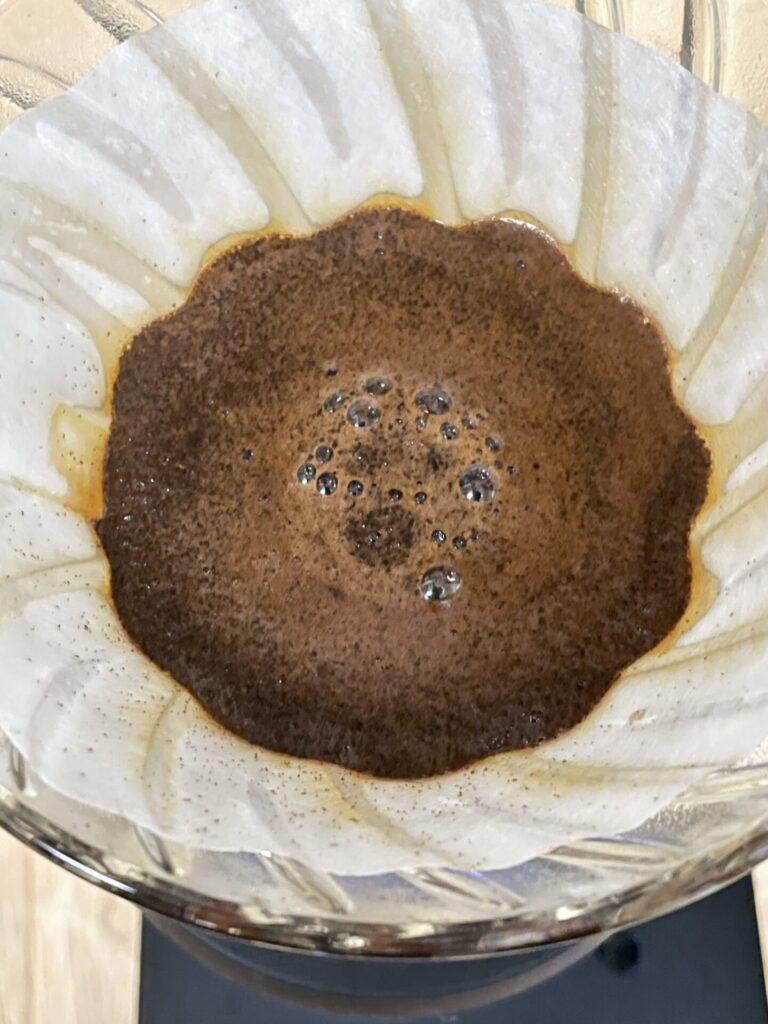
I added 70g of boiling water close to 100℃. This extra heat will assist the extraction. Stir the slurry, then wait for 3 min and start the draw down by flipping the switch.
Now for those that do not own a HARIO Switch dripper. You could use a French press if you have one of those. But you could just use a mug and a V60.
In a mug or cup, add and mix your coffee grounds and boiling water. Wait for 3 min then simply strain the slurry in the mug through a V60 or any other paper filter. This method will get you a paper filtered immersion brew without any special equipment. The ones down side it’s that it’s a bit more messy and harder to clean up.
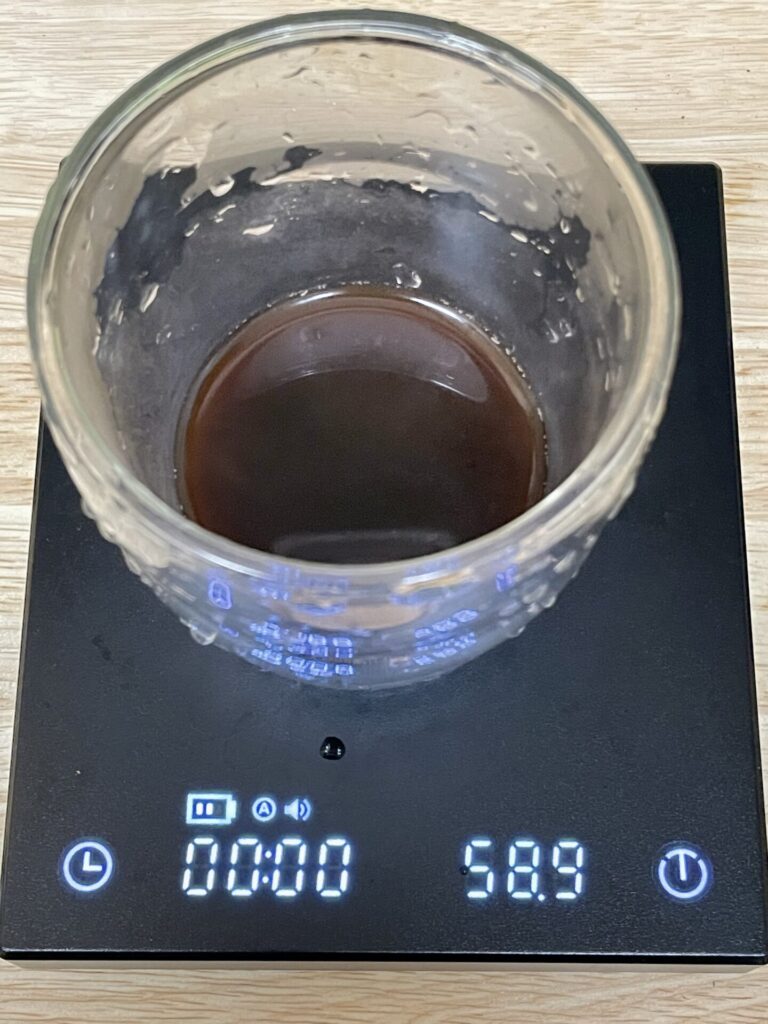
So now we ended up with about 50g of strong coffee.
Which extraction method is better?
So if you have the choice, which method is better? As you may have observed from the photos of the extracted cup of coffee, the moka pot method produces a opaque cup, where as the paper filter method’s cup is translucent. And they kind of taste like that too. The paper filtered cup has a clearer taste, compared to the moka pot having a edgier but richer fuller bodied taste.
Both are very strong on its own. But when you add milk the moka pot coffee did retain stronger taste of coffee. This maybe because since the moka pot is a metal filter brew it contains a lot more of the coffee oils. The milk also helps to round out its edginess. So I personally preferred this method.
But the paper filter method was not bad. It was weaker in comparison, but it still had a good coffee taste with the milk. If you like to make it stronger, you could adjust the amounts of coffee beans you use.
Foamed milk : shake in a container
The first method I tried is to put some milk in a sealable container and shake it to incorporate some air into it.
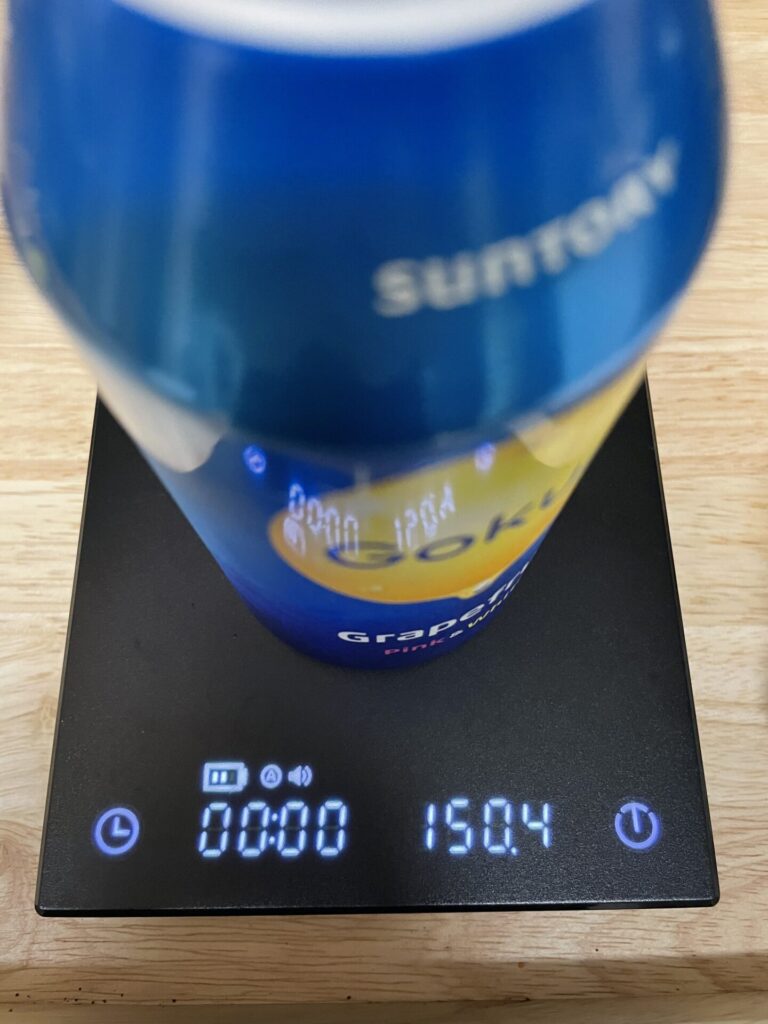
In my case I used a can with a lid. I used 150g of whole milk and shook. It’s very hot recently in Japan, so kept the milk cold.
After a minute of shaking what I got was this.
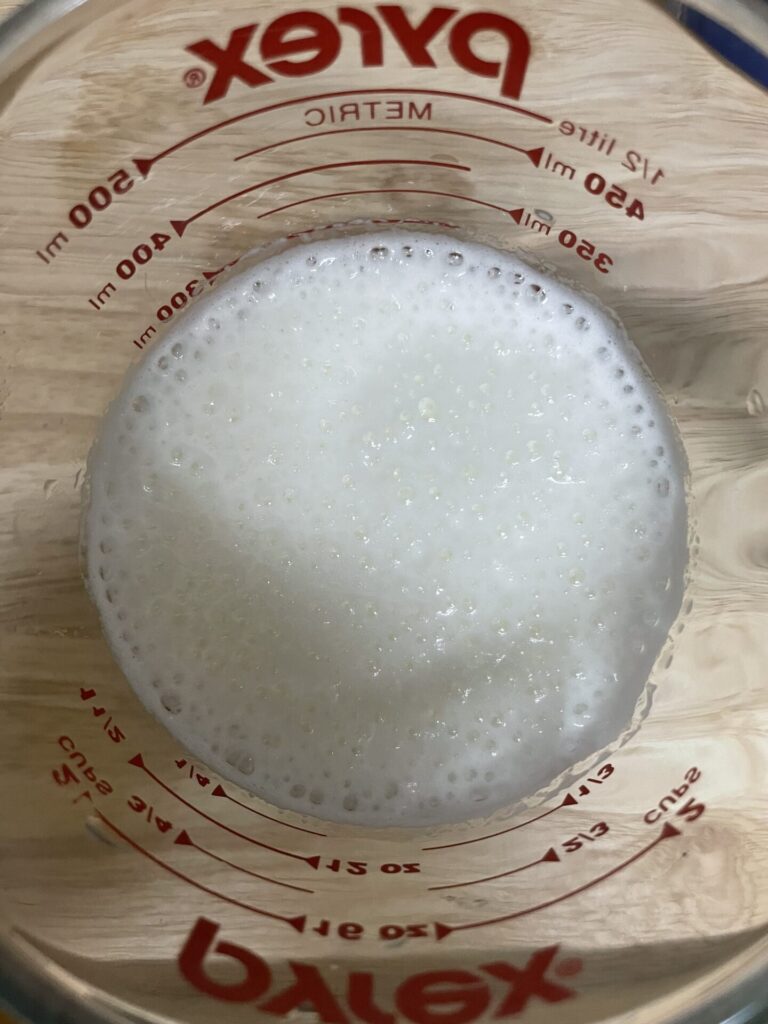
As you can see, it ended up with a lot of large bubbles. I tried scooping of the top layer of big bubbles.
There were close to no micro foam that I was after.
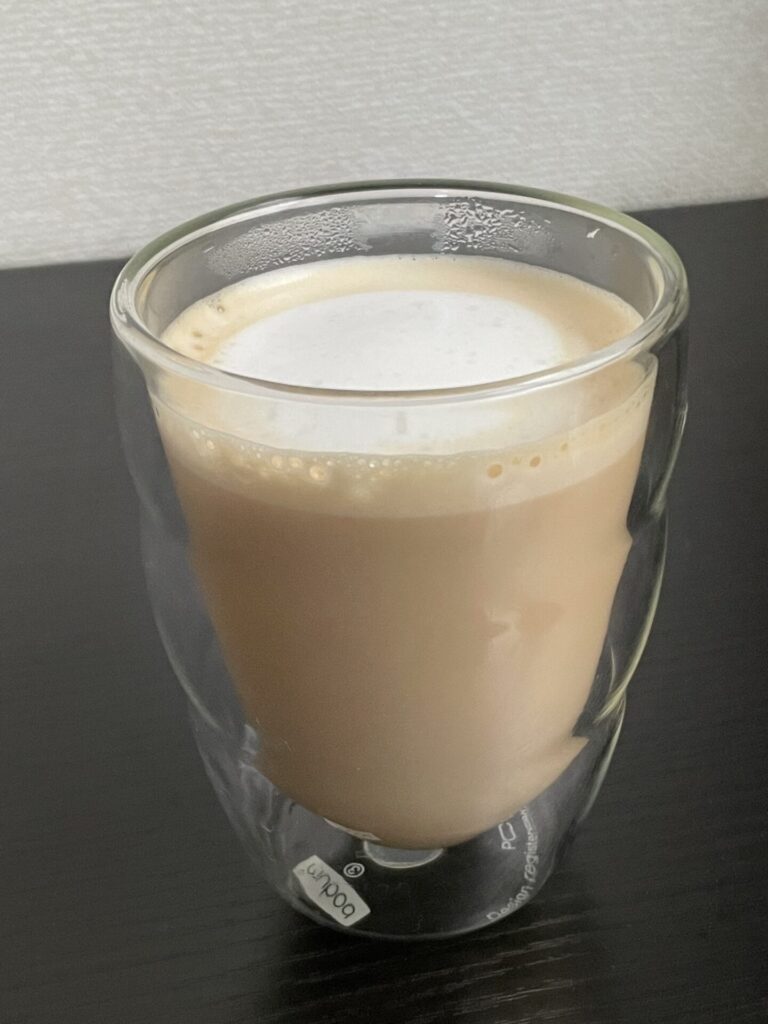
When added to the coffee it looked like the following.
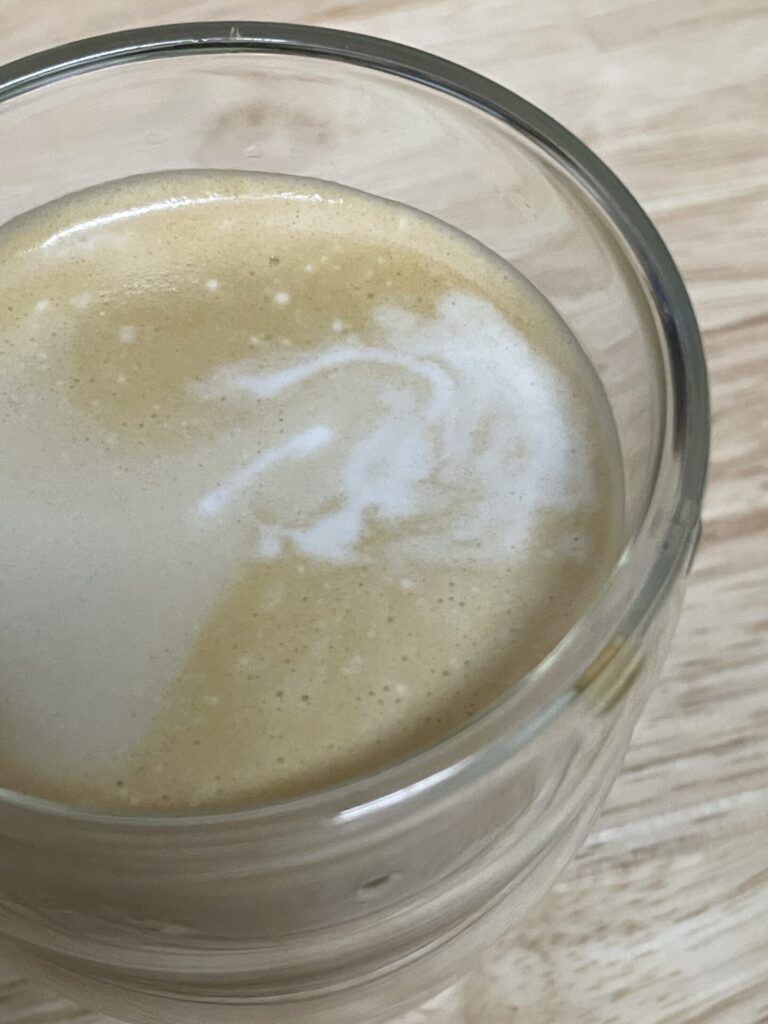
To be honest, this method was a fail. You can see a tiny layer of foam at the top but it did pretty much nothing to the texture of the drink. I would say that it’s was not worth the extra effort.
If you want to try, I would guess that using a container with more bumps may have a better chance.
Foamed milk : with a hand blender
もう一つ試した方法はハンドブレンダーです。150gの冷たいミルクを準備し、ブレンダーで撹拌しました。
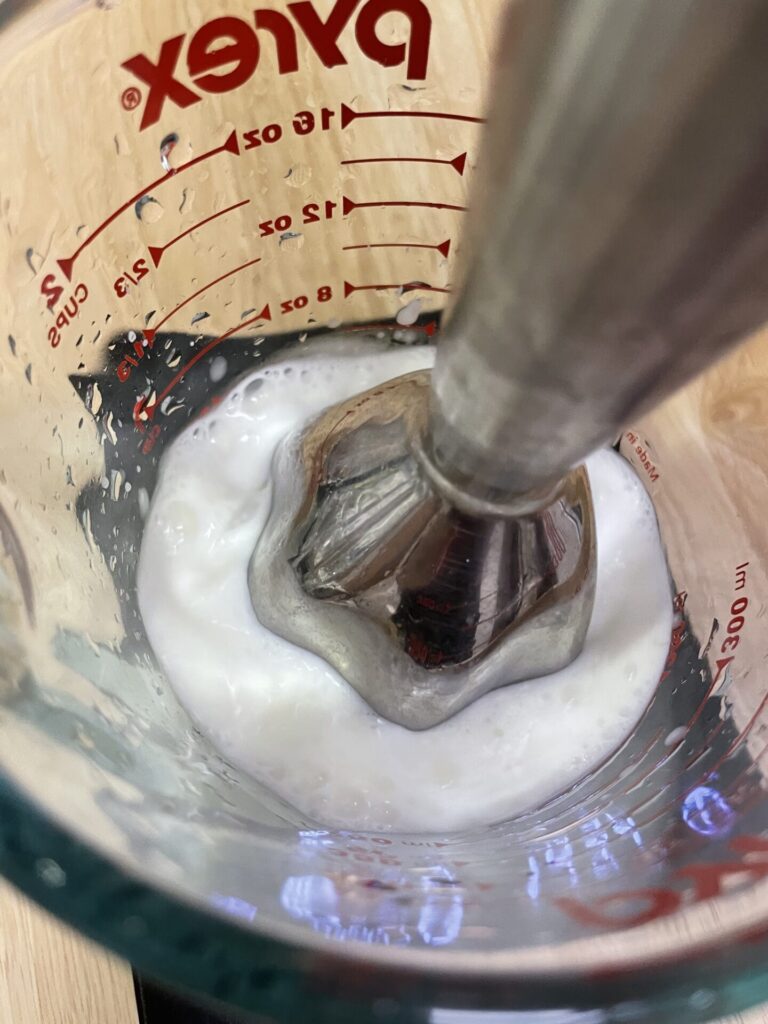
So the second method I tried was with a hand blender. Again I prepared 150g of milk and gave it a blend.
I took a page out of the technique used for steam wands. First you want to place the blade of the blender right at the surface of the milk. The aim here is to incorporate the air in to the milk. You will be able to hear the bubbling when you are at the right height. The surface of the milk will start to rise as it gets more air.
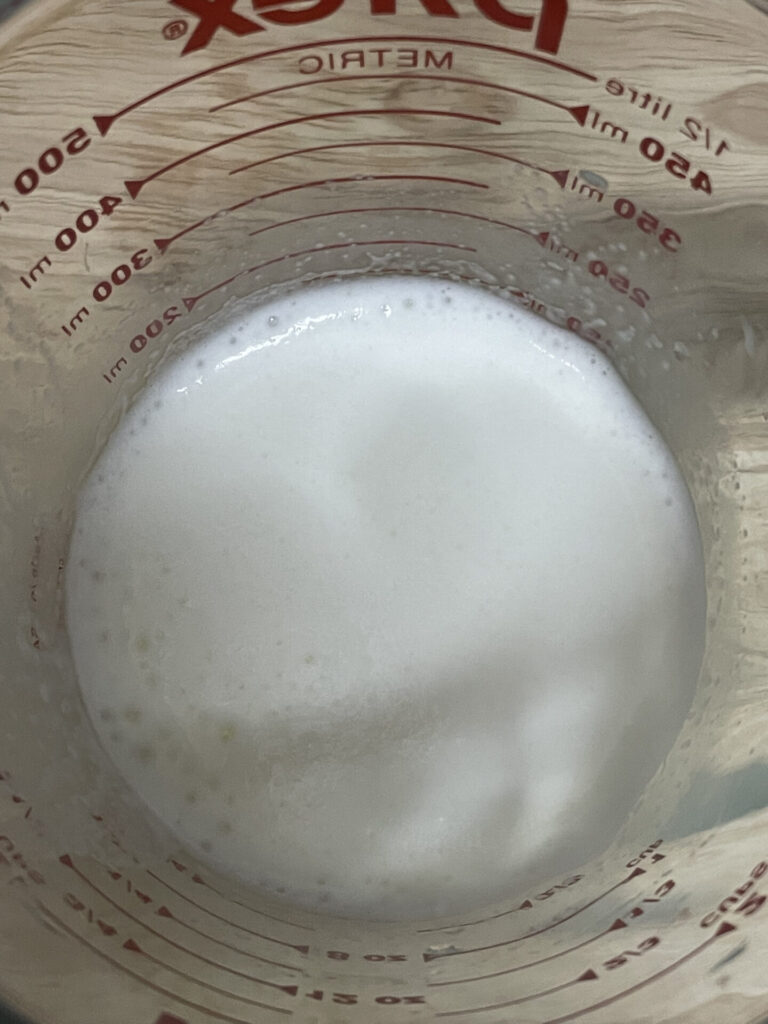
Once you have the desired amount of air in the milk, it’s time to break up the bubbles. The air bubble incorporated into the milk at the first stage is quite large. In the second stage, you want to submerge the blade into the milk (so that you don’t hear the bubbling anymore), then move the blade to the side and slightly angle it. You want to “roll the milk”, which is to get a swirl in the milk. While you roll the milk the larger bubbles in the milk get broken up into fine micro foam.
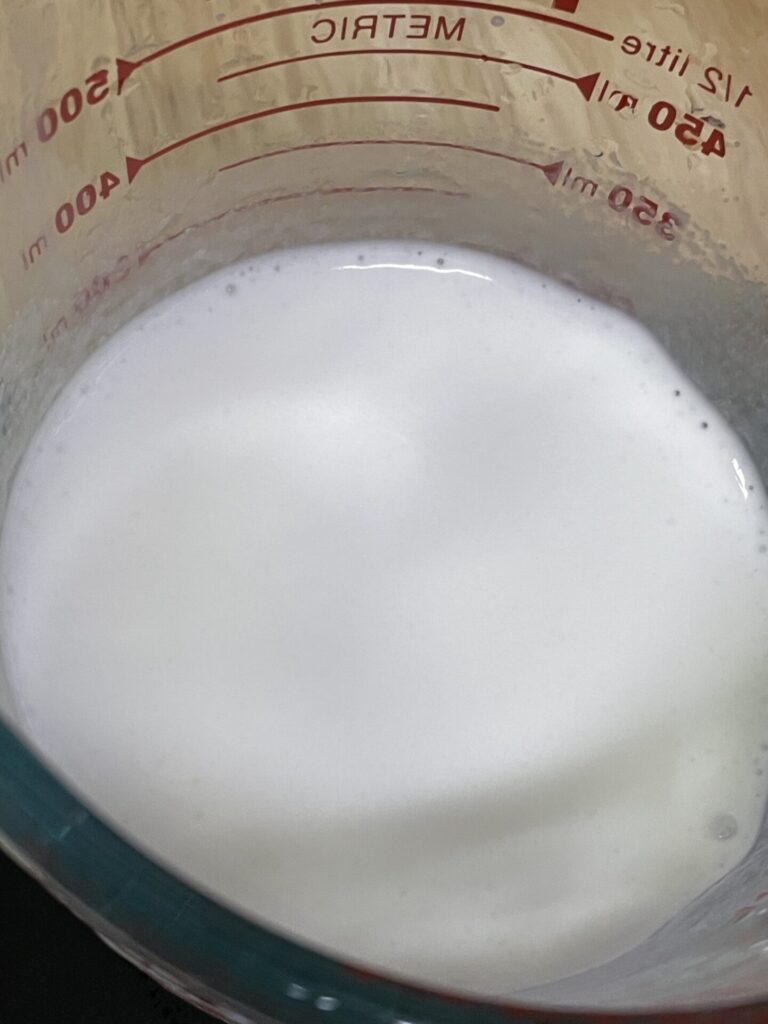
The result is as follows. It’s kind of difficult to see the difference in the picture, but the volume as increased from 150ml to about 250ml. There are very few visible bubbles, and you have some silky foamy milk.
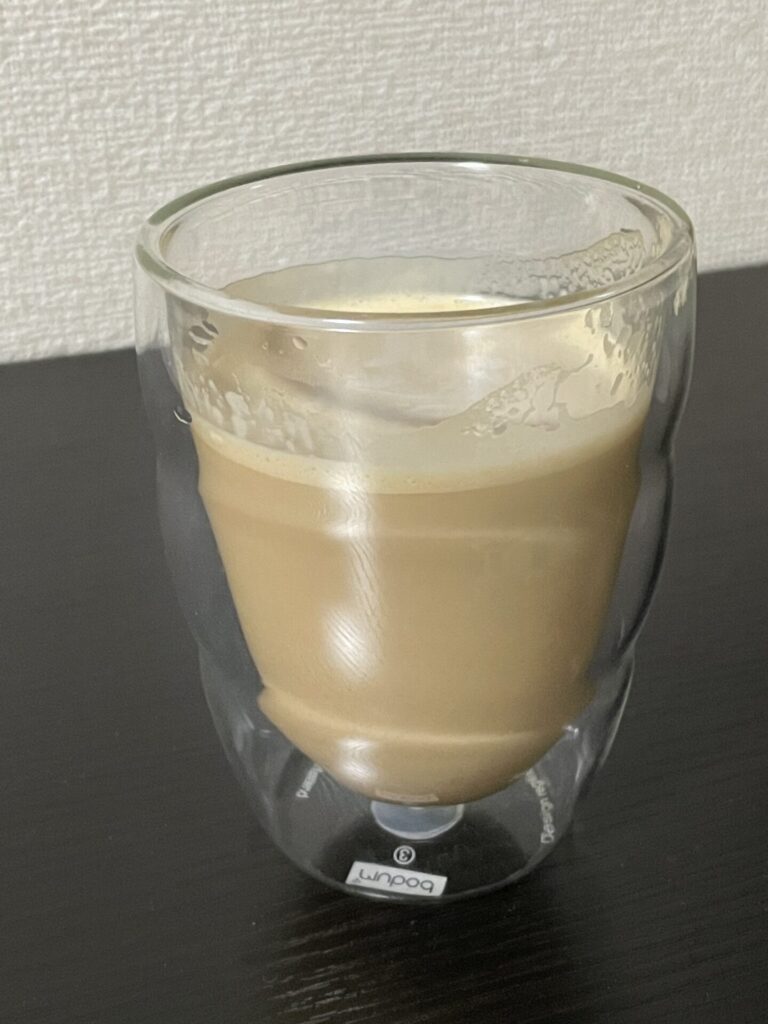
Poured into the coffee, it looked like this.

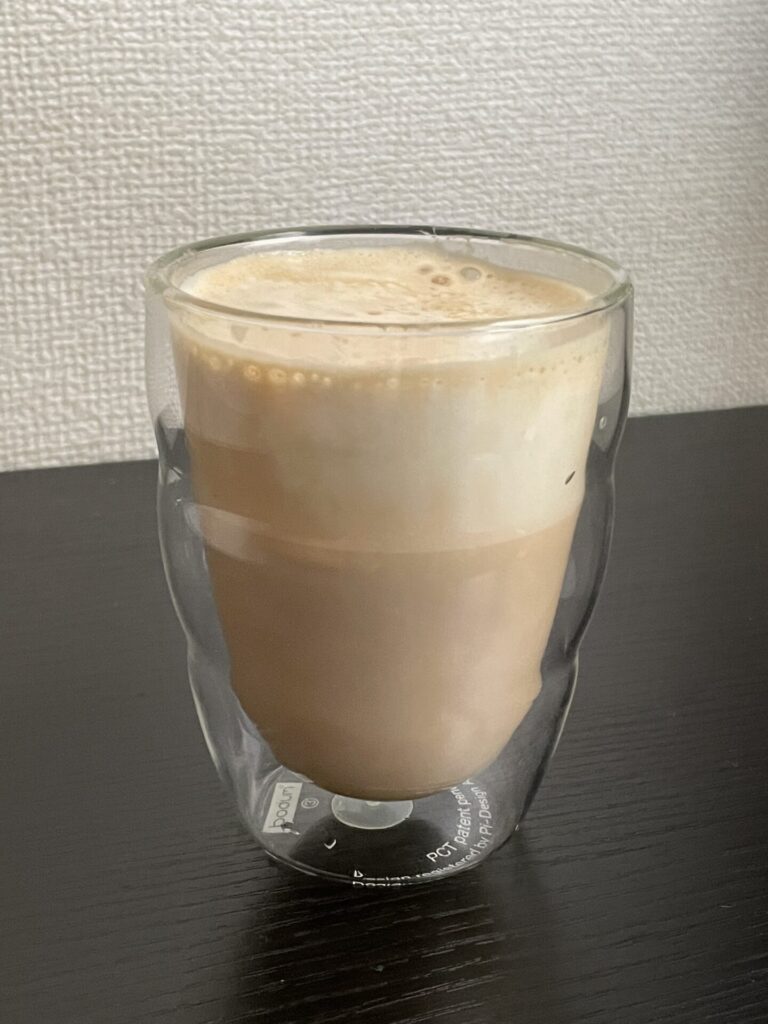
As you can see, it turned out with a distinct layer of dense foam at the top. The texture of the drink had the signature fluffiness.
I think you would have a difficult time trying to make latte art with this, but it produces a very decent latte.
So the results above were with using cold milk. When you want a cold latte, thats fine. But I also tried the same technique with warmed up milk. I heated up 150g of milk in a 600W microwave for 1min.

In my attempt, the warm milk was harder to get a nice layer of foam. It seemed to disappear more easily, and the resulting drink was not as fluffy as the cold version. I would say I need a bit more practice with this.
Summary
I shared 2 methods each for preparing strong coffee and foamed milk, using different sets of equipment. I hope you found a method that you could try out.
Personally, I enjoyed the moka pot brewed coffee with the hand blender foamed cold milk the best.
I also know that there is a way to make foamed milk using french presses. I might try this some time in the future, but the reason I didn’t this time is that my french press was quite bit and did’t really work too well for small amounts of milk.
Hope you will make use of what you have in your house to try making latte. If you find a different or better way, please let me know in the comments!


コメント