
Hi everyone!
Do you regularly do maintenance on your grinder? Embarrassingly I been feeling that I don’t do it frequently enough.
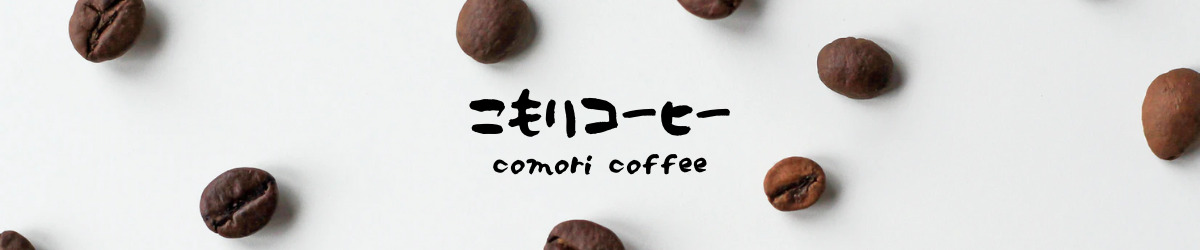
So today I will cover the maintenance for my hand grinder, the TIMEMORE SLIM PLUS, step by step.
This would be applicable to the SLIM which only has different burrs. And the general idea will be the same for a lot of hand grinders.
I won’t be doing any thing special but will cover the basics. It may help you when you forget how all the parts come back together.
Let’s get started!
Before cleaning
As a reference point, let’s look at the state of the grinder after a couple weeks of use.
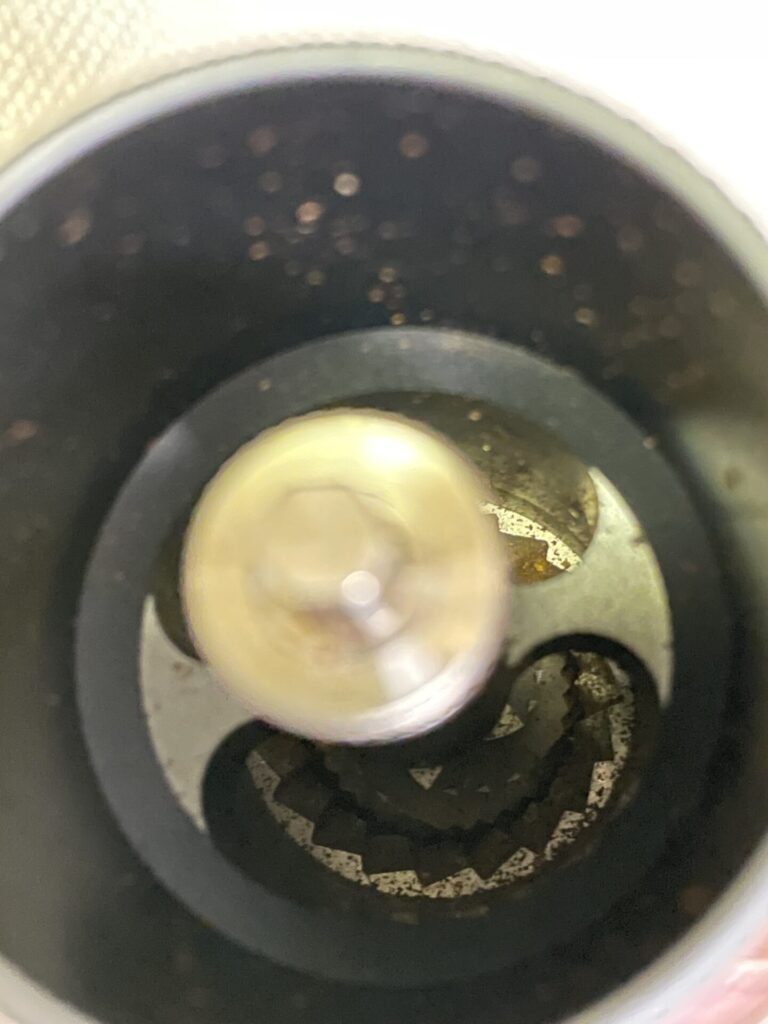
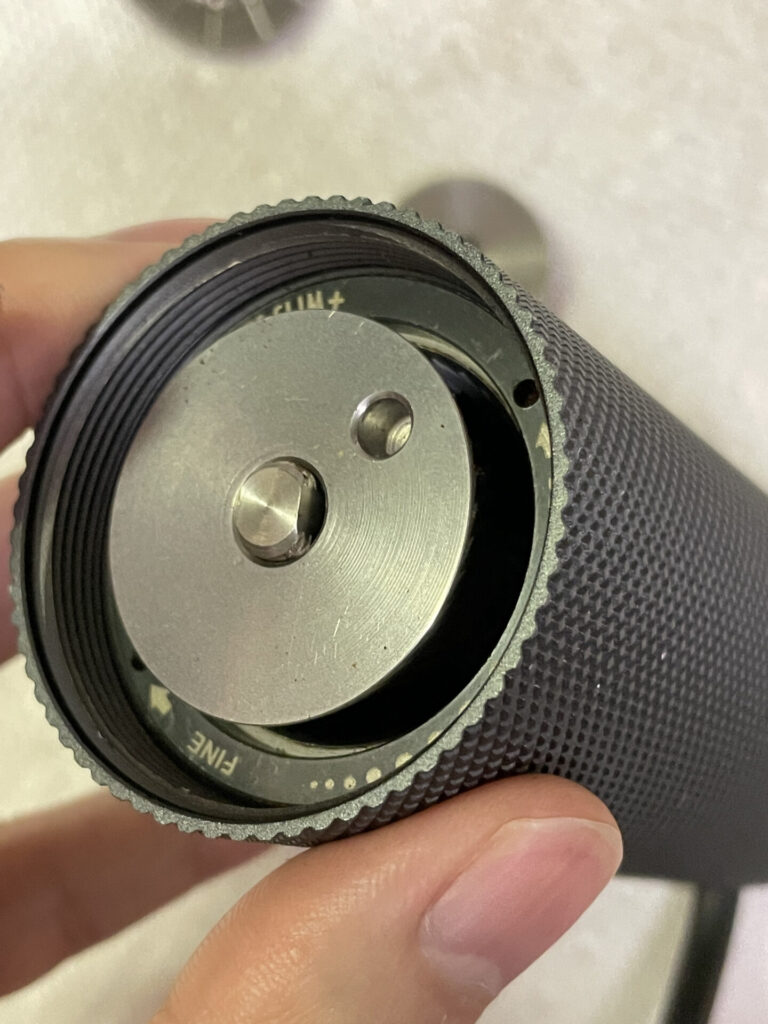
Starting off with the view from the top. You can see quite a bit of grounds stuck.
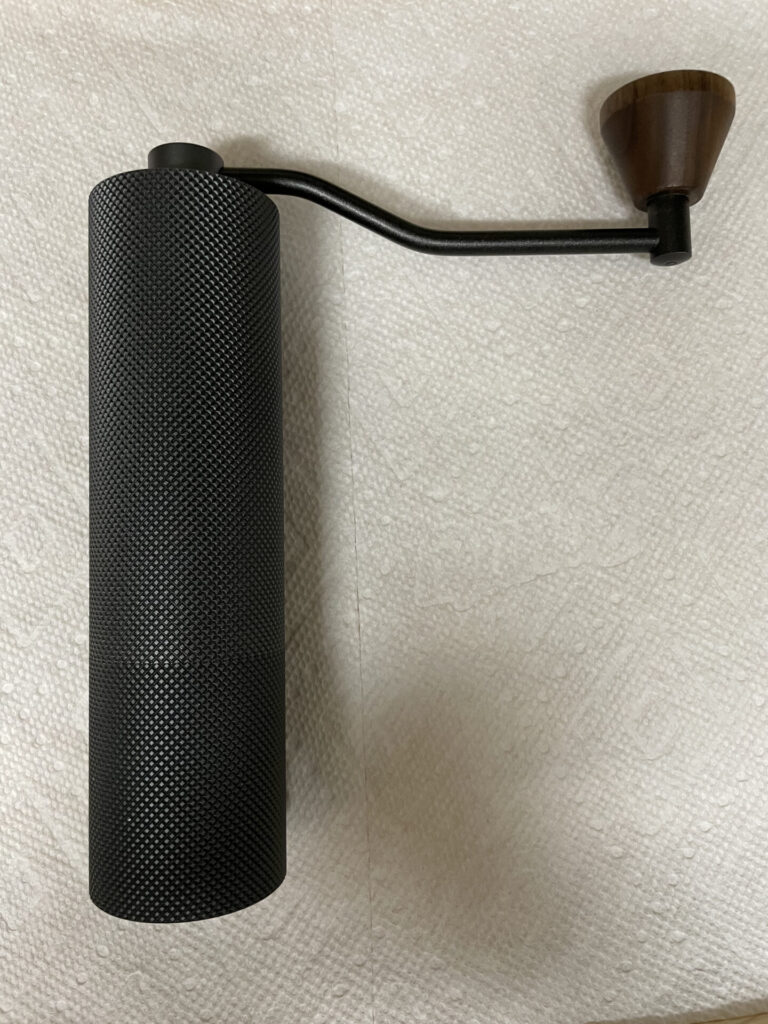
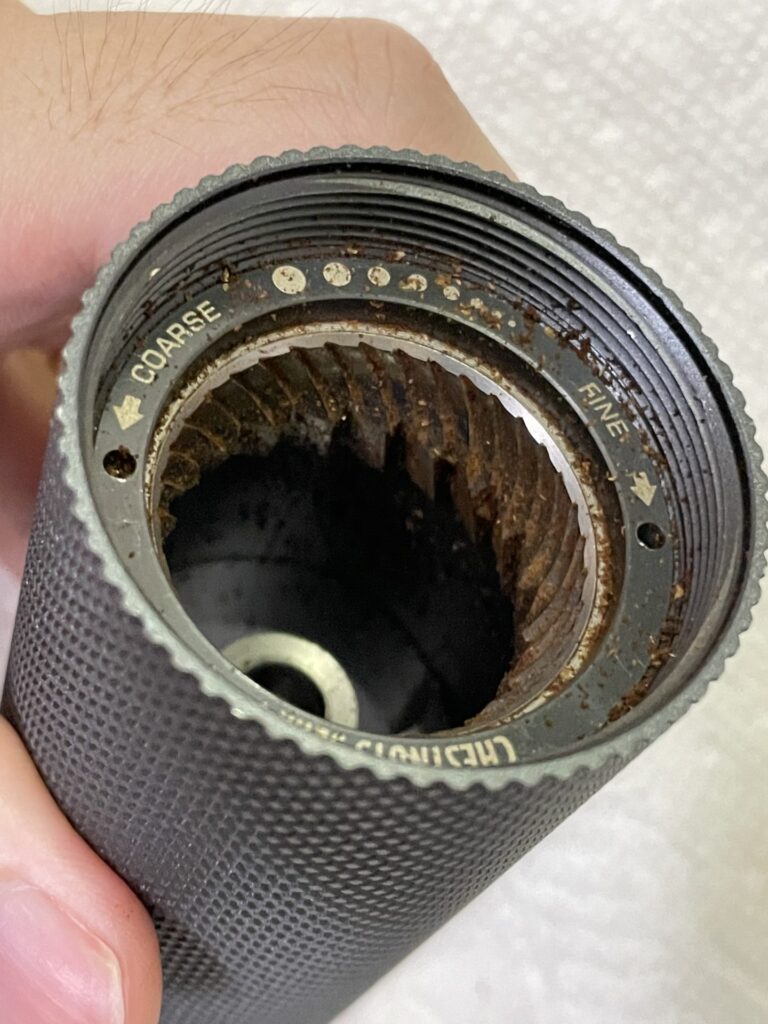
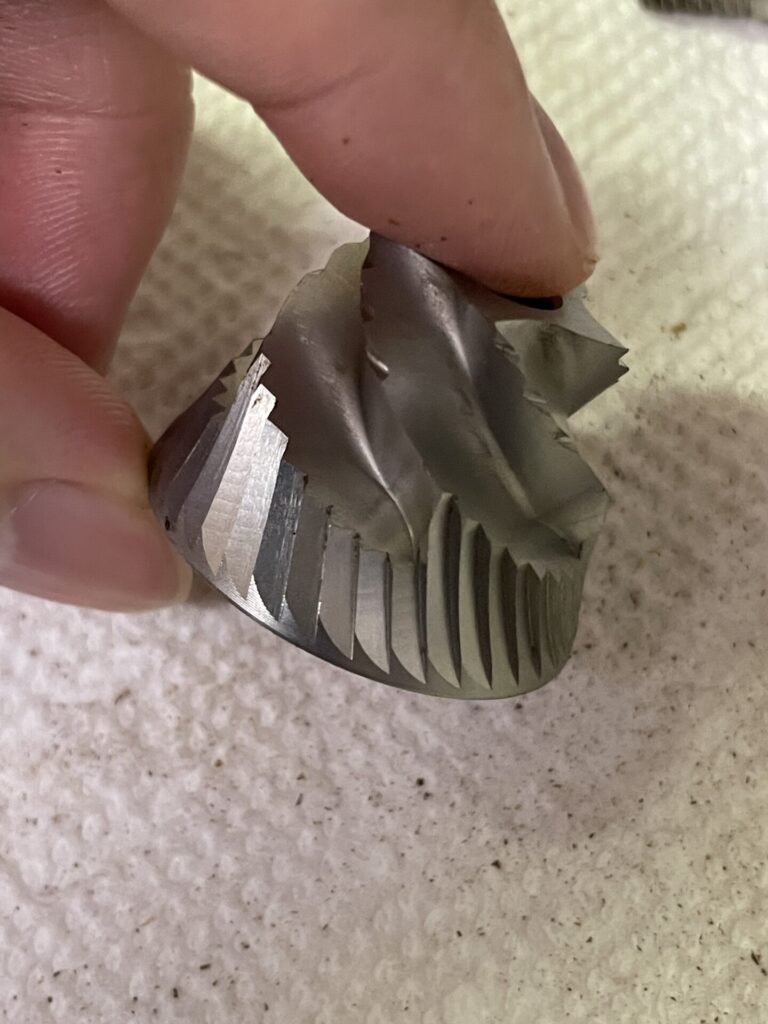
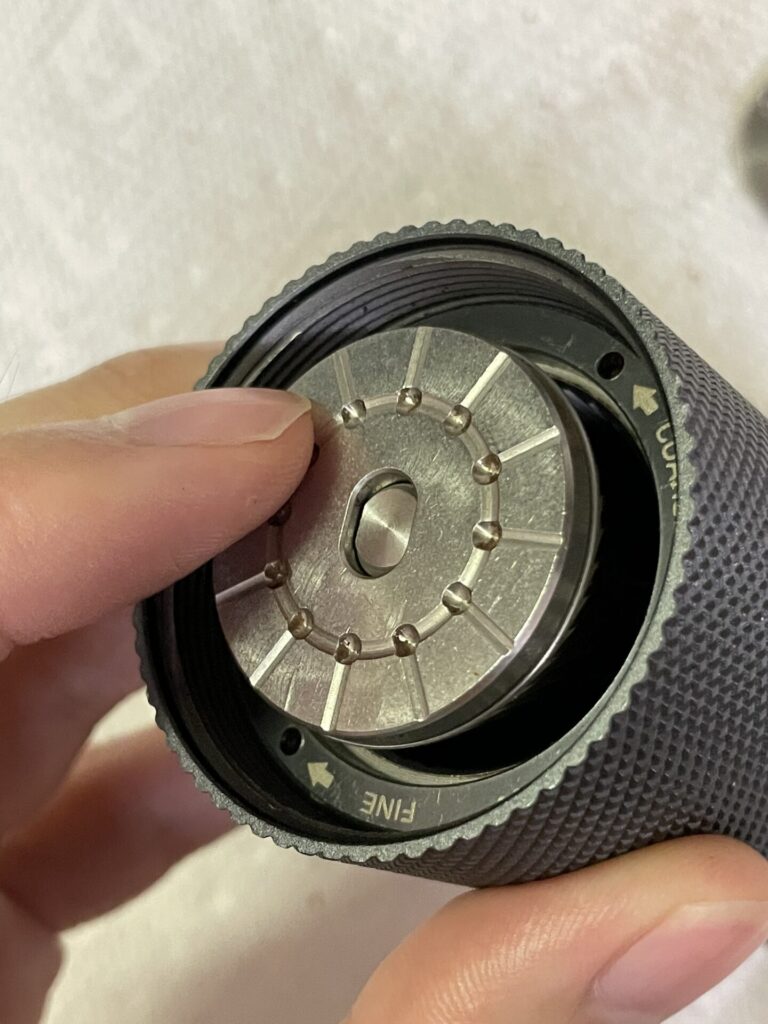
Next from the burr side.
And with the center burr removed. I use this trick I shared in this post to push through air between the burrs to reduce retention, but there’s still a decent amount.
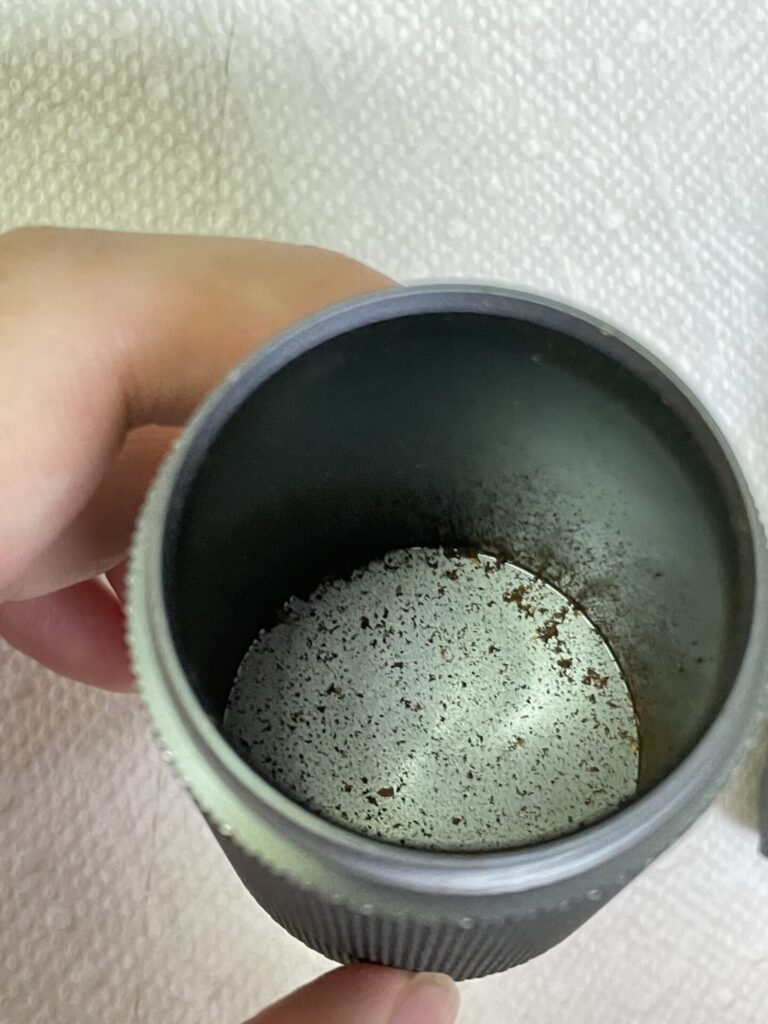
Finally the grinds catch is in this state. Fines get stuck to the corners even after trying to knock them out.
Taking the grinder apart
The first step in maintenance is to disassemble the grinder.
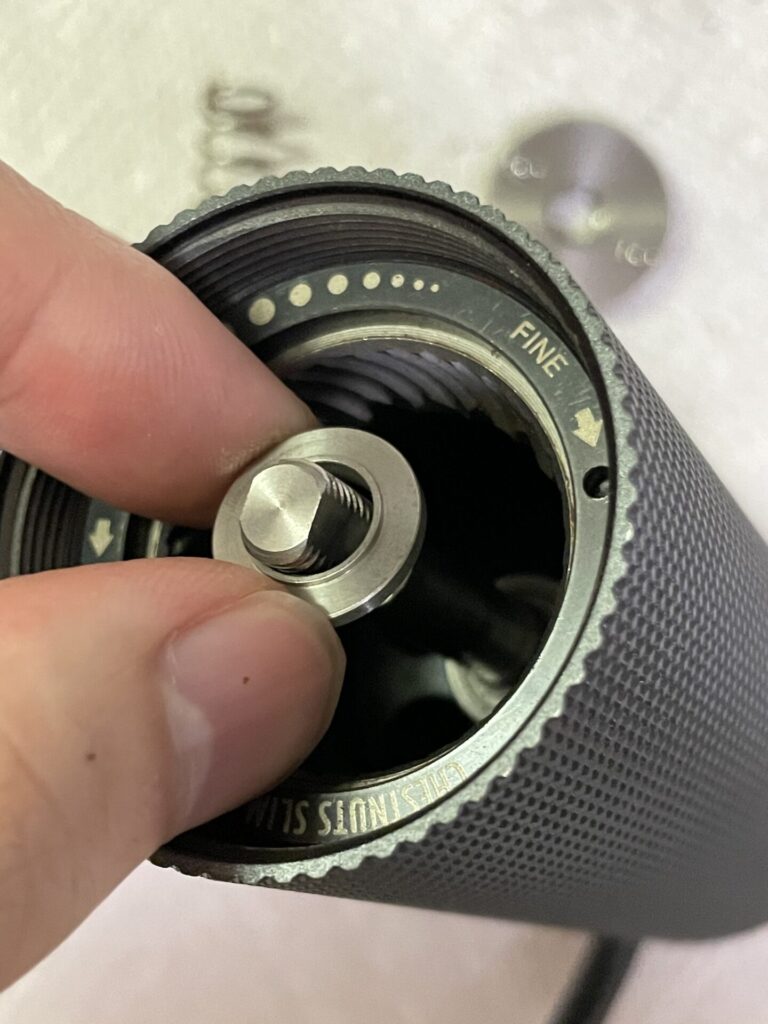
Take the burr off by turning the adjustment dial all the way loose.
A small trick here is to hold down the part beneath with your finger while you turn. This way it doesn’t click every time and it will be much faster.
One more thing, before you start loosening, make sure you know what grinds setting you are on. If you don’t, tighten while counting the clicks.

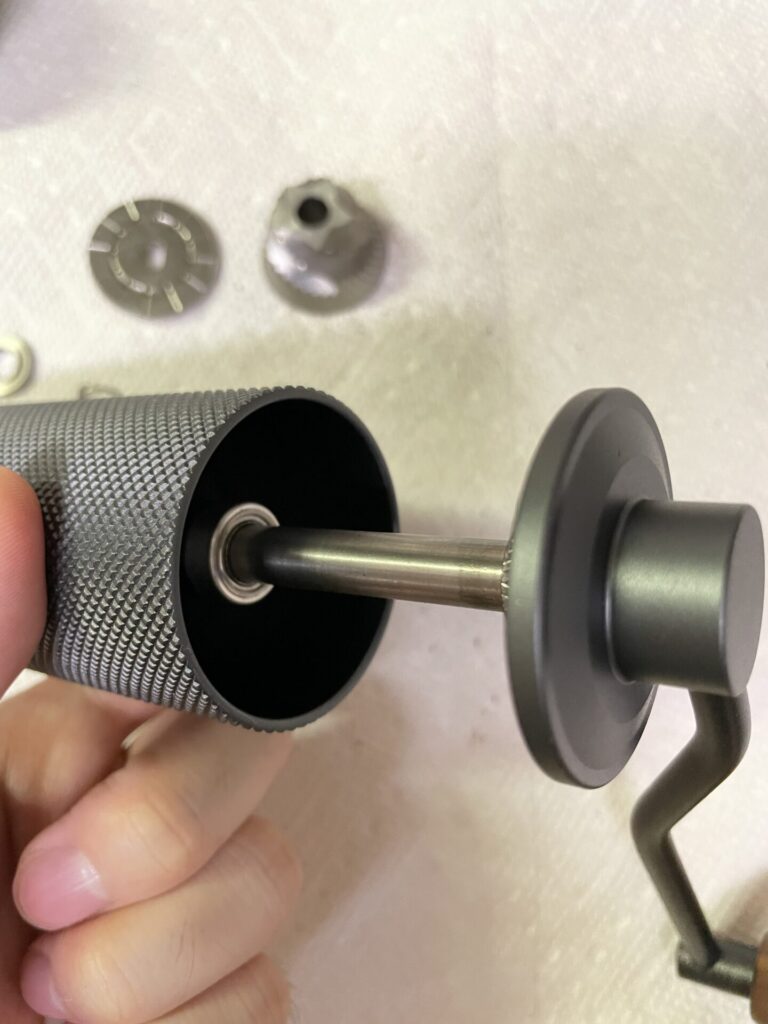
Once you take the adjustment dual off, all the parts will slide off.
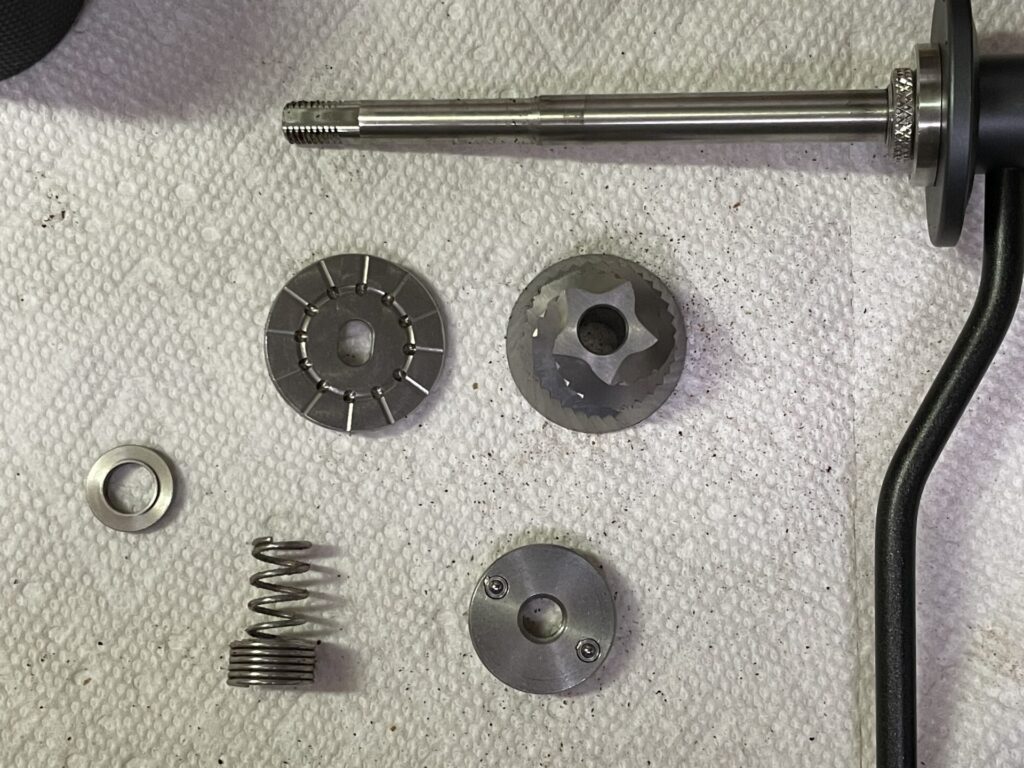
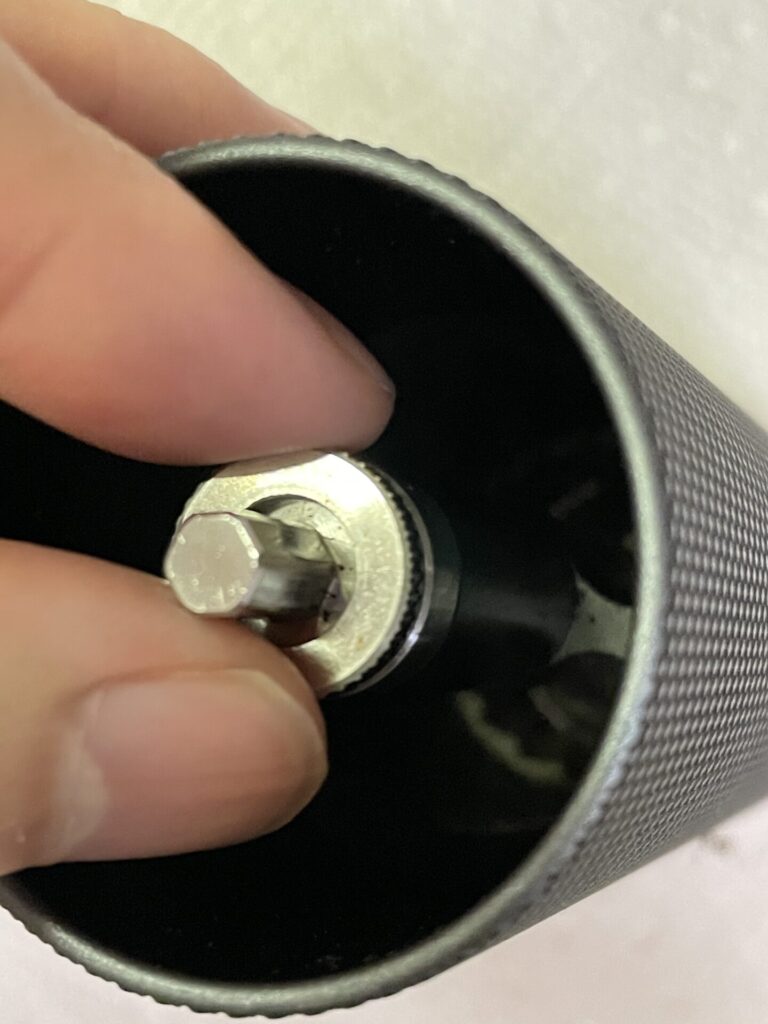
By the way, there is a nut on the top side of the shaft but you don’t really need to take this off.
Cleaning
Let’s start cleaning.
You can just rinse your grinds catch with water. If you want you could use soap.
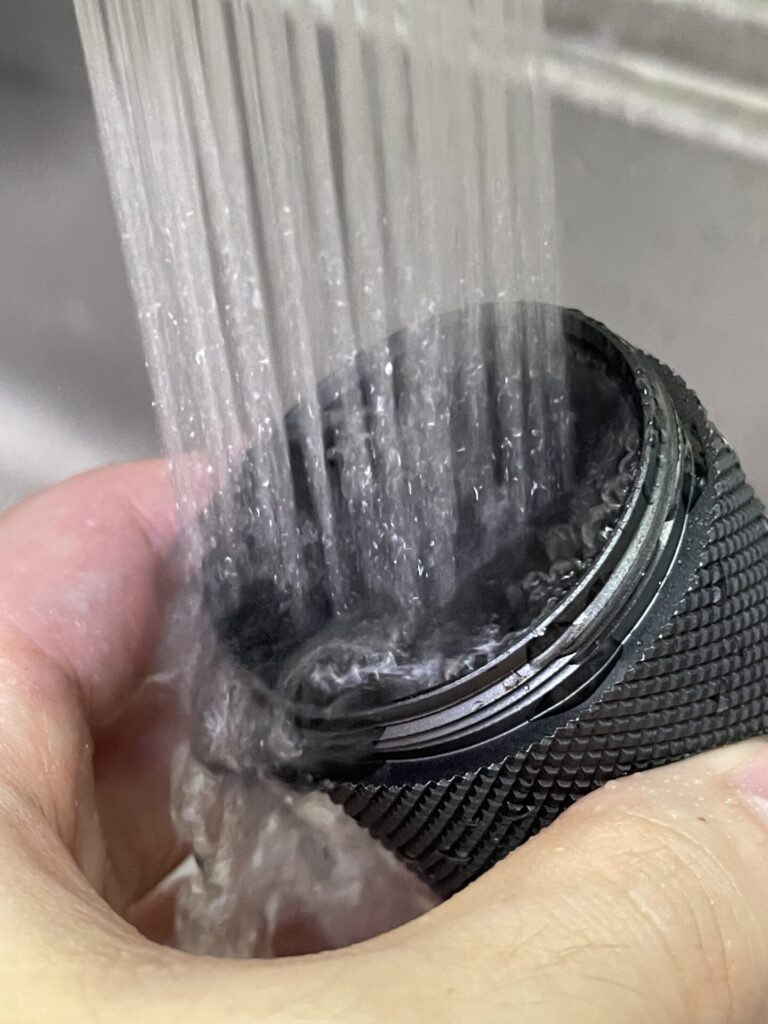
After rinsing, make sure to dry it off using something like a paper towel. If moisture is left, it would cause your coffee grounds to stick.
Don’t forget to clean out the threading. Coffee grounds tend to get stuck here and that makes attaching the catch less satisfying.

For the other parts, it’s better not to make them wet, so we will be using a brush.
The TIMEMORE SLIM PLUS comes with the brush included so I’m using this. But I hear that paint brushes work well.
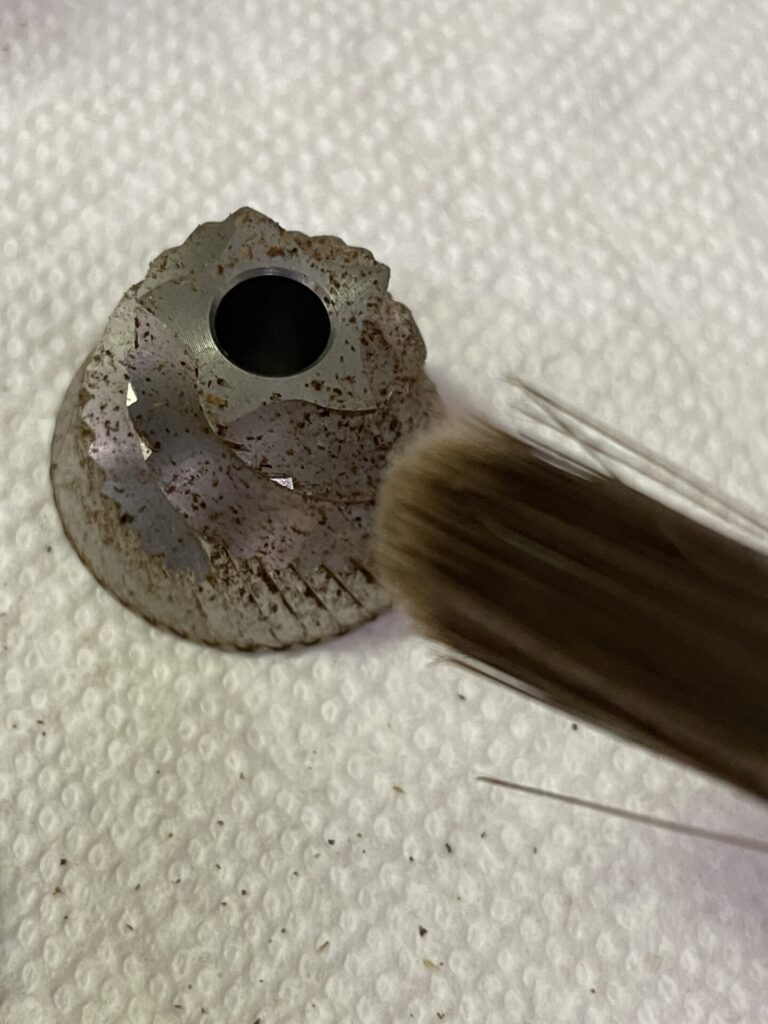
Give the disassembled parts a good brush. The coffee should easily come off.
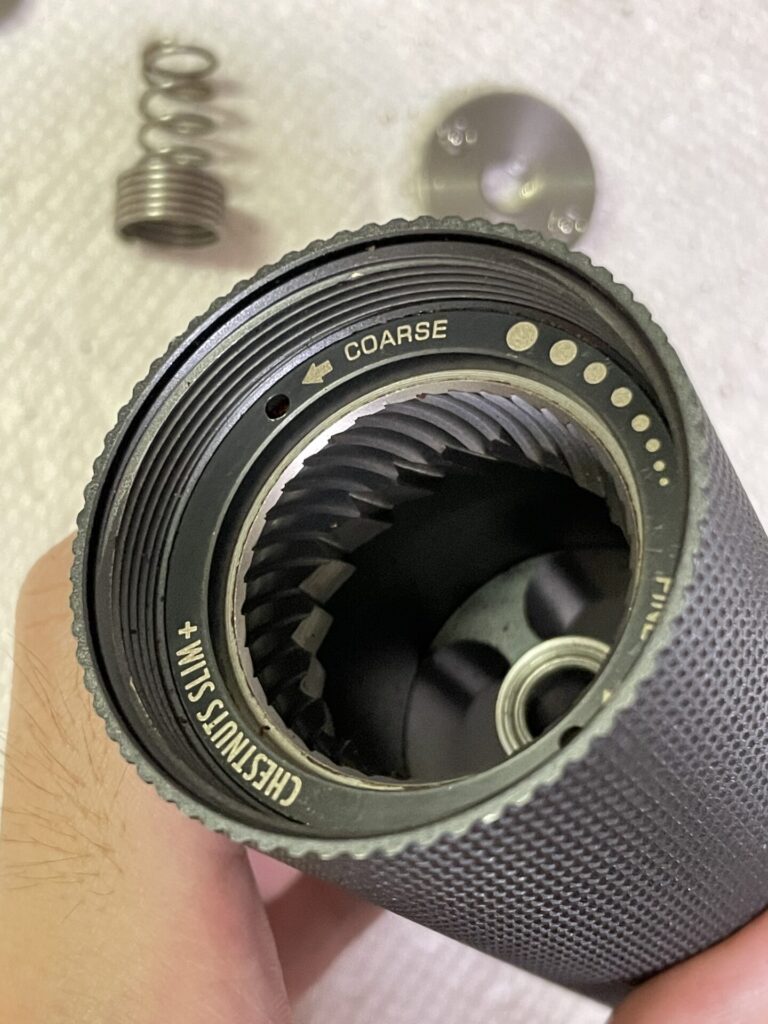
The outer burr and the inside of the grinder is a little more difficult to get to, but you should be able to clean most of it with a brush. The trick here is to not get too obsessed in getting every last bit.
Assembly
Once all the parts are cleaned, it’s time to reassemble. I don’t know why but this step, I really enjoy. It’s like putting together a machine. (Does anyone share the same feeling?)
First, put the shaft back in.
Then from the burr side, the washer goes in first. It’s easy to forget the order of the parts. But you can remember that the washer is there to protect the ball bearing.
The spring is next. The wider side goes in first.
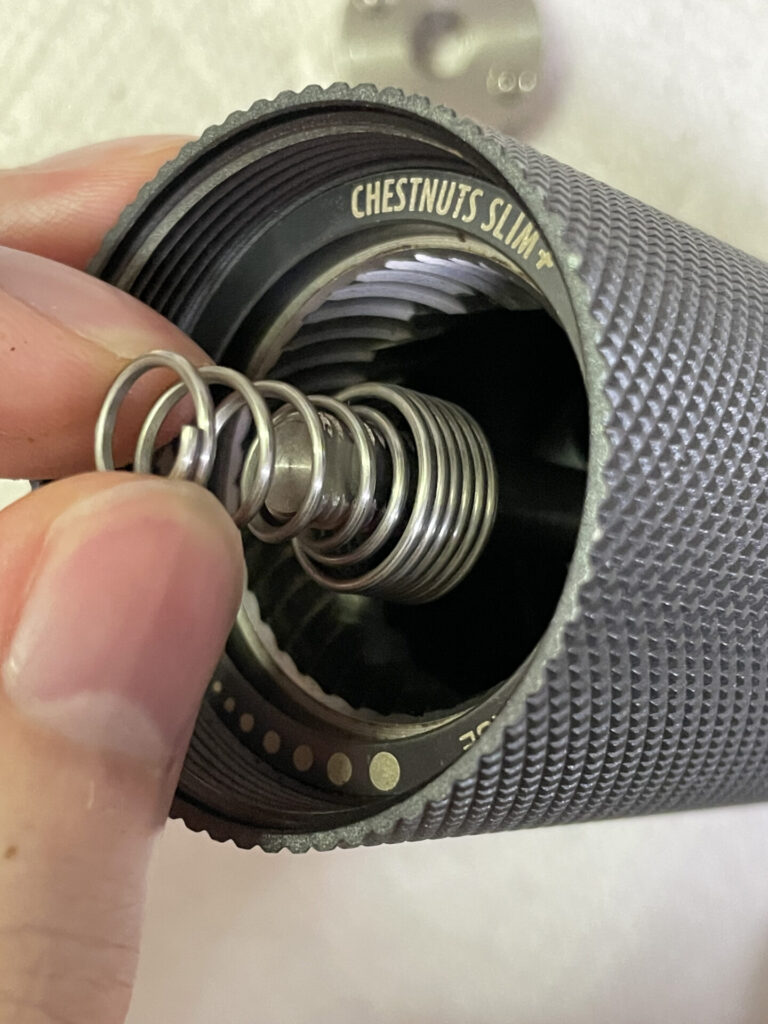
Then the burr.
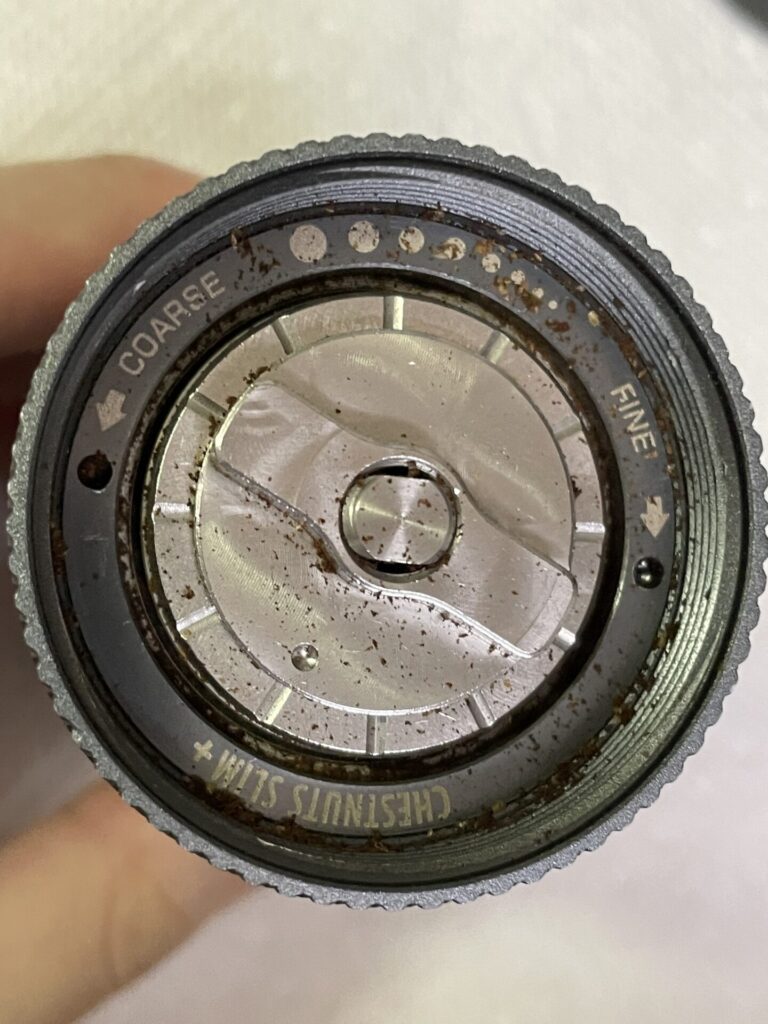
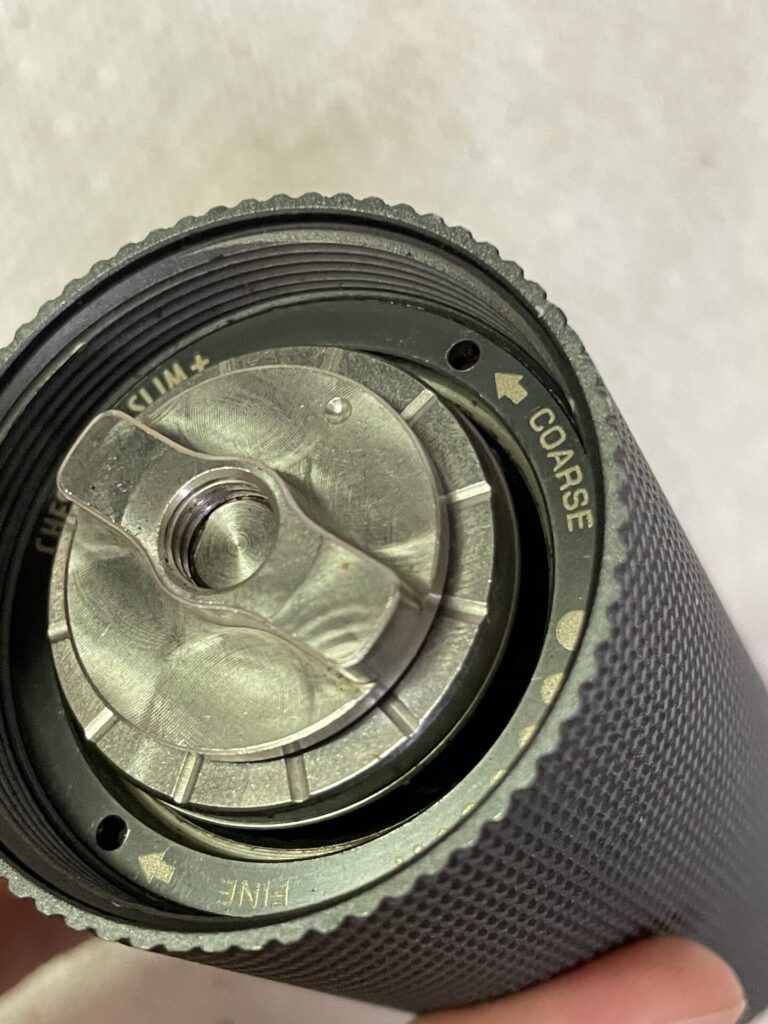
Next goes the part with the adjustment engravings. Align the notch with the burr.
Finally the adjustment dial gets screwed on. Again, it would be quicker if you hold down the part with the engraving.
Tighten the dial until the burrs touch, then loosen it by your preferred setting.
That’s all! It shouldn’t take more than 10 min.
How often do you clean your grinder? Let me know in the comments!


コメント