Hi everyone!
Today I would like to write a little bit about the Weiss Distribution Technique (WDT for short). What it is, how to do it, and why to do it.
Plus, I designed my own WDT tool so let me show that off.
What is it? Why should you do it?
When brewing espresso, you will grind some coffee beans into your portafilter basket, level the grounds and tamp it. This set of actions, often referred to as puck prep, has a variety of ways it can be preformed. And the way you prep your puck has a significant impact on the extraction.
Regardless of what method you choose, the aim is usually to get a uniform and consistent extraction from your coffee grounds.
For uniform extraction you want the water to flow through all parts of your puck evenly.
You do not want to have a lot of the grounds to one side of the basket when you tamp. After you tamp, the puck may look flat, but actually the grounds are just more tightly packed together on one side. This results in more resistance to the water on this side, causing the flow to concentrate on the less dense parts of the puck. You will get over extraction in some parts and under extraction in others.
This is why you want to evenly distribute the grounds before tamping them.
Consistent extraction is concerned about the repeatability of your shots.
Once you dial in a great tasting espresso, you want to repeat that every time. One way you can measure this is to time your shots. If you ground your beans at the same setting, the shot should pull at roughly the same time. But it turns out this is pretty tricky.
To improve consistency, you want to remove as much randomness as possible from your puck prep.
There are many methods and tools to help you with puck prep.
Some people like to level and distribute the grounds with their hands. (Probably not the best in my opinion… especially these days)
There are these distribution tools, which you spin in the basket to distribute the grounds evenly.
That was a long intro, but WDT is one of the ways you can get an evenly distributed puck.
Its said to be one of the most effective methods and is quite popular. (A bit of a down side is that its takes a bit more time than the other methods)
The idea is simple, you just take some needles and mix up the grounds before you tamp them.
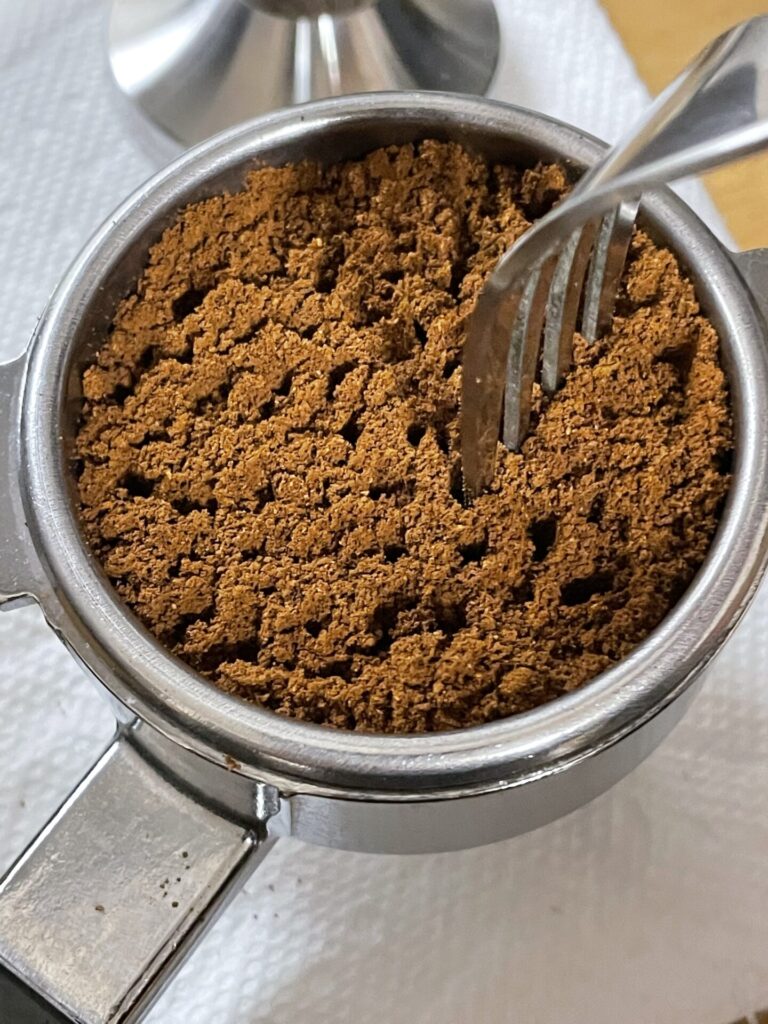
You probably noticed that the grounds which come out of a grinder has some clumps in them. This will depend on the quality of your grinder, but mine is quite clumpy as you can see.
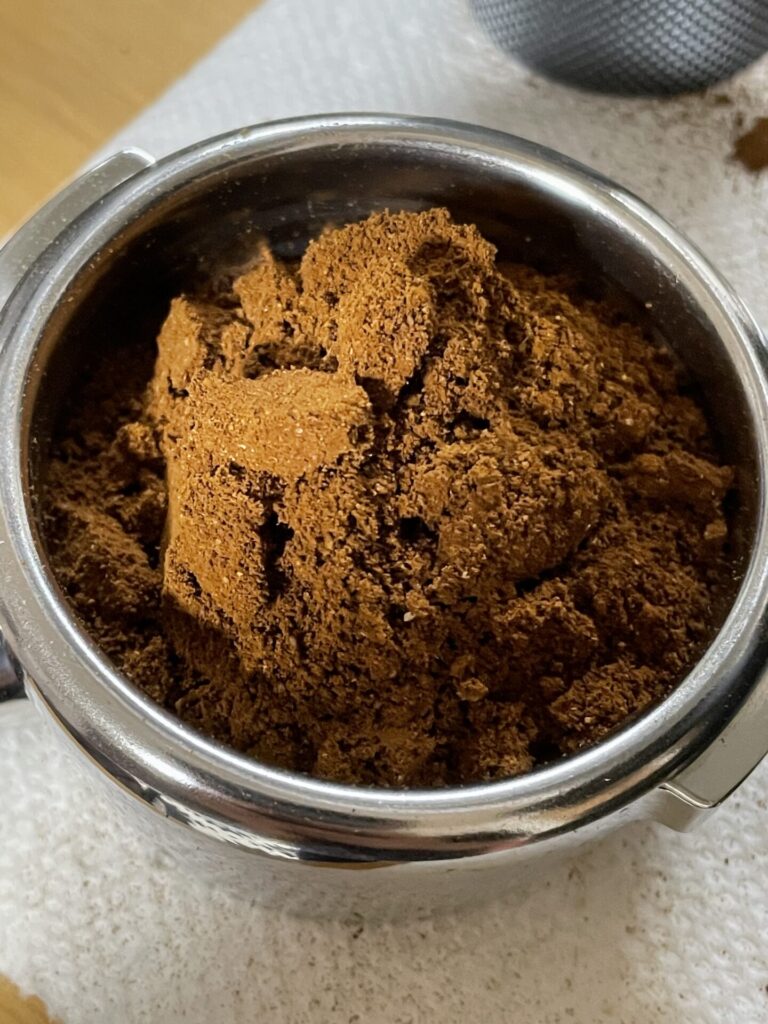
If you keep these clumps, you will inevitably get uneven distribution in your puck.
So a WDT tool is used to break up these clumps.
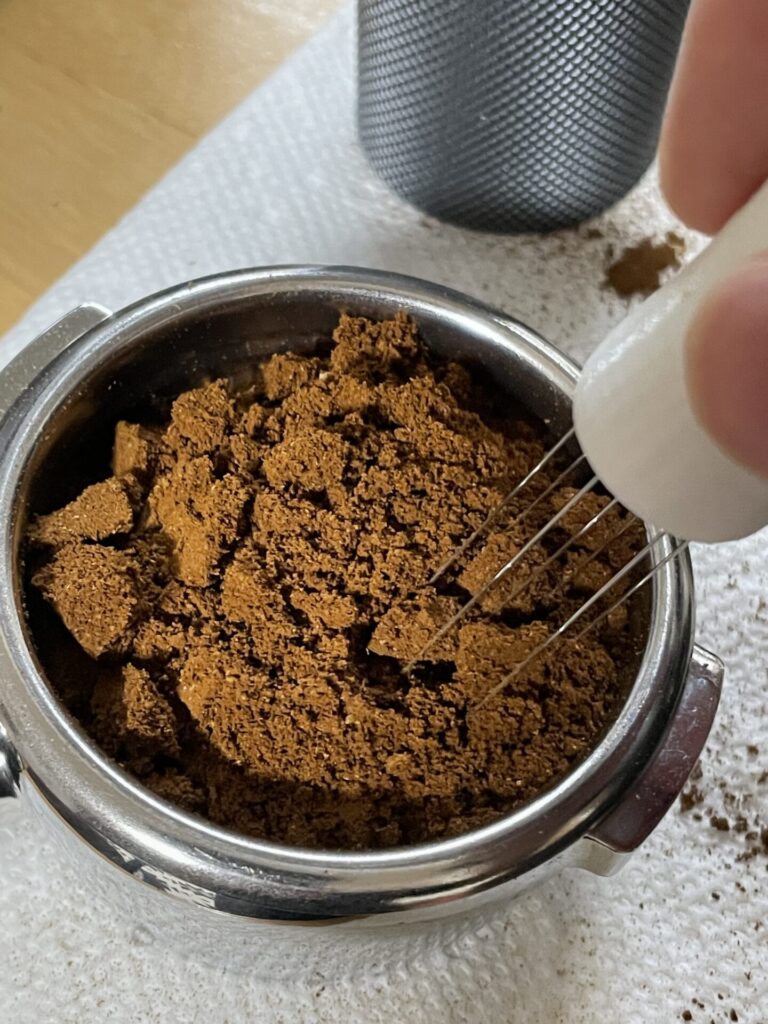
You want to make them nice and fluffy and clump-less like this.
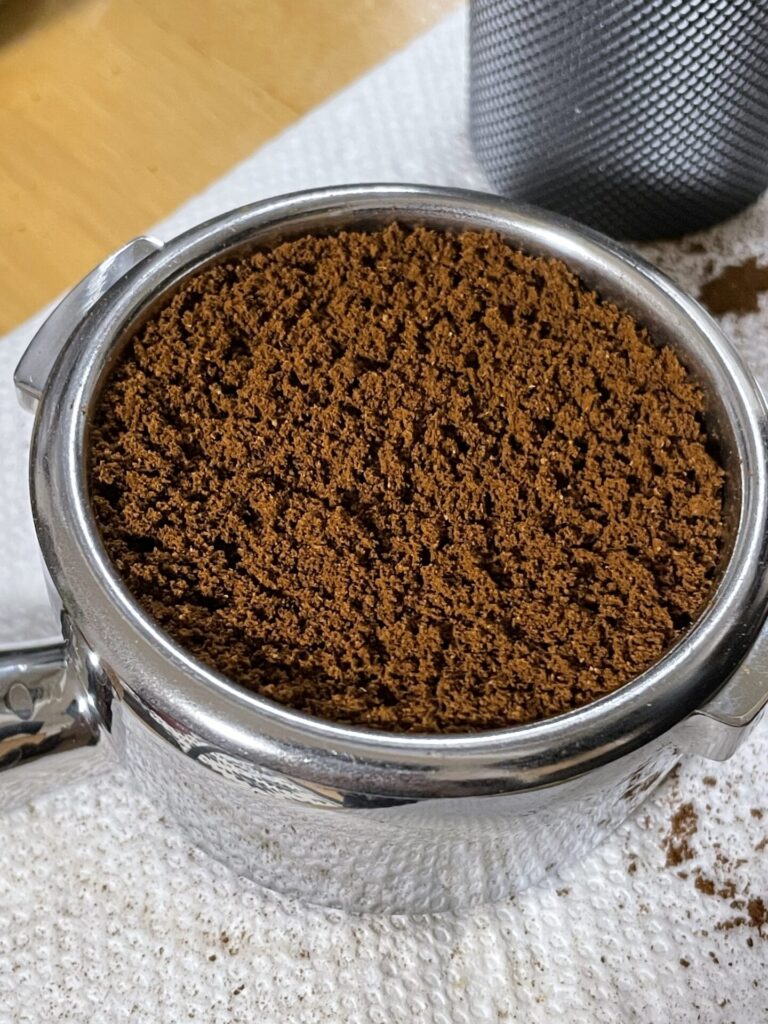
Then you can knock the basket to settle the grounds, like so.
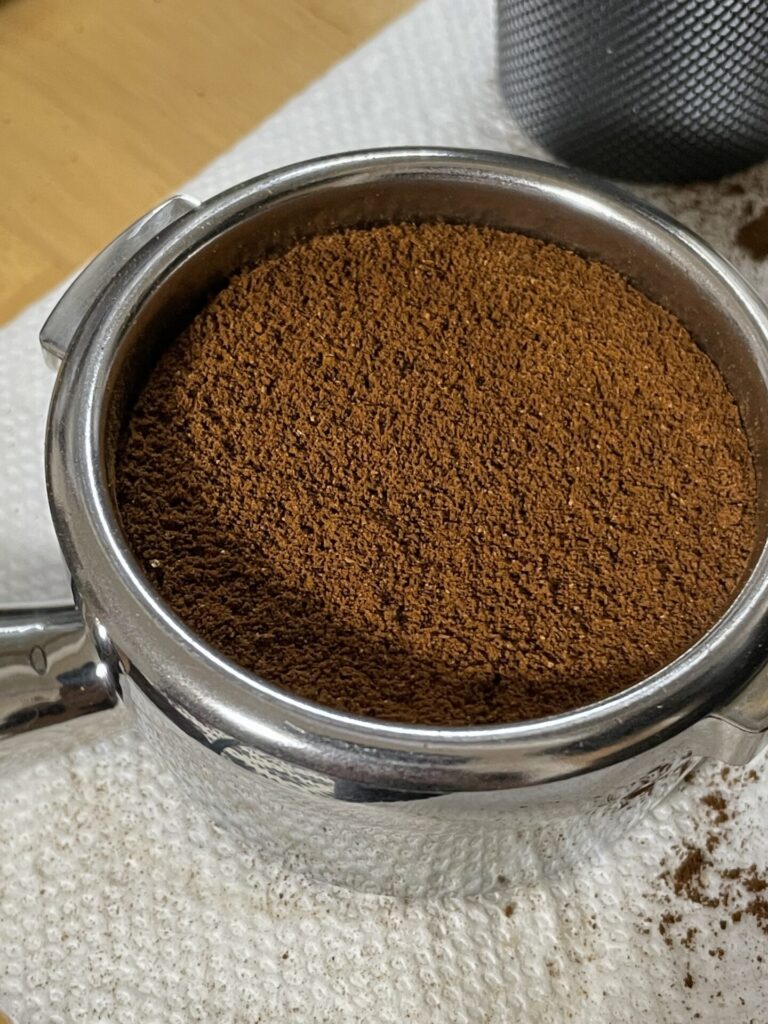
Then finally you tamp to get a nicely uniform puck.
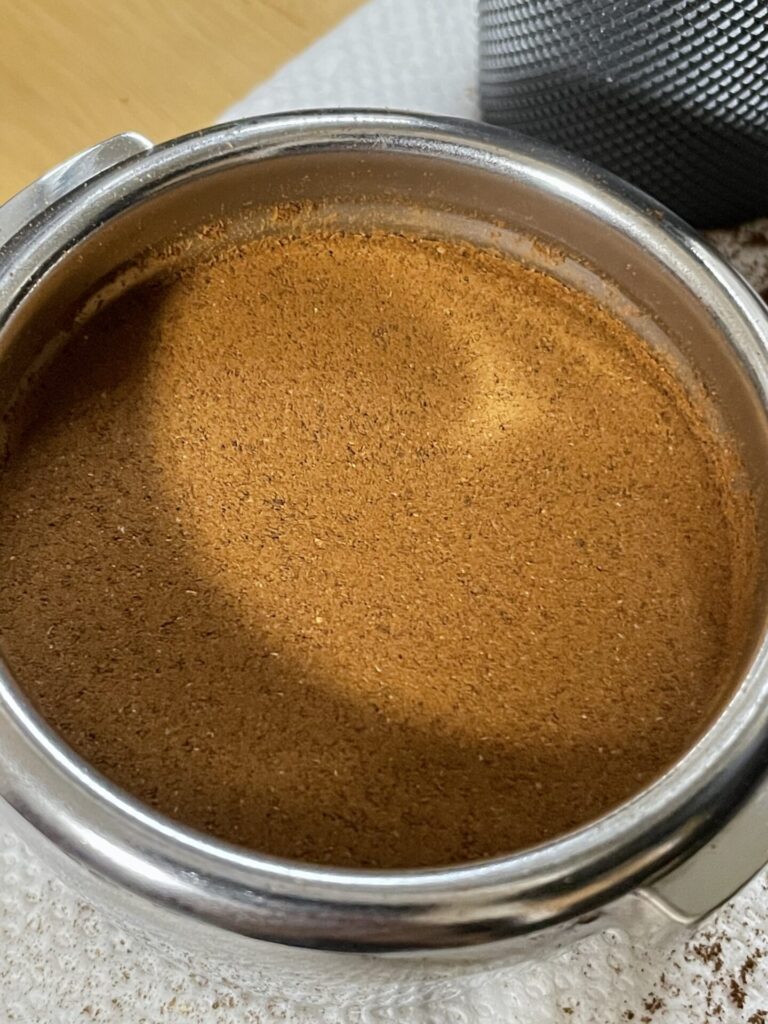
The puck after you tamped it may not look any different with or without WDT. This is because a tamp will simply force the surface of the puck to be flat. This doesn’t mean that the density is even at all parts of the puck.
By doing WDT, you can get rid of the clumps and evenly distribute the grounds.
I heard that the technique started off by using some tooth picks and stirring up the grounds.
You could even use chopsticks or forks, but people have done experiments and it seems like very thin needles (diameter of 0.5mm or less) seem to produce the best results.
I also tried using a fork at first but they were too thick and formed massive holes. Also I couldn’t move it horizontally since it moved most of the grounds with it.
How to WDT
Like I mentioned, for the best results, you would want a WDT tool. But you can try it out with anything thin, like a tooth pick.
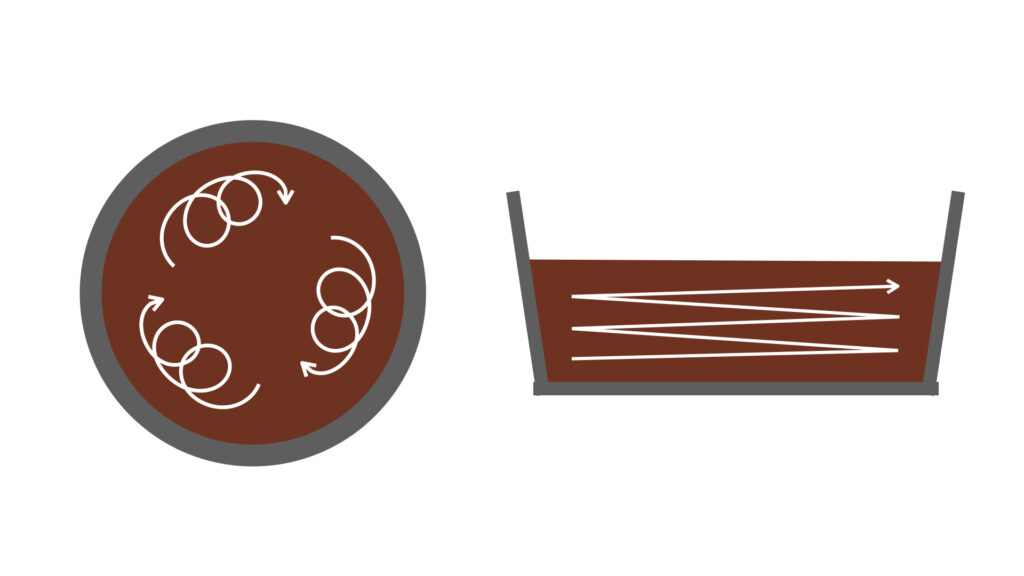
Its really not complicated, just stir around your grounds to break up any clumps, and end up with a flat bed.
The way I like to do it is to do a tiny circular motion, starting from the bottom of the basket, and work my way up.
Making my own WDT tool
You can easily buy WDT tools. Even in Japan, where espresso brewing is a pretty minor hobby, I found a couple. The one the seemed the best was this.
Depending one where you live, you may have a lot more options.
I actually have another hobby other than coffee, which is 3D printing. (Actually I’ve been 3D printing for much longer)
So I decided to design a WDT tool exactly the way I want.
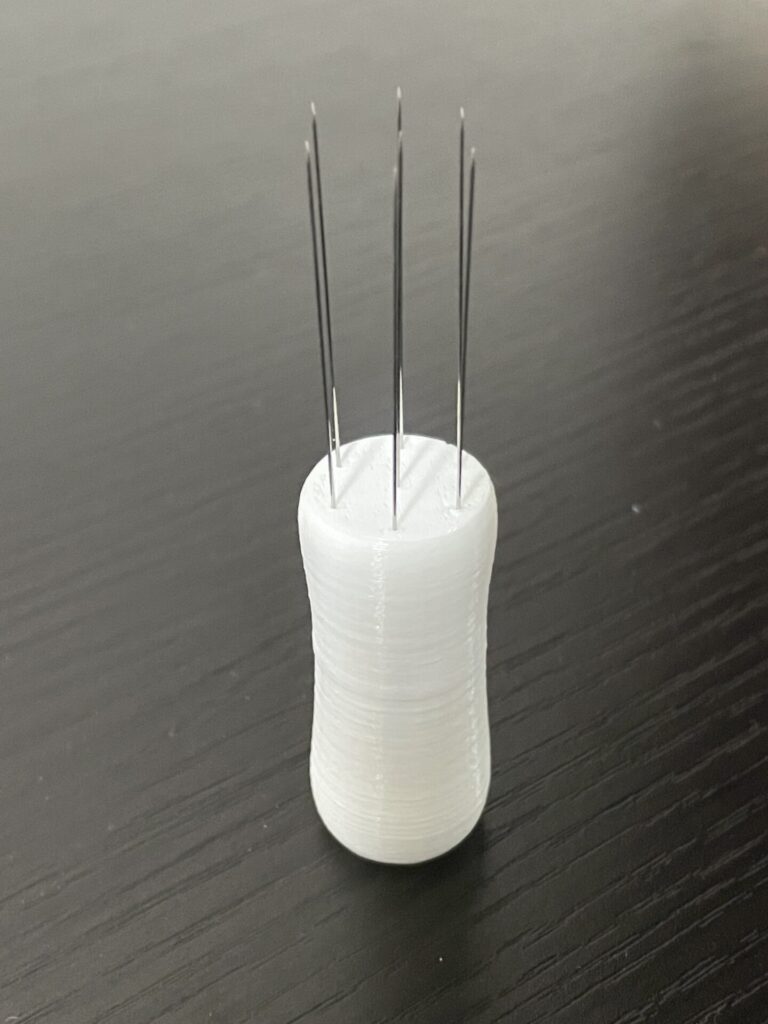
The needles I used are for cleaning out the nozzle of the 3D printer. These 0.4mm diameter needles are perfect for the purpose. (I have to note, this was not my idea, its actually quite a well known thing)
So I quickly designed up a 3D model to hold 7 of these needles in a CAD software,
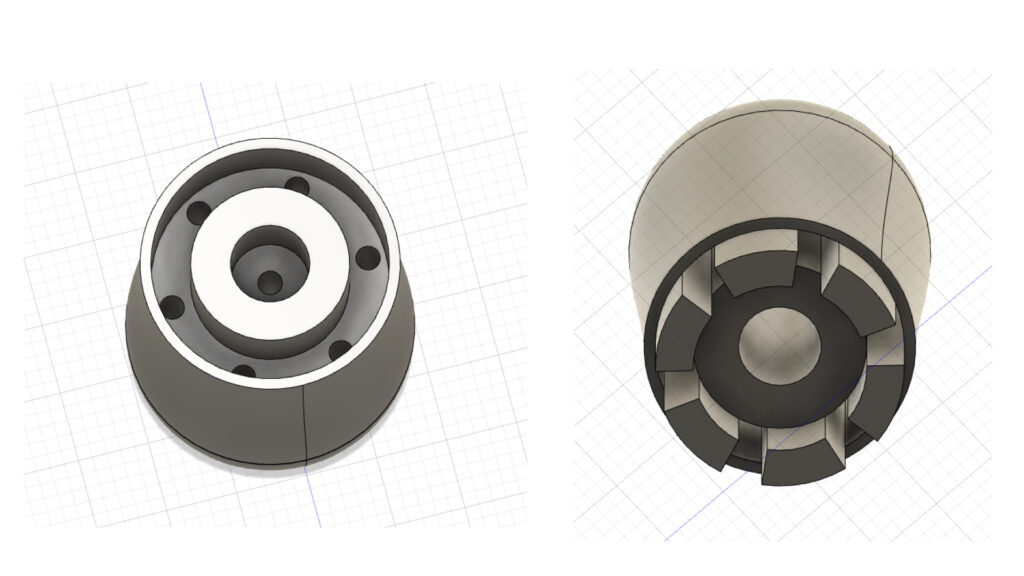
Printed it,
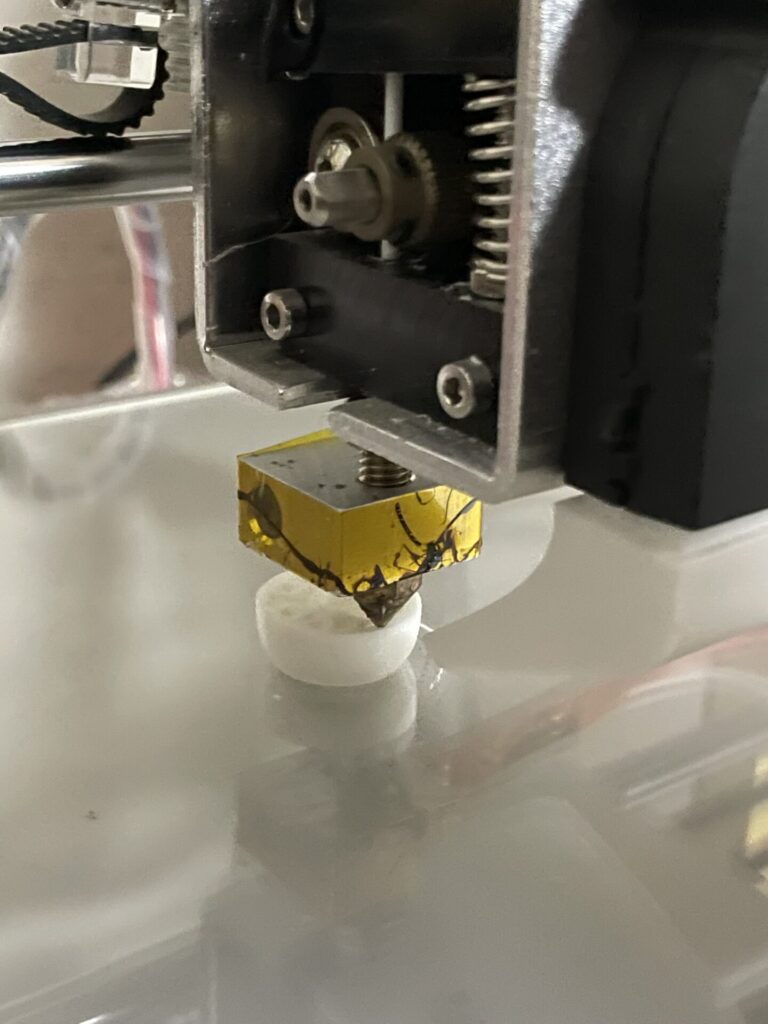
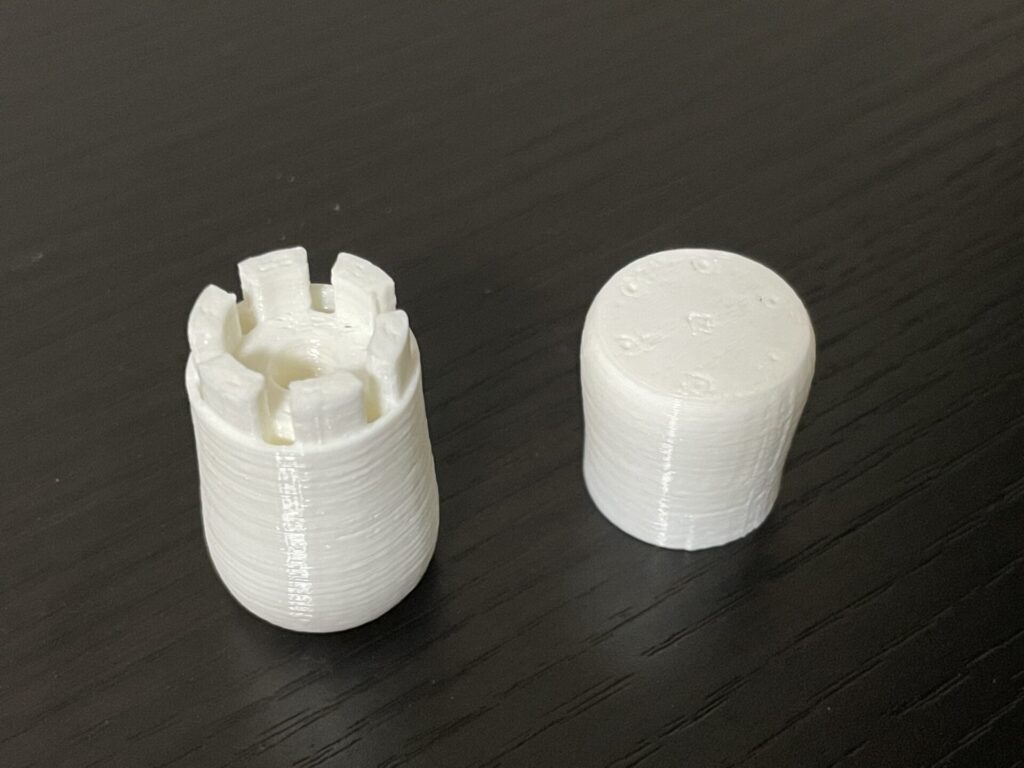
Did a bit of cleaning up on the prints,
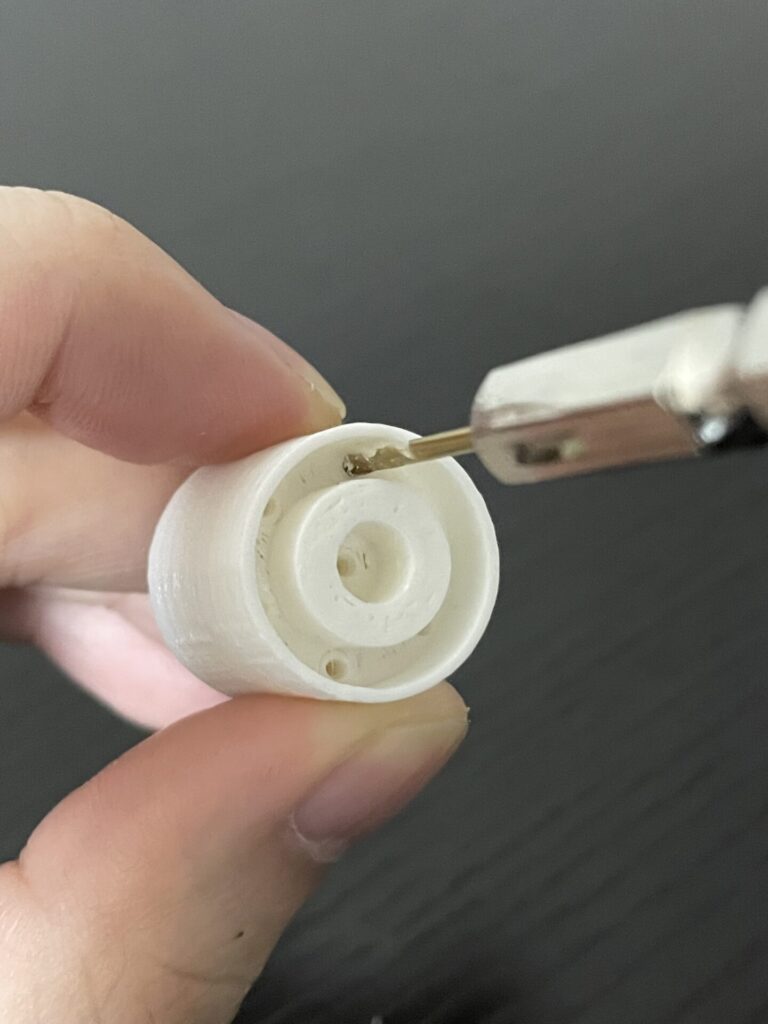
Mounted the needles,
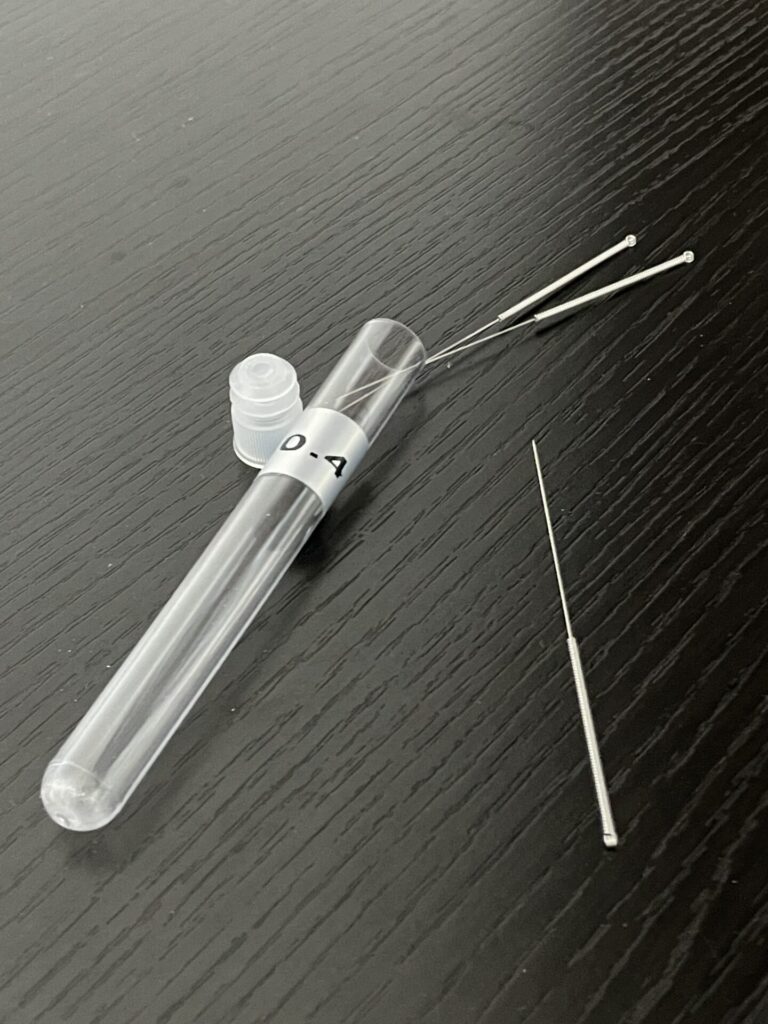
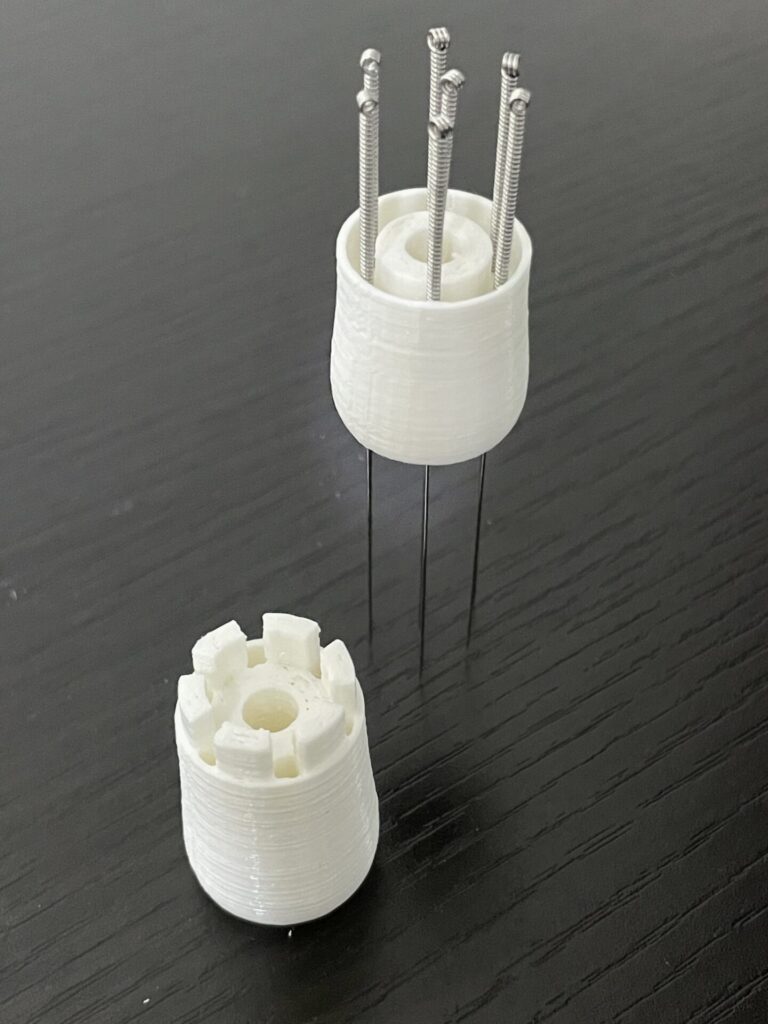
And put it all together,
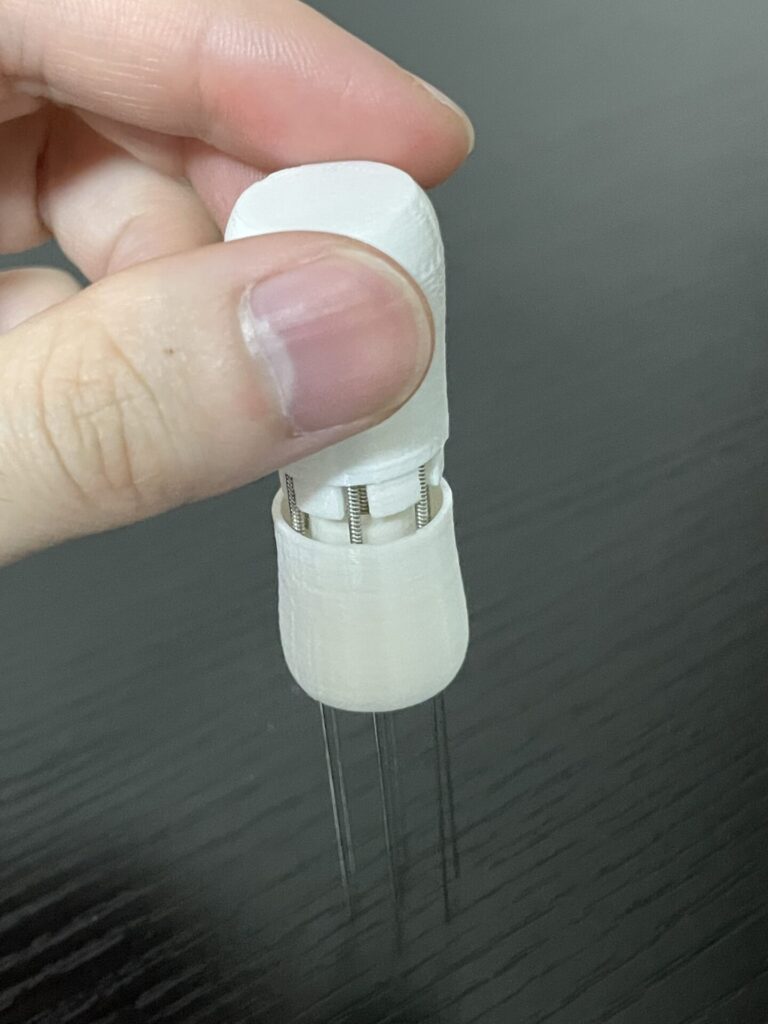
And here it is! My very own WDT tool!
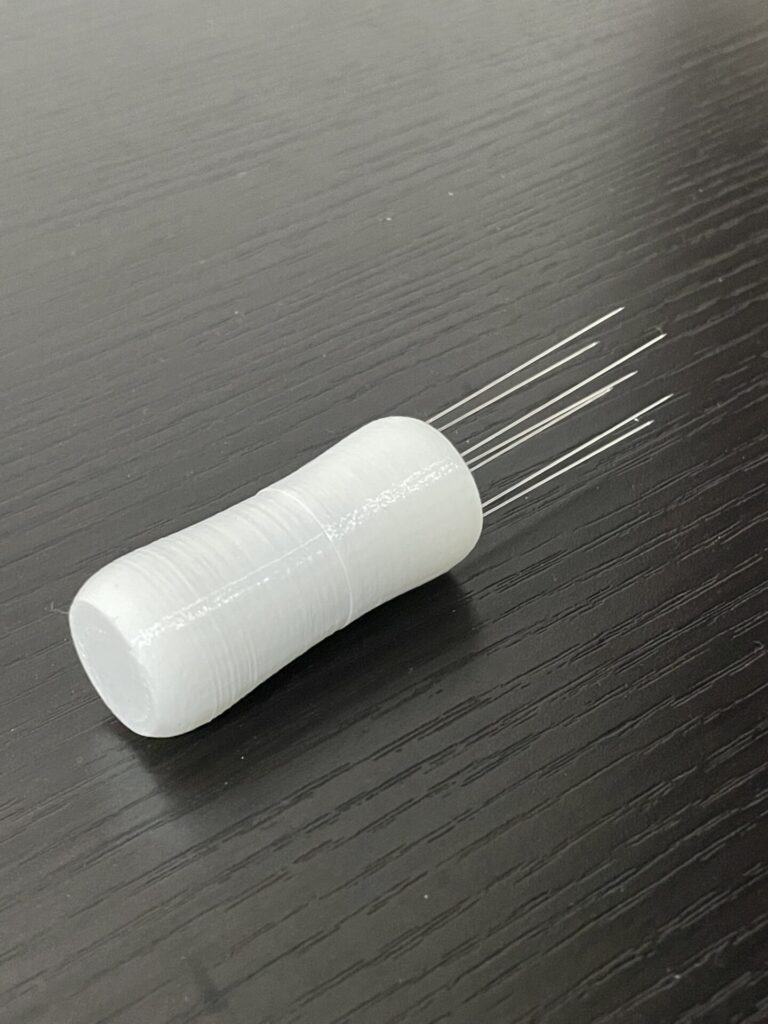
I am quite satisfied with how it turned out.
To be honest, it tool a few iterations to get it just right, so I spent about a whole day making it. And the needles were around $7, plus 3D printing material isn’t free. So cost-wise, it may not have been entirely worth it.
But I had fun making it, so I don’t mind. And the major benefit of designing it is that you can make it just the way you like. The number of needles, their spacing, the handle part, any part of it I can adjust.
(If there is any demand, I might upload the 3D model some where)



コメント