
Hi everyone!
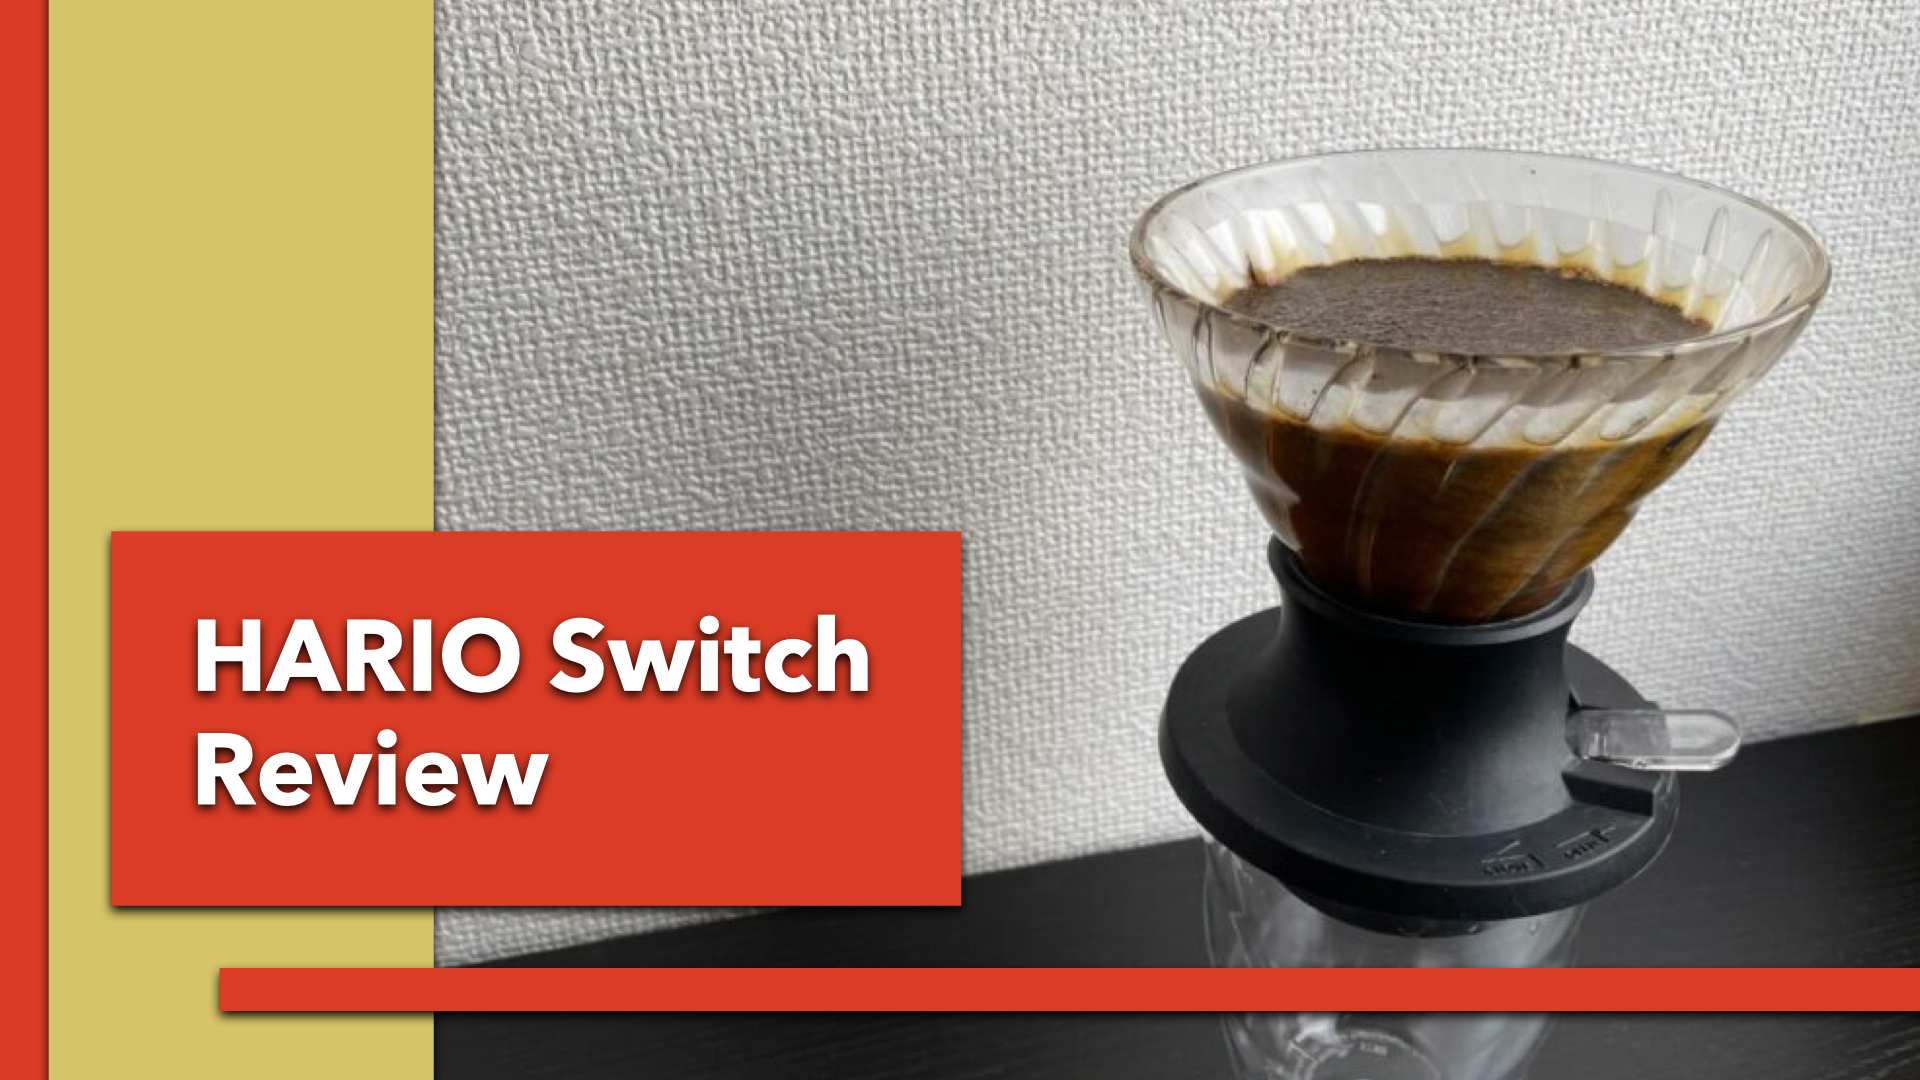
I reviewed the HARIO Switch dripper last time, so here I would like to share with you my personal brew guide for this dripper. Please check this review post for a deep dive about the benefits of this brewer.
This is my personal brew guide, so obviously it is not THE only correct way to do it. But hopefully you will use it as a baseline to finding your own method. If you have any advice or improvements that work for you, please leave it in the comments.
Summary
A quick summary of the steps.
- Heat 400g – 500g of water to 90℃
- Grind 9g of coffee. Medium fine
- Set a paper filter, rinse with hot water
- Place coffee grounds, trim your scale and start your timer
- Pour 150g of hot water
- Wait for 2min
- Stir 1 or 2 times with a spoon
- Wait for 1min
- Press the switch
- Enjoy!
Explanations
OK, let me explain a little bit more. This guide will be using the immersion brew method, which is kind of the whole point of the Switch.
1. Heat 400g – 500g of water to 90℃
We are first going to start off with heating up water. You might be thinking, well that’s kind of obvious… and it sure is. But heating up water can take a bit of time, so it is pretty important that you start with this step. We want to have about 400g – 500g, so that we have enough water for preheating as well.
I’m using a temperature controlled electric kettle Arabica from dretec. We want to aim for about 90℃. I will eventually write a review of this kettle as well.
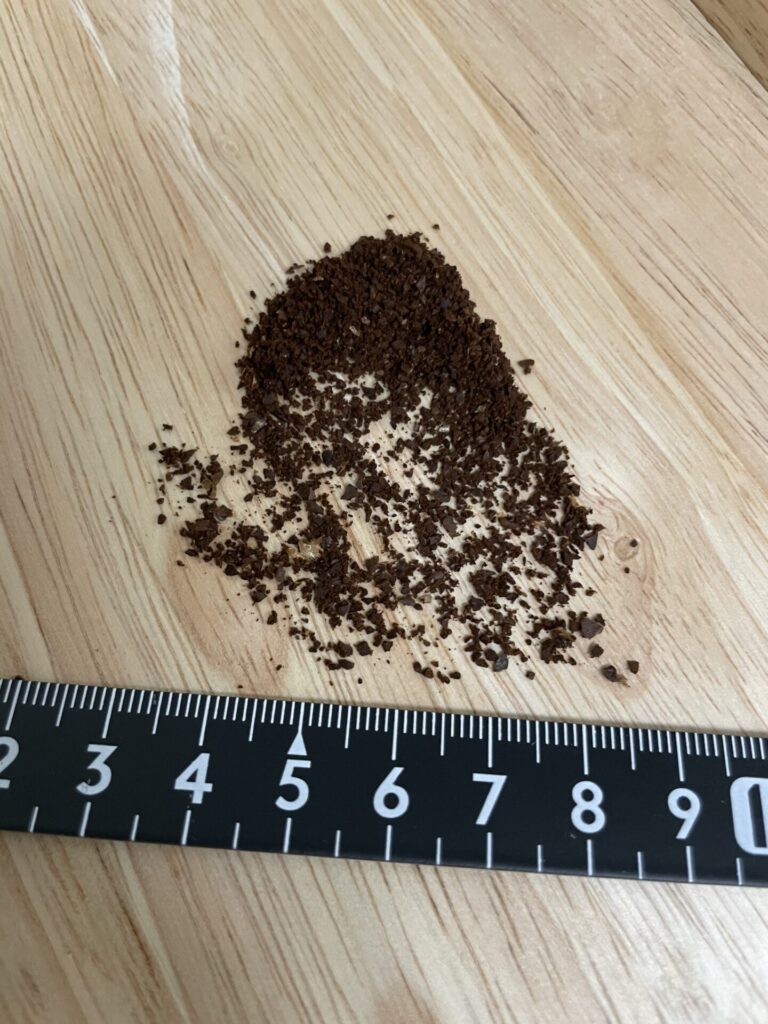
2. Grind 9g of coffee. Medium fine
Once we start heating some water, we need to prep some coffee. For the grid size we are aiming for a medium fine grind. This is roughly what you would use for normal drip coffee.
I very strongly advise buying a grinder and grinding your beans yourself right before you brew. Pre-ground coffee does get you coffee, but I would argue that grinding fresh is the most important part in brewing quality coffee.
I use the Chestnut Slim Plus hand grinder from Timemore。(It is an excellent grinder, will make sure to post a review for this in the future) The water to coffee ratio is use is 100g to 6g. I usually brew about 150g of coffee, so I will use 9g. Often you see recommendations from coffee bean shops have much higher ratios (this might just be in Japan, maybe I will write about this sometime). But this 100:6 ratio will produce a good strength cup with this method. Please adjust the ratio to your liking. If you raise the ratio the cost of each cup will naturally rise, so that’s something to consider.
3. Set a paper filter, rinse with hot water
Next we prepare our dripper. Place the Switch on top of your cup or carafe. Close the stopper of your Switch, the lever should be raised. Fold your paper filter once next to the seam and set it in the Switch.
For the paper filter I use HARIO’s bleached 1-2 cup filter VCF-01-100W. This paper will comfortably hold 150g of water, the max will be about 180g. In the past I also tried HARIO’s non-bleached papers. I felt like it tasted ever so slightly papery, so I use the bleached one now, but it shouldn’t be a big difference.
By the way, when you buy the Switch it comes with some paper filters. These are bigger than the 1-2 cup sized filters, and they stick above the cone. They might be of the 02 size (3-4 cup) but I’ve never checked. If you use these, they will give you a little bit more capacity.
After placing the paper, rinse it with hot water. Do this before you put any coffee in. The aim here is to rinse the paper and to heat up the dripper. The Switch is made of pretty thick glass which has significant thermal mass. If we do not preheat our dripper it will draw a lot of heat away from the water. This will make it difficult to control our brew temperature. Make sure that the stopper is closed.
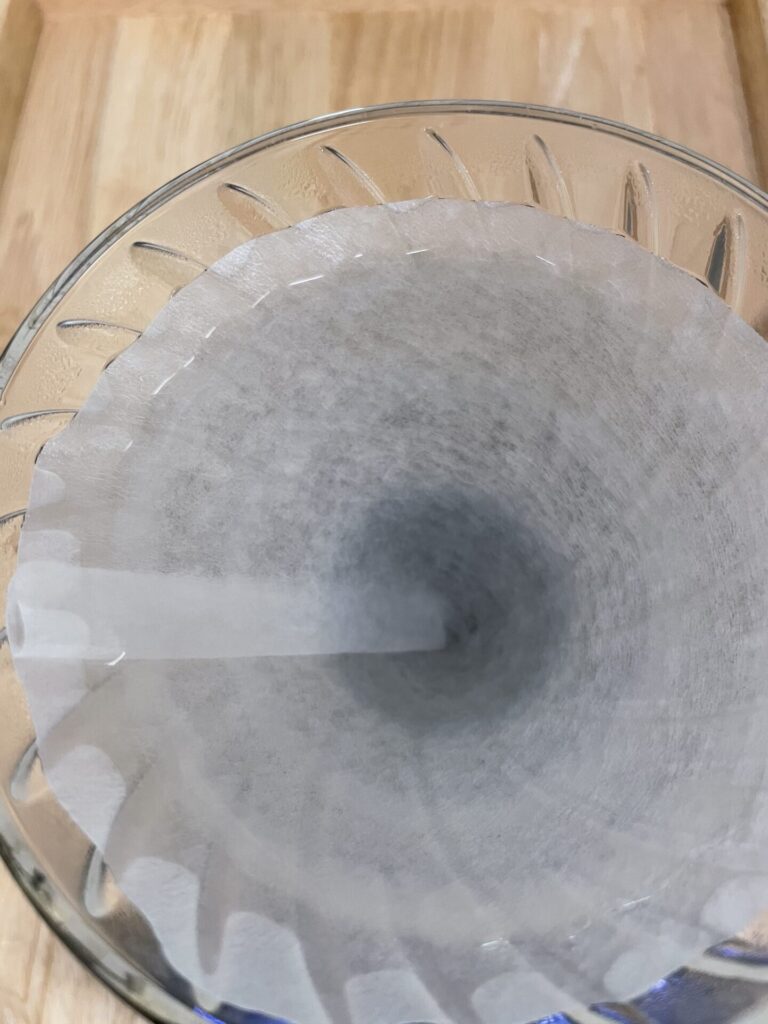
When the glass gets warm, drain the water.
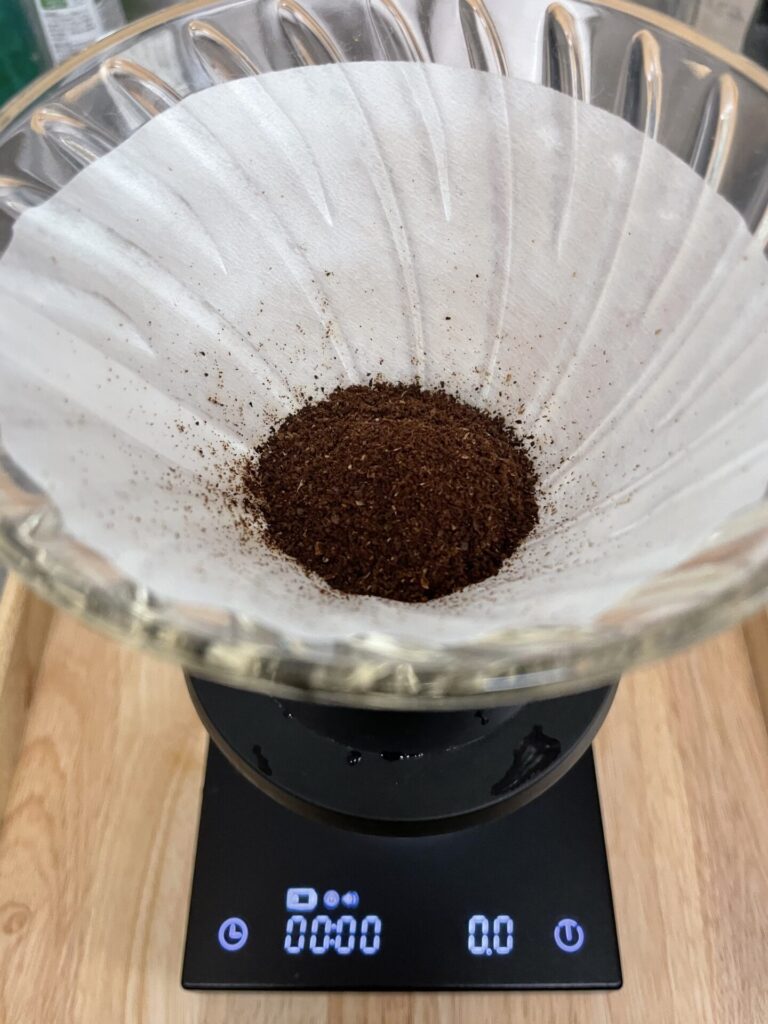
4. Place coffee grounds, trim your scale and start your timer
Place the ground coffee in the gripper. There is no need to flatten the bed of coffee. For normal pour-overs this will be important but for immersion brewing it not. The coffee will be mixed around with the water anyway.
Place the cup and dripper on your scale, and tare your scale.
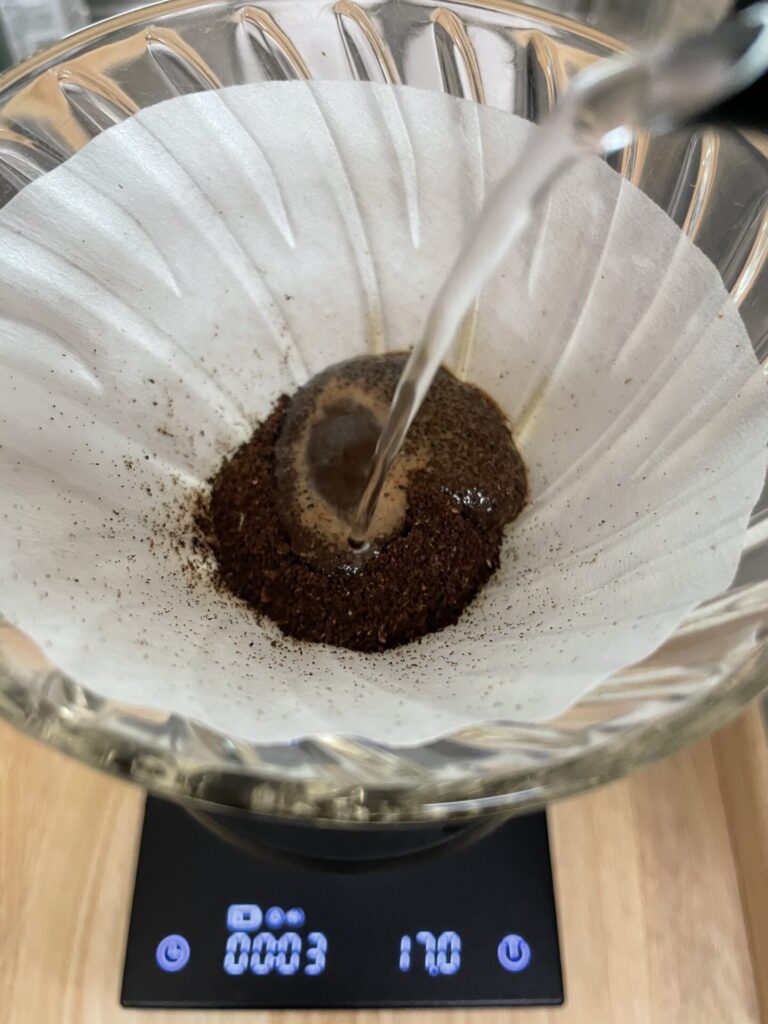
5. Pour 150g of hot water
Double check that the stopper is closed, then pour 150g of water in. You can pour pretty quickly, try to evenly mix the coffee grounds with the water.
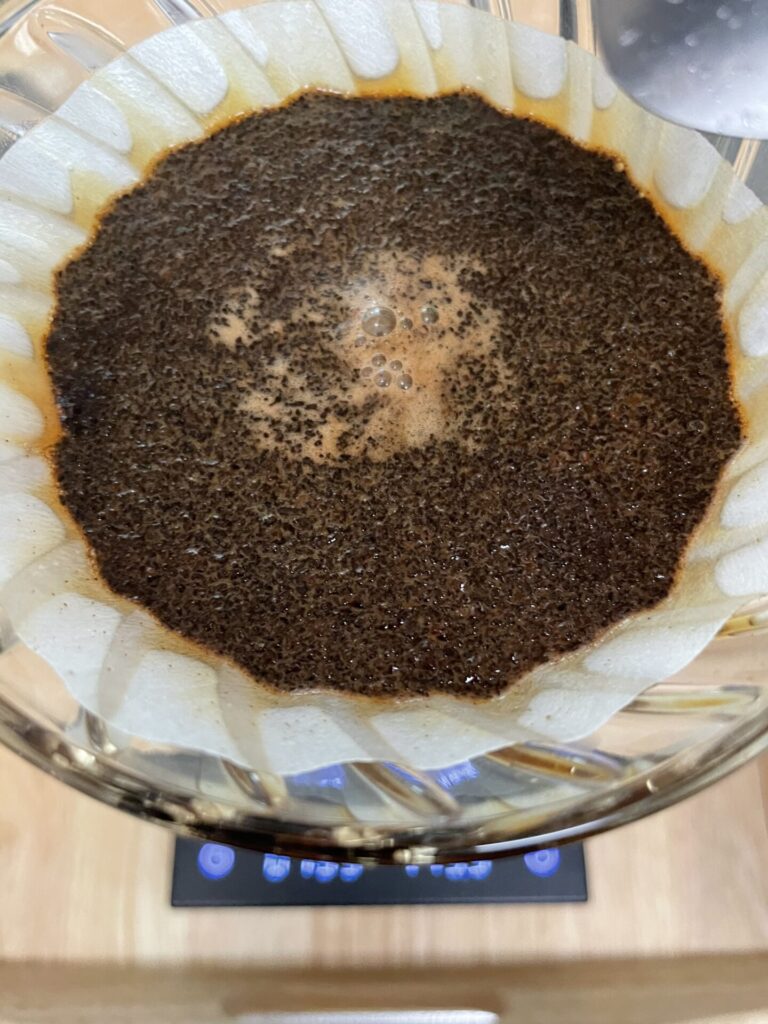
6. Wait for 2min
Not too much to say here… Please wait for 2min. You could go and do something else.
The wait time can be the same, even if you changed the amount of coffee/water.
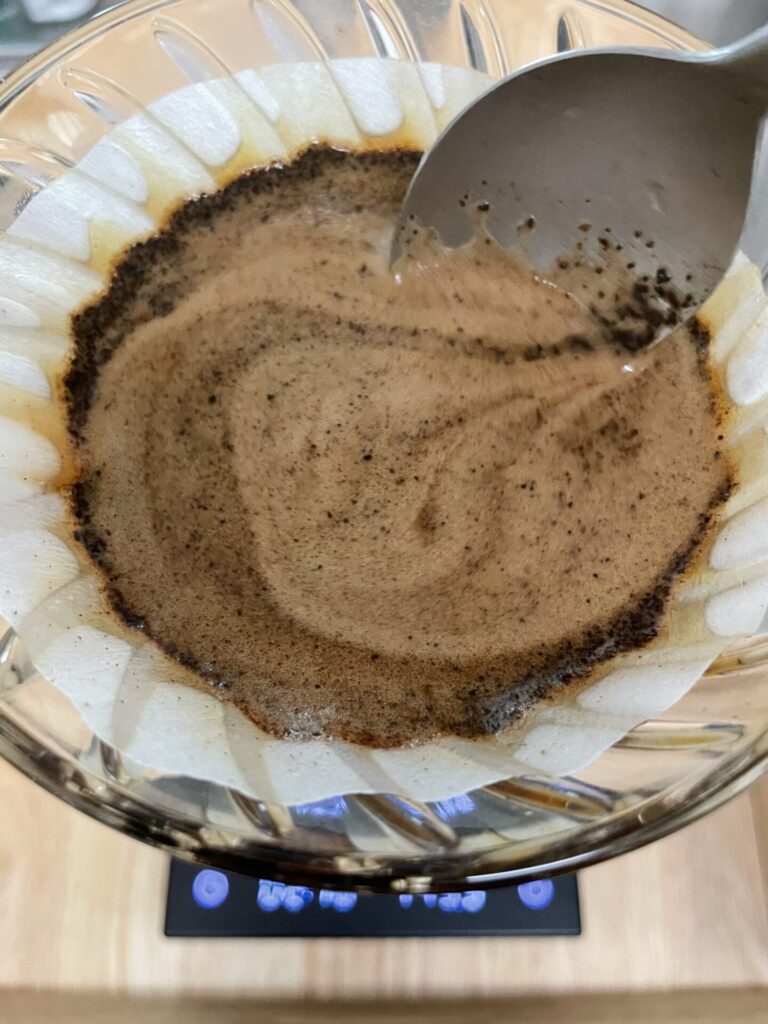
7. Stir 1 or 2 times with a spoon
After 2min, the coffee grounds would probably formed a crust at the top of the cone. We are going to break this and let the grounds fall.
Use a spoon to stir a few times. Apparently this is when you can enjoy the aromas of the coffee most effectively.
8. Wait for 1min
We wait another min for the grounds to settle at the bottom the cone.
9. Press the switch
After a total of 3min wait, start the draw down by releasing the stopper. Let all the coffee drip through.
10. Enjoy!
This is it, enjoy your coffee! Using the Switch, it is very easy to brew some excellent cups.
One of the best parts of the Switch in my opinion is its easy clean up. Even though it is an immersion brewer, all you have to do is pick up the paper filter and throw it in the bin. Then quickly rinse the Switch with running water. That’s it.
Disassembling the Switch is also very easy. The glass cone part comes off the silicone stand. (might want to give it a little twist) Take care not to loose the stainless ball. It might be good to disassemble the brewer once in a while and give it a good clean with some bleach. It will remove the coffee oils that accumulate on the glass over time.
コメント